
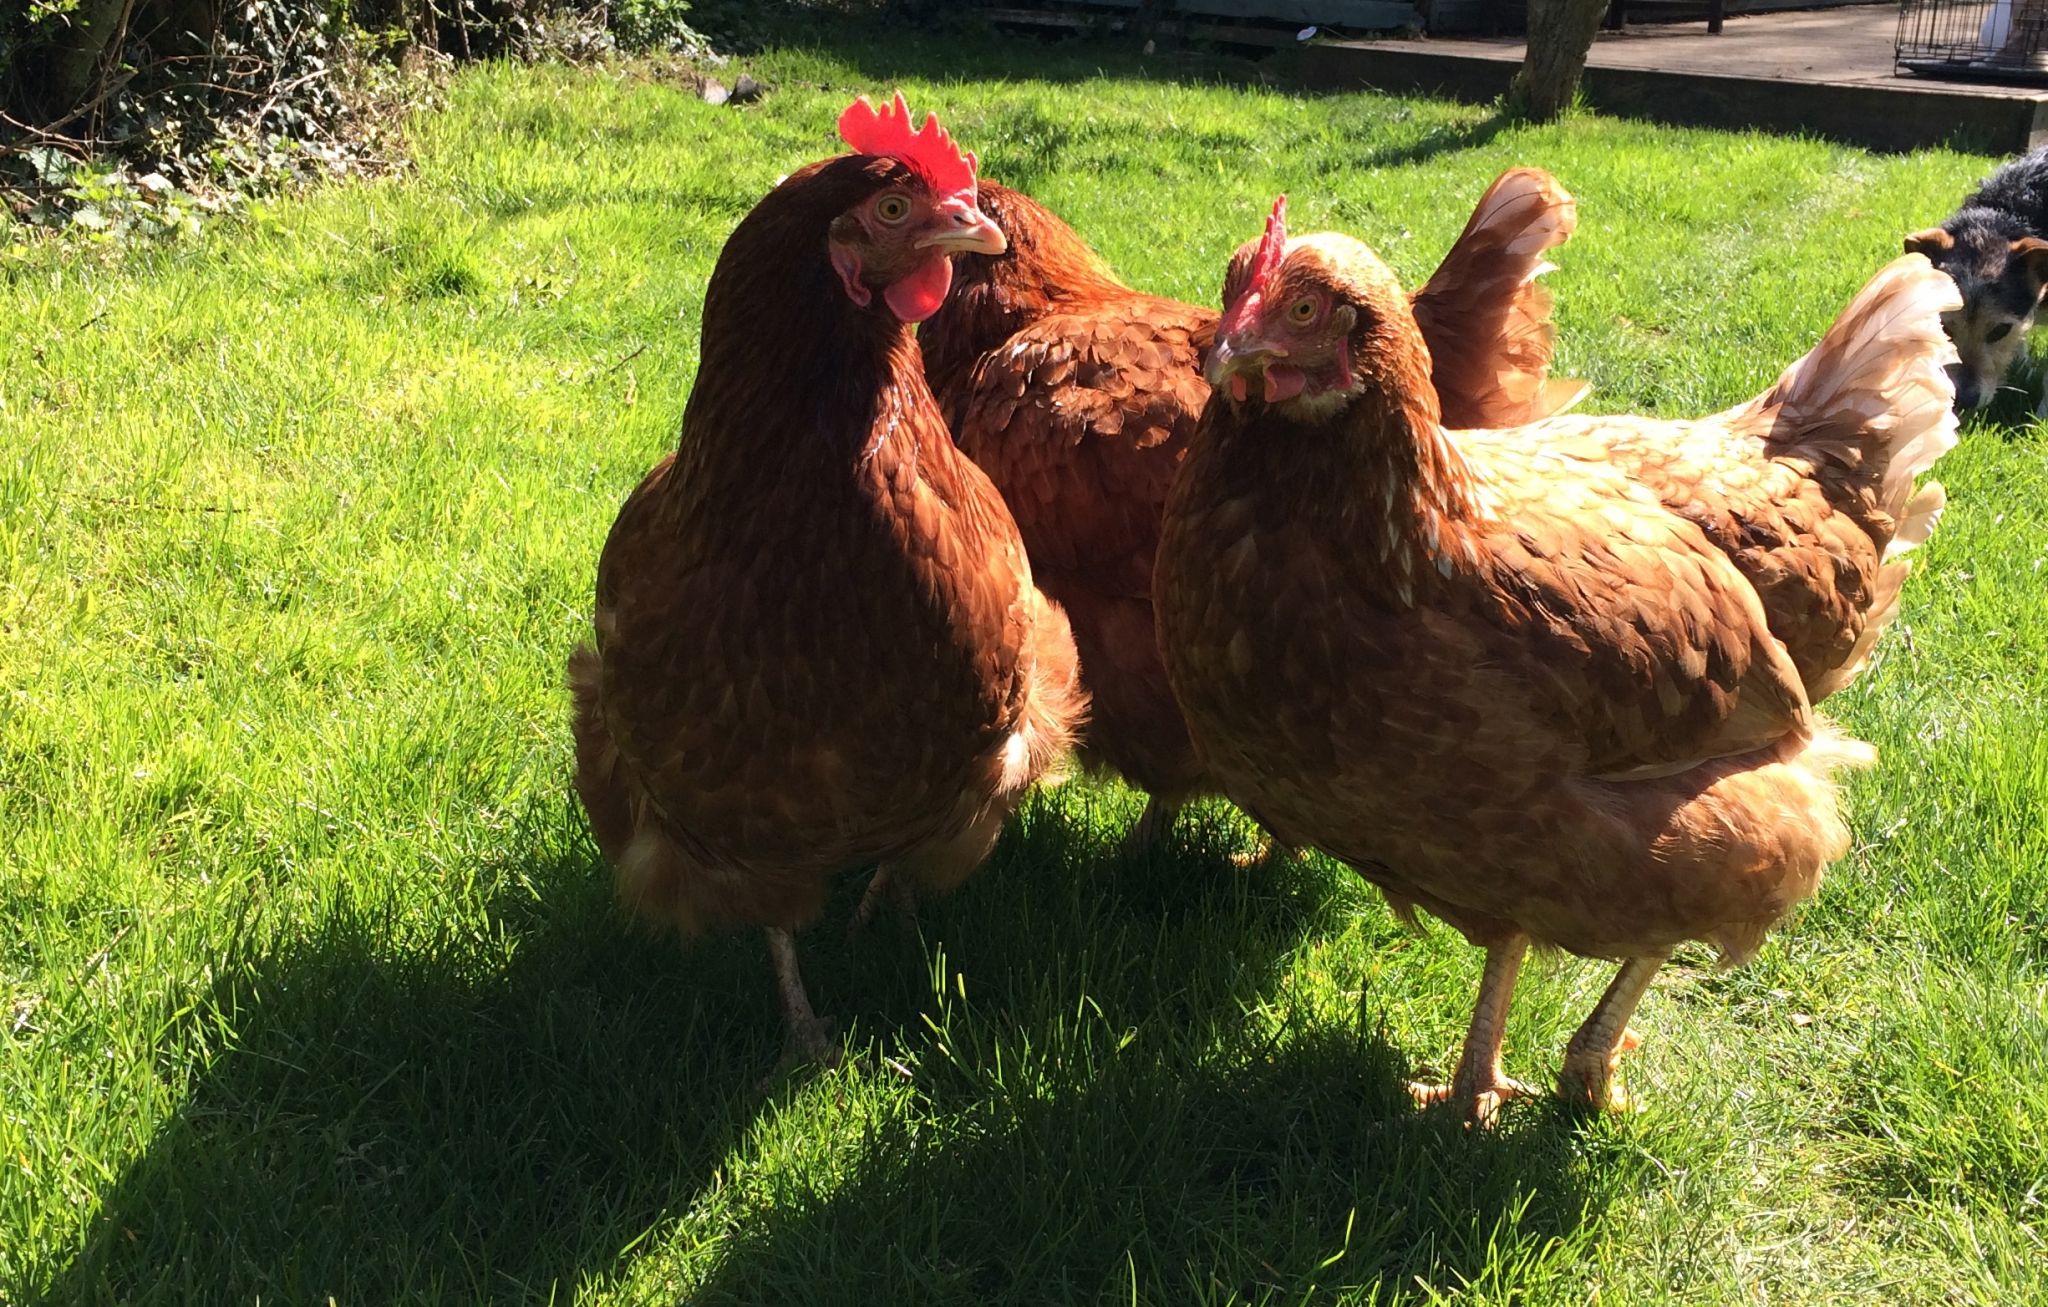
With the build project drawing closer we need to tackle the issue that is our rodent damaged chicken house. Our five lovely ladies currently live at the bottom of the garden in an old shed and a self contained area, however they are (quickly) being over run by rats. No matter how much I love animals, I cannot be accommodating rats in my garden!
Not only is there the rat issue, but we currently allow our chickens the run of the garden during the day because they love to bathe in the sun and their existing run is covered in shade from the nearby trees. Roaming chickens and builders clearly won’t make for a good combination so this is something I will not be able to do once works start.
So, in order to get rid of the rats from the garden whilst ensuring the happiness of my chickens, we have decided to make a new chicken house (and run) within the field in a good sun spot.
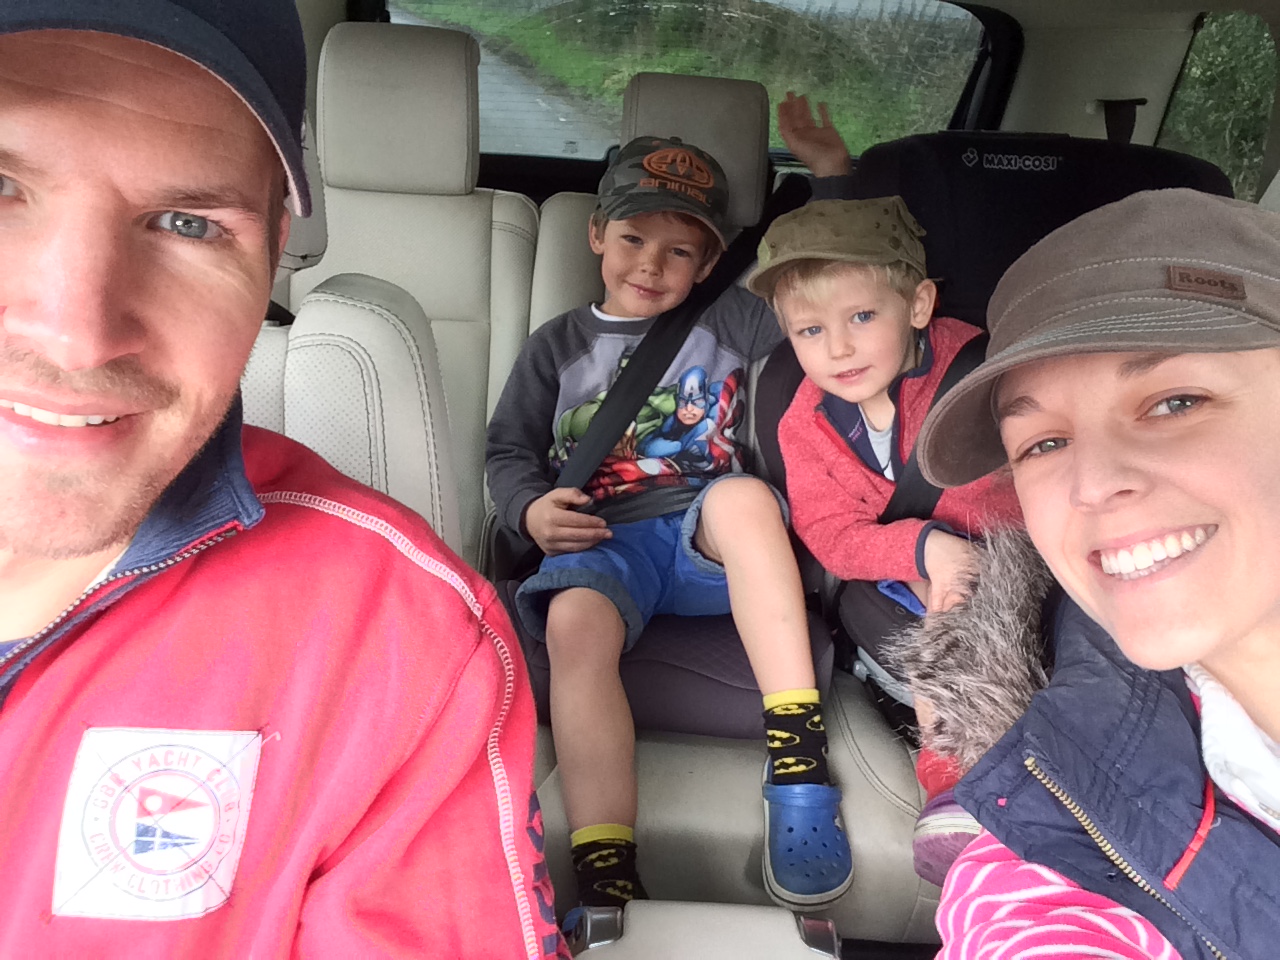
After reviewing our options and scanning through hundreds of chicken coop images on Pintrest, we have decided to make the run ourselves but buy the chicken house. First stop, the DIY store!
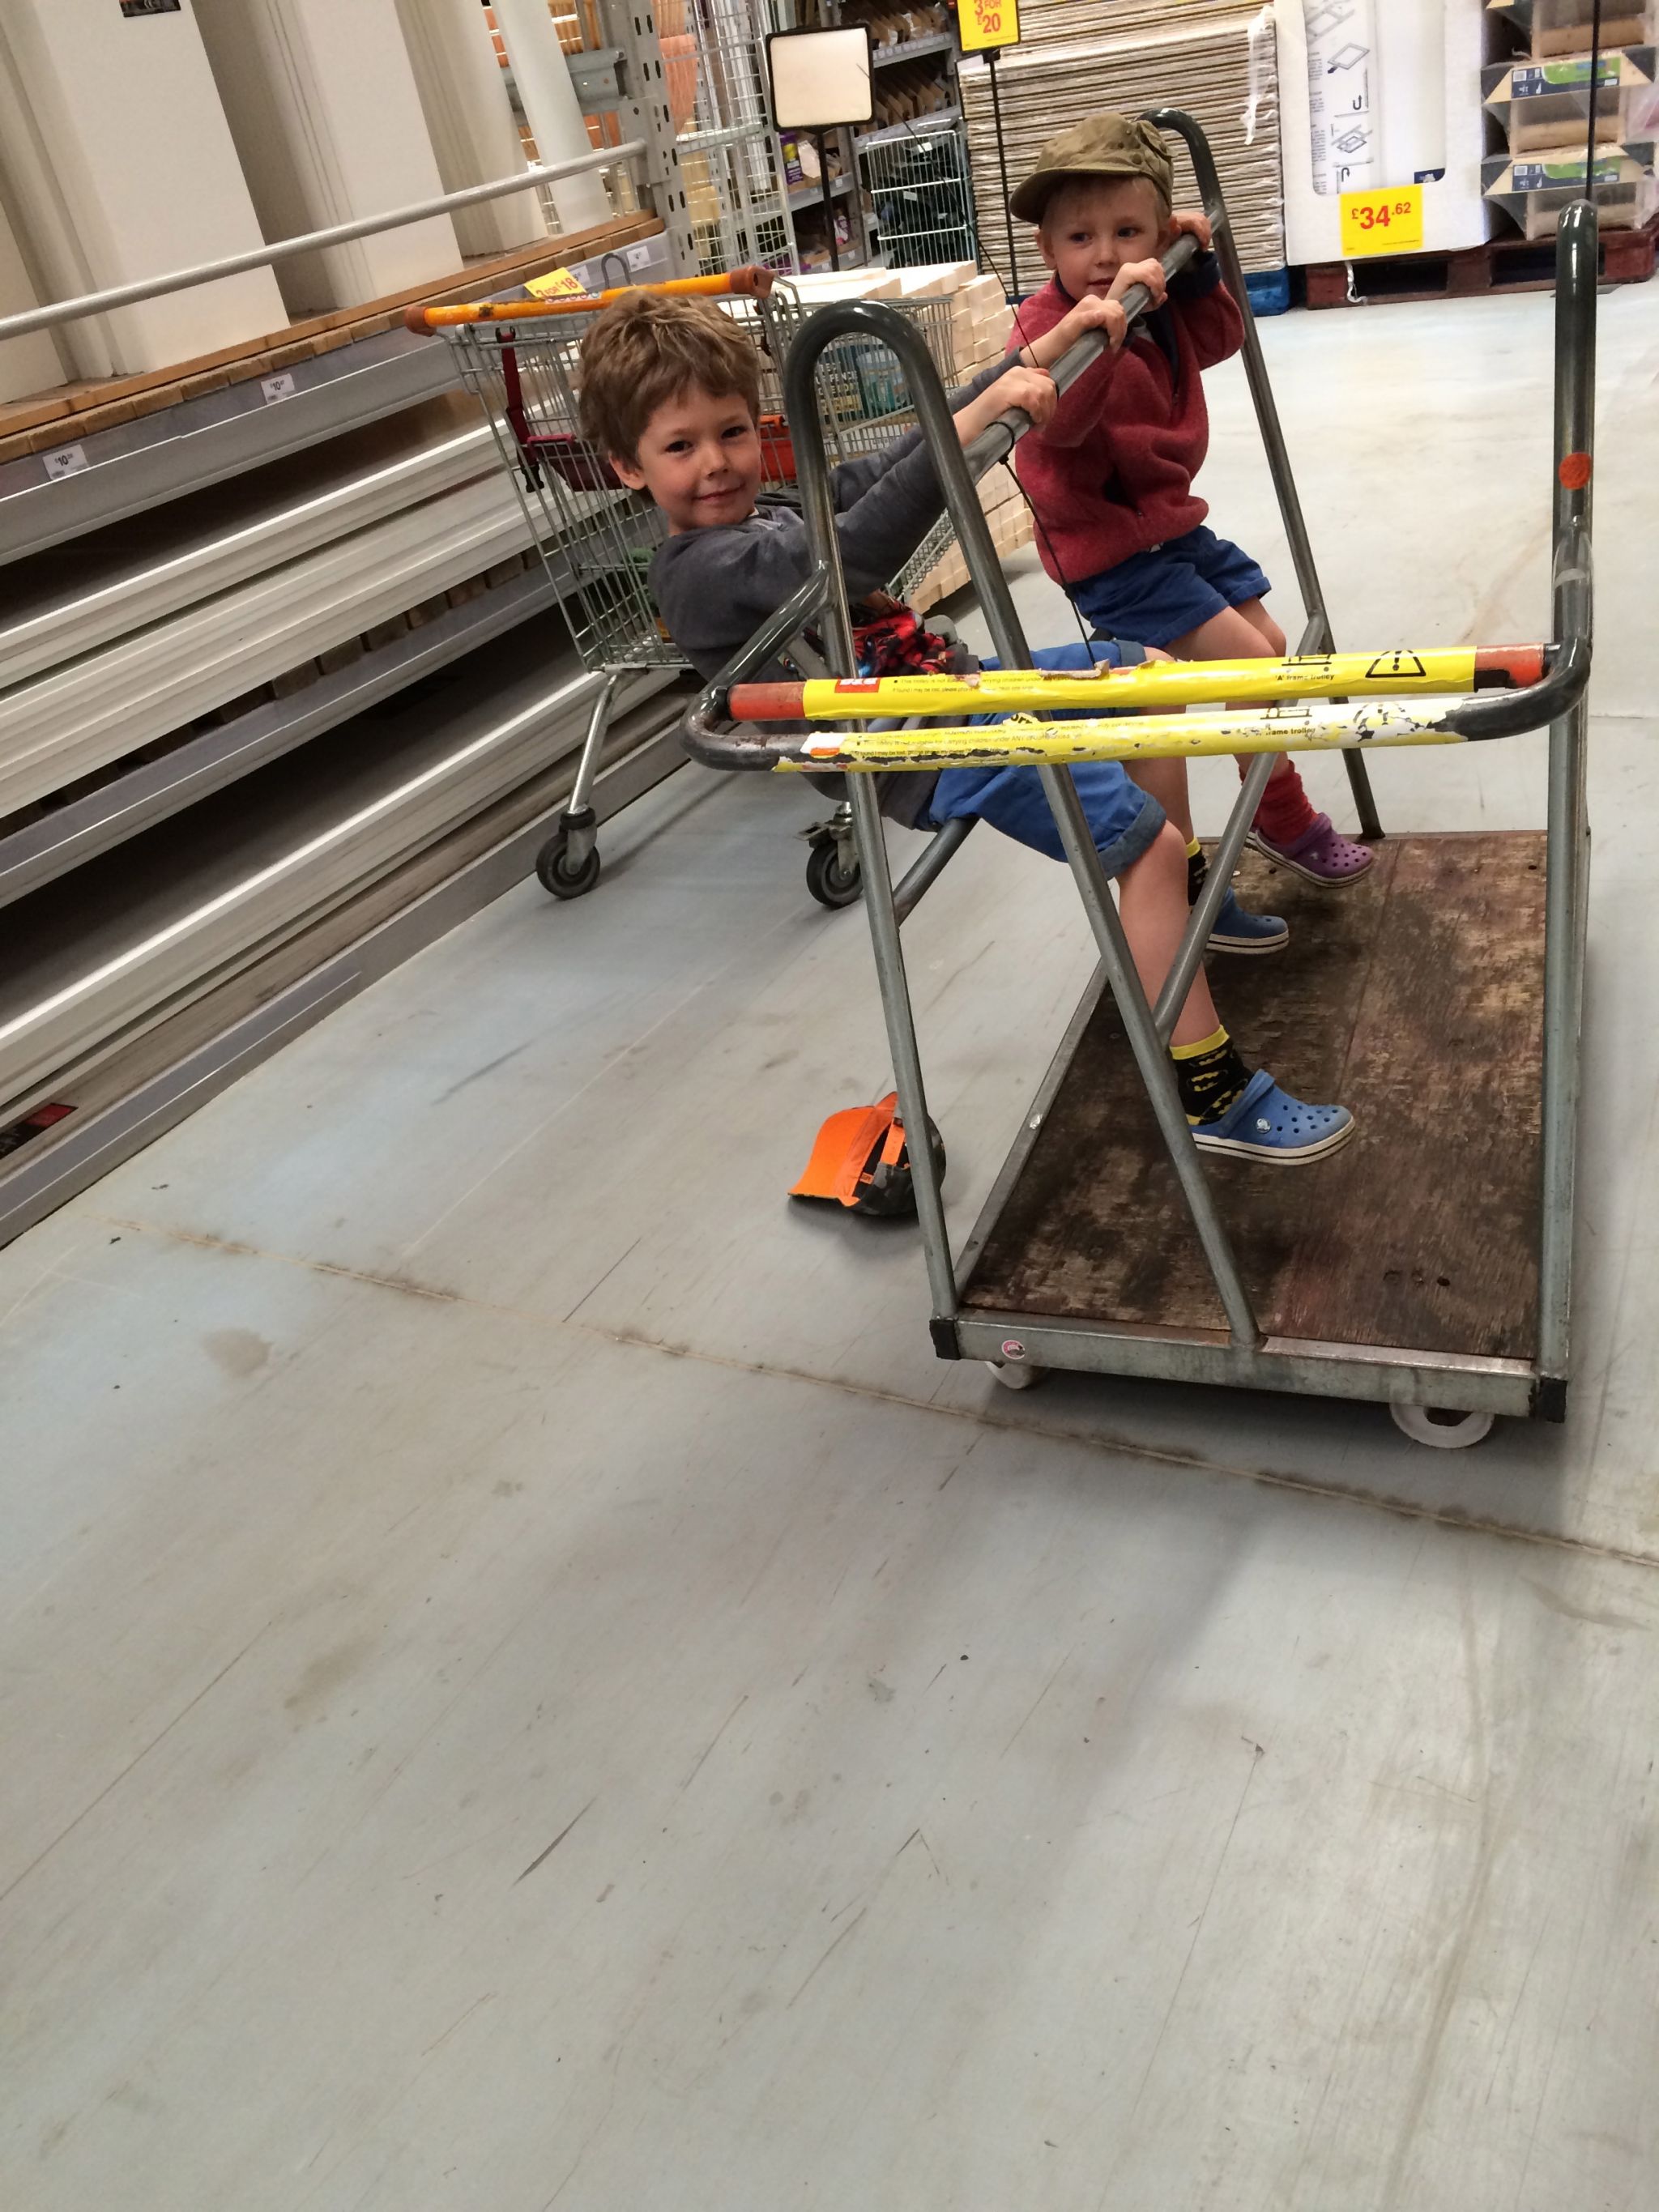
Shopping for supplies, or anything for that matter, with two little boys can sometimes be a bit of a challenge. After all, it is extremely exciting to visit a hardware store! The boys were in their element, especially when there were “rides” to play on…!
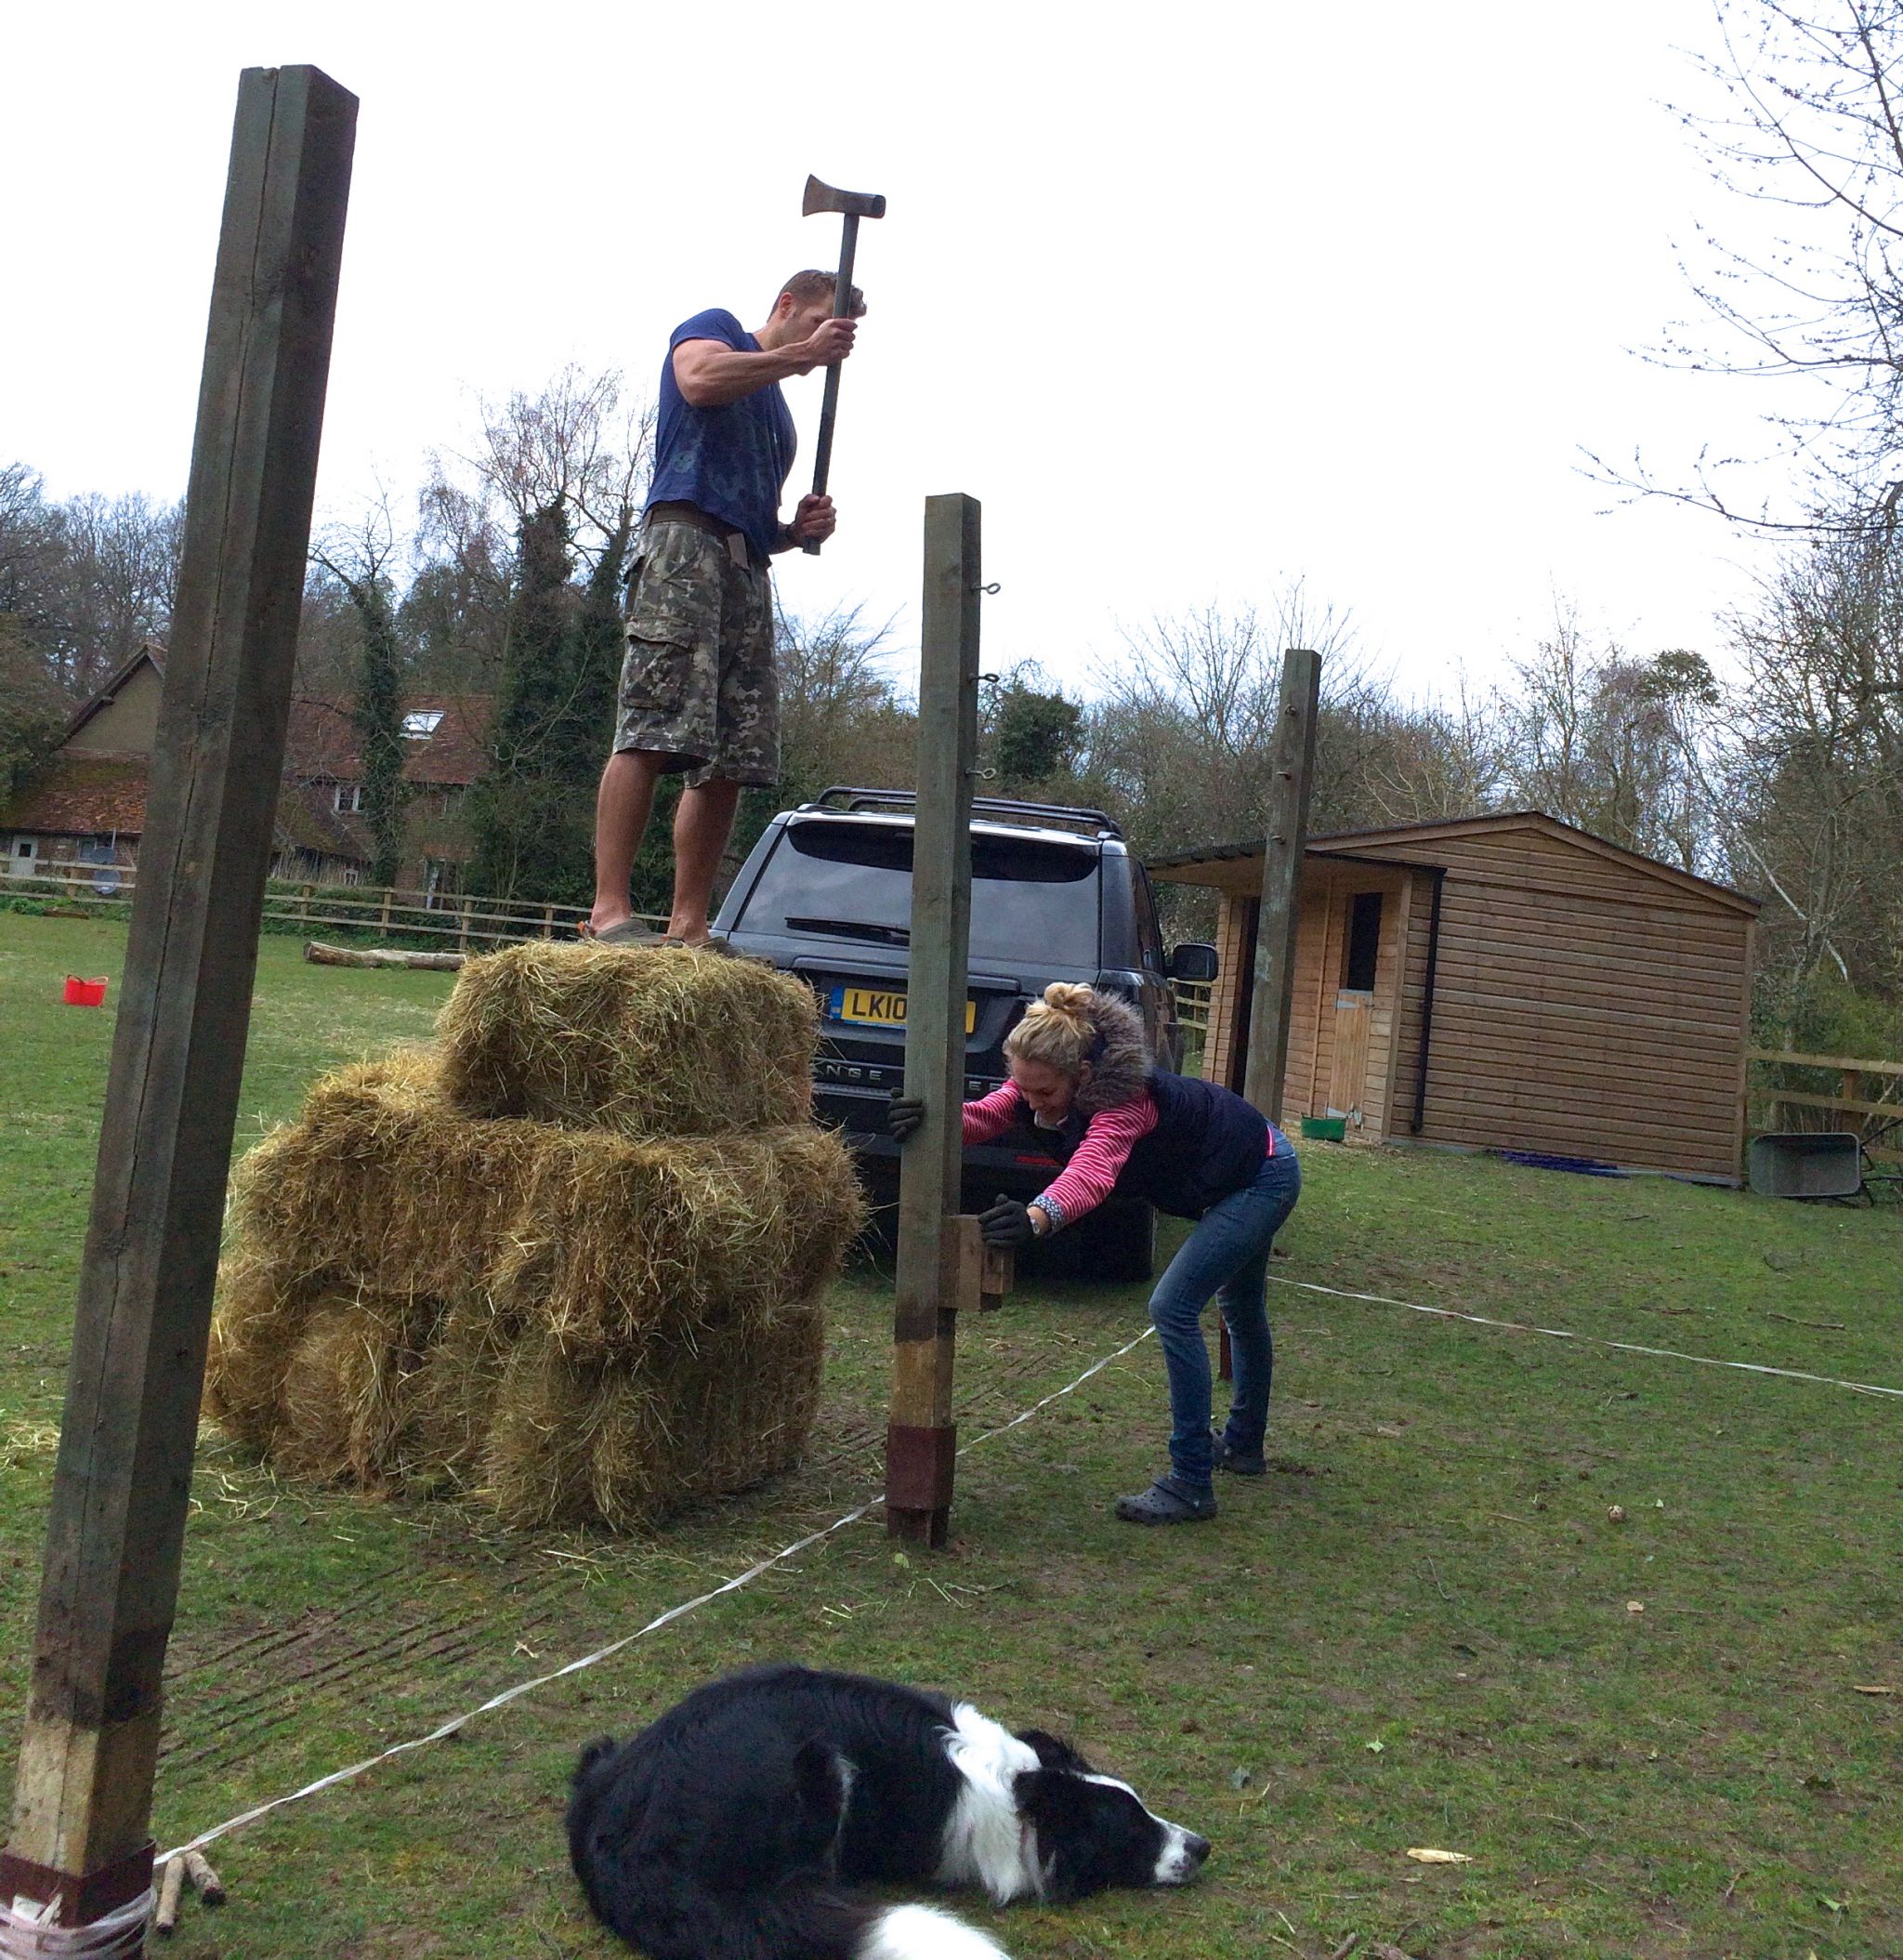
With wood and supplies in tow we made our way back home to begin work. The first step for the run build was to mark out the frame and to insert the support ground steals.


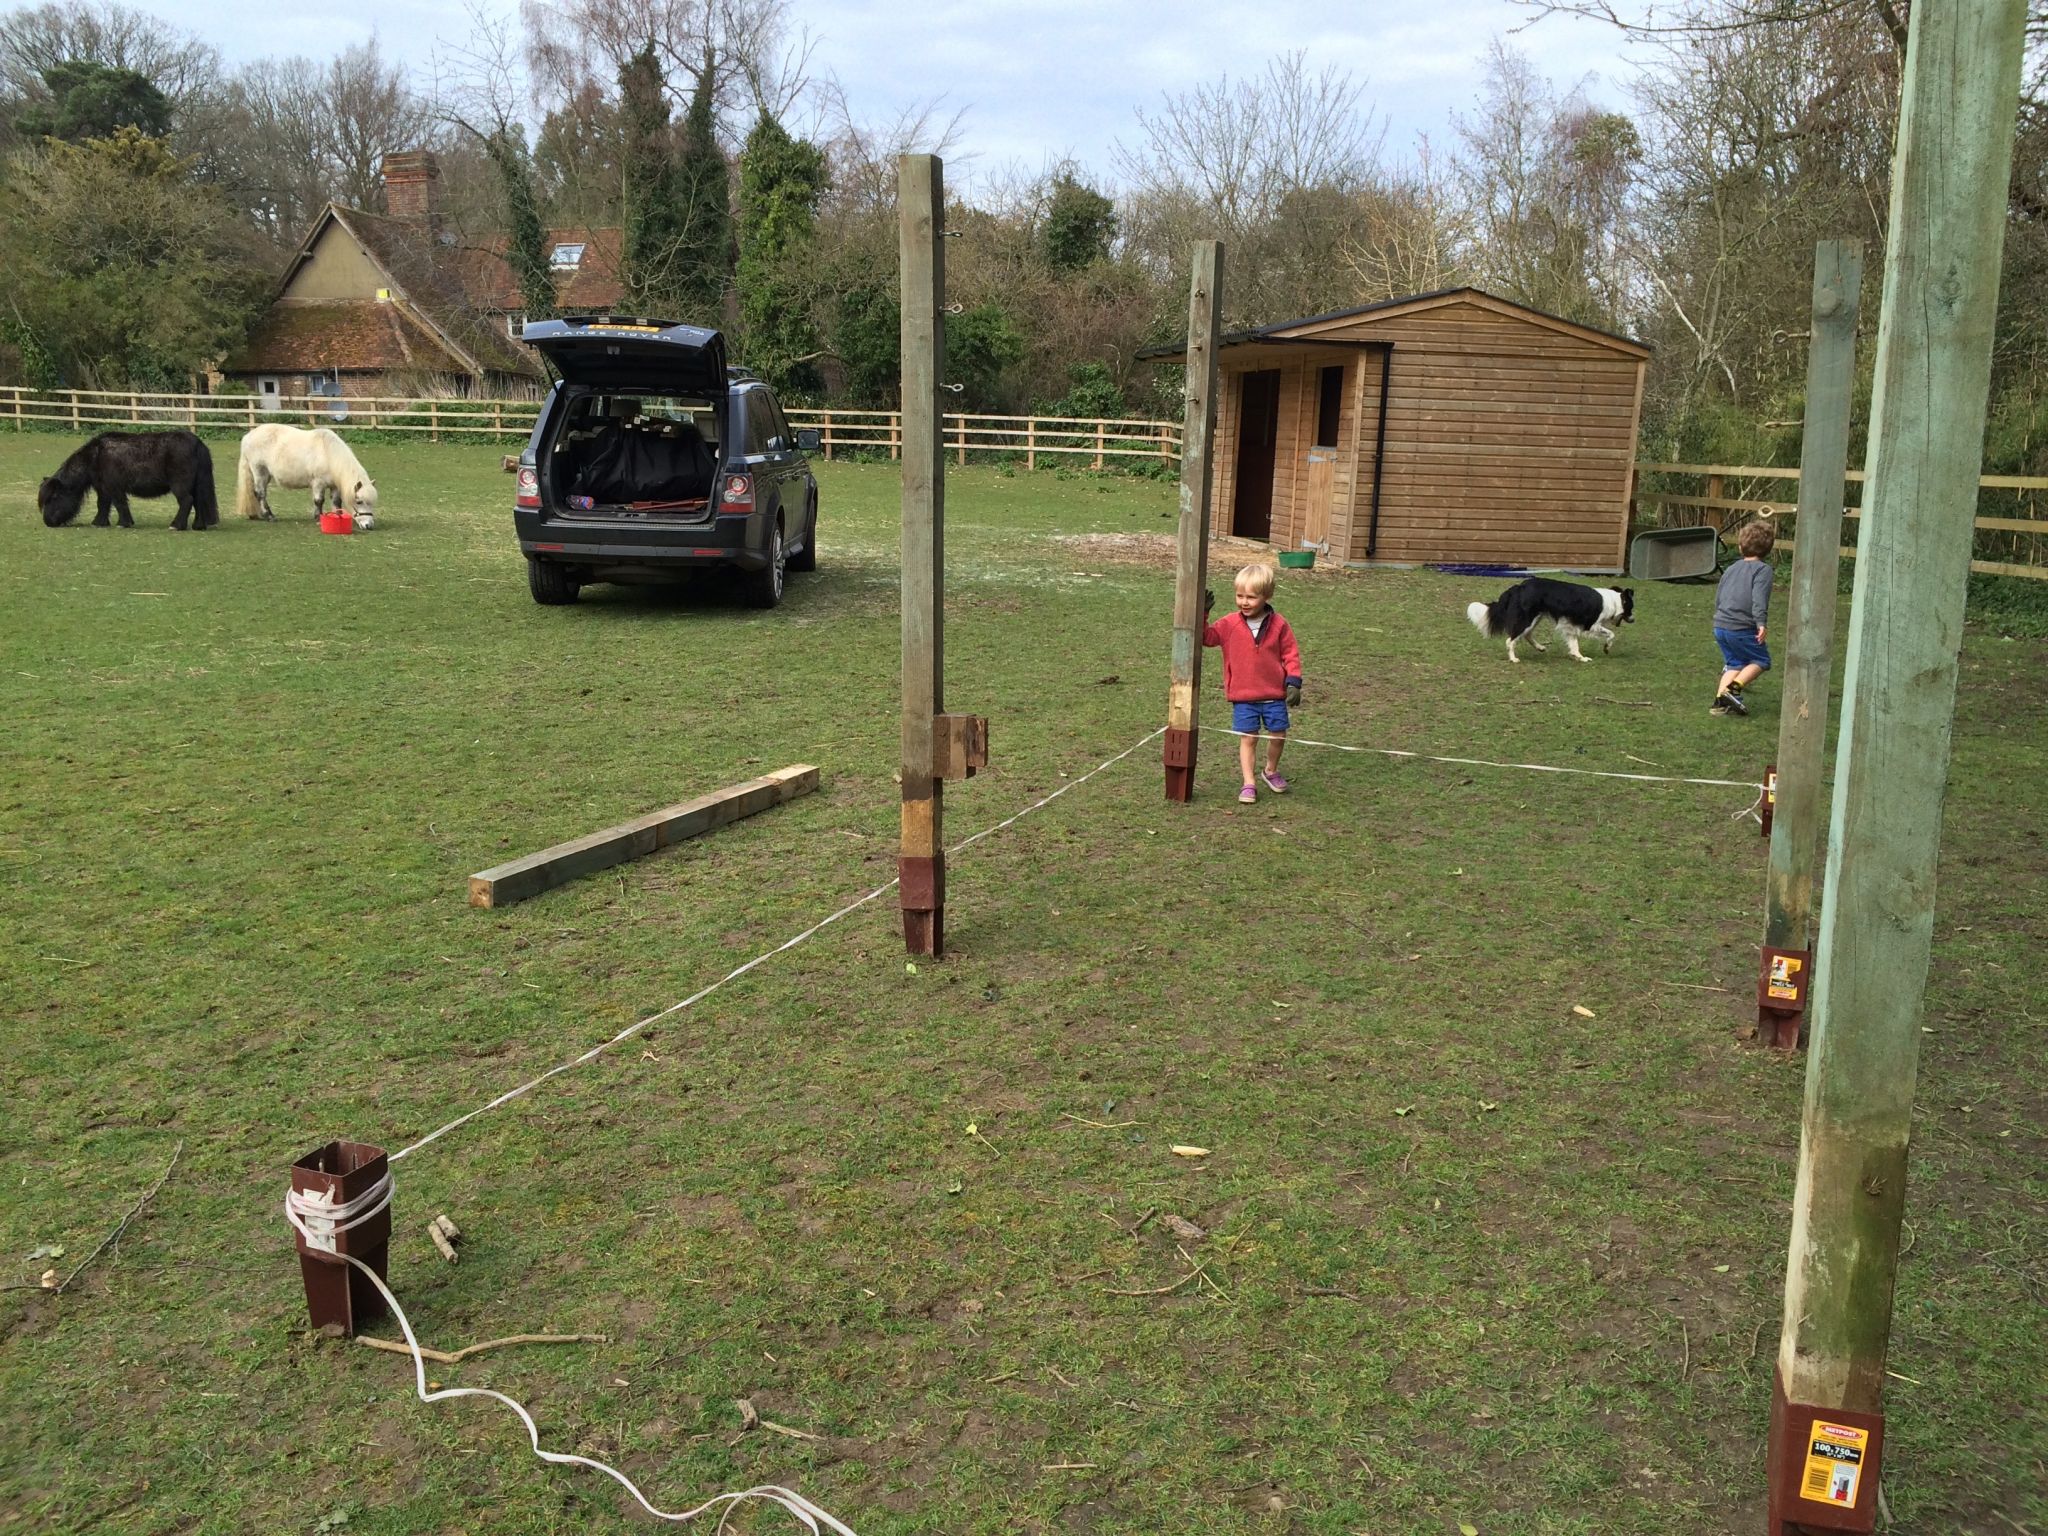 Matt secretly loved this as it was a real test of his manliness!
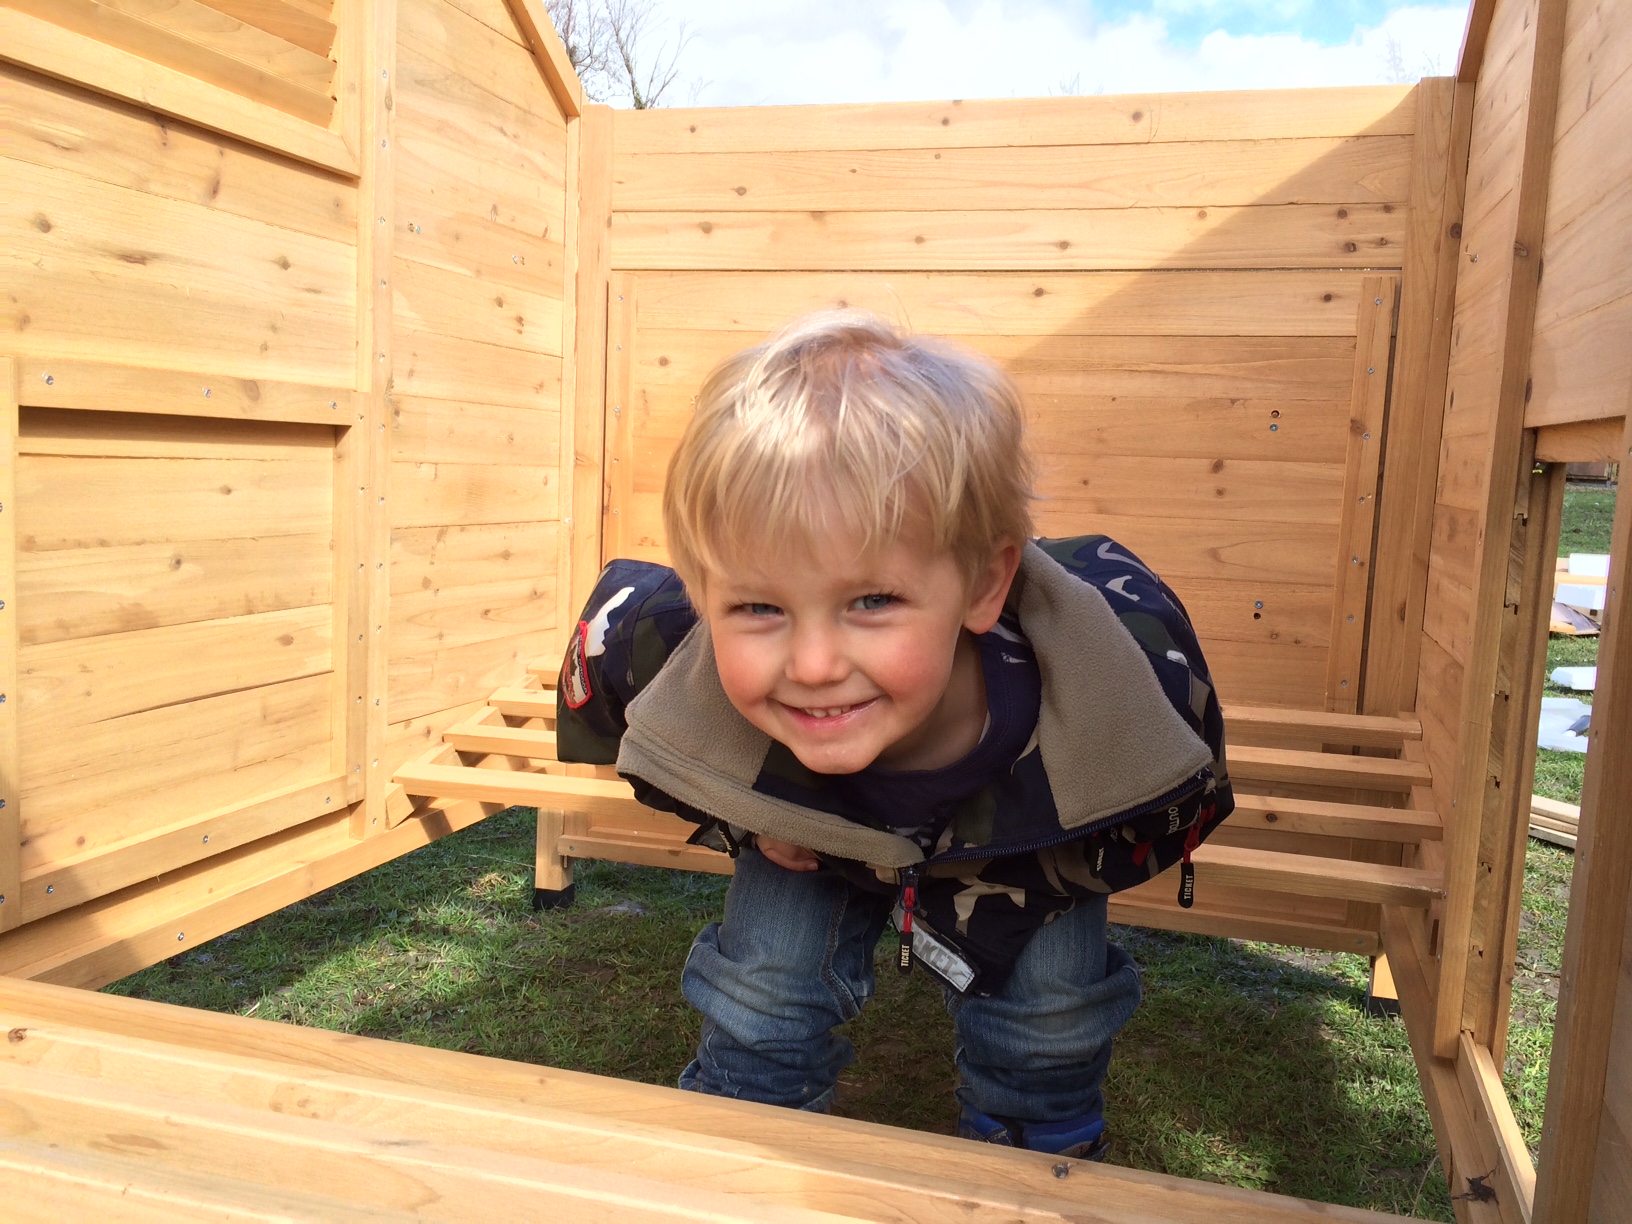
I managed to find a lovely little chicken house from cagesworld.com, it was reasonable in price and can fit up to 10 chickens (so yes, I could get more!). It arrived flat pack with full instructions so all we had to do was assemble it. The boys helped, of course!


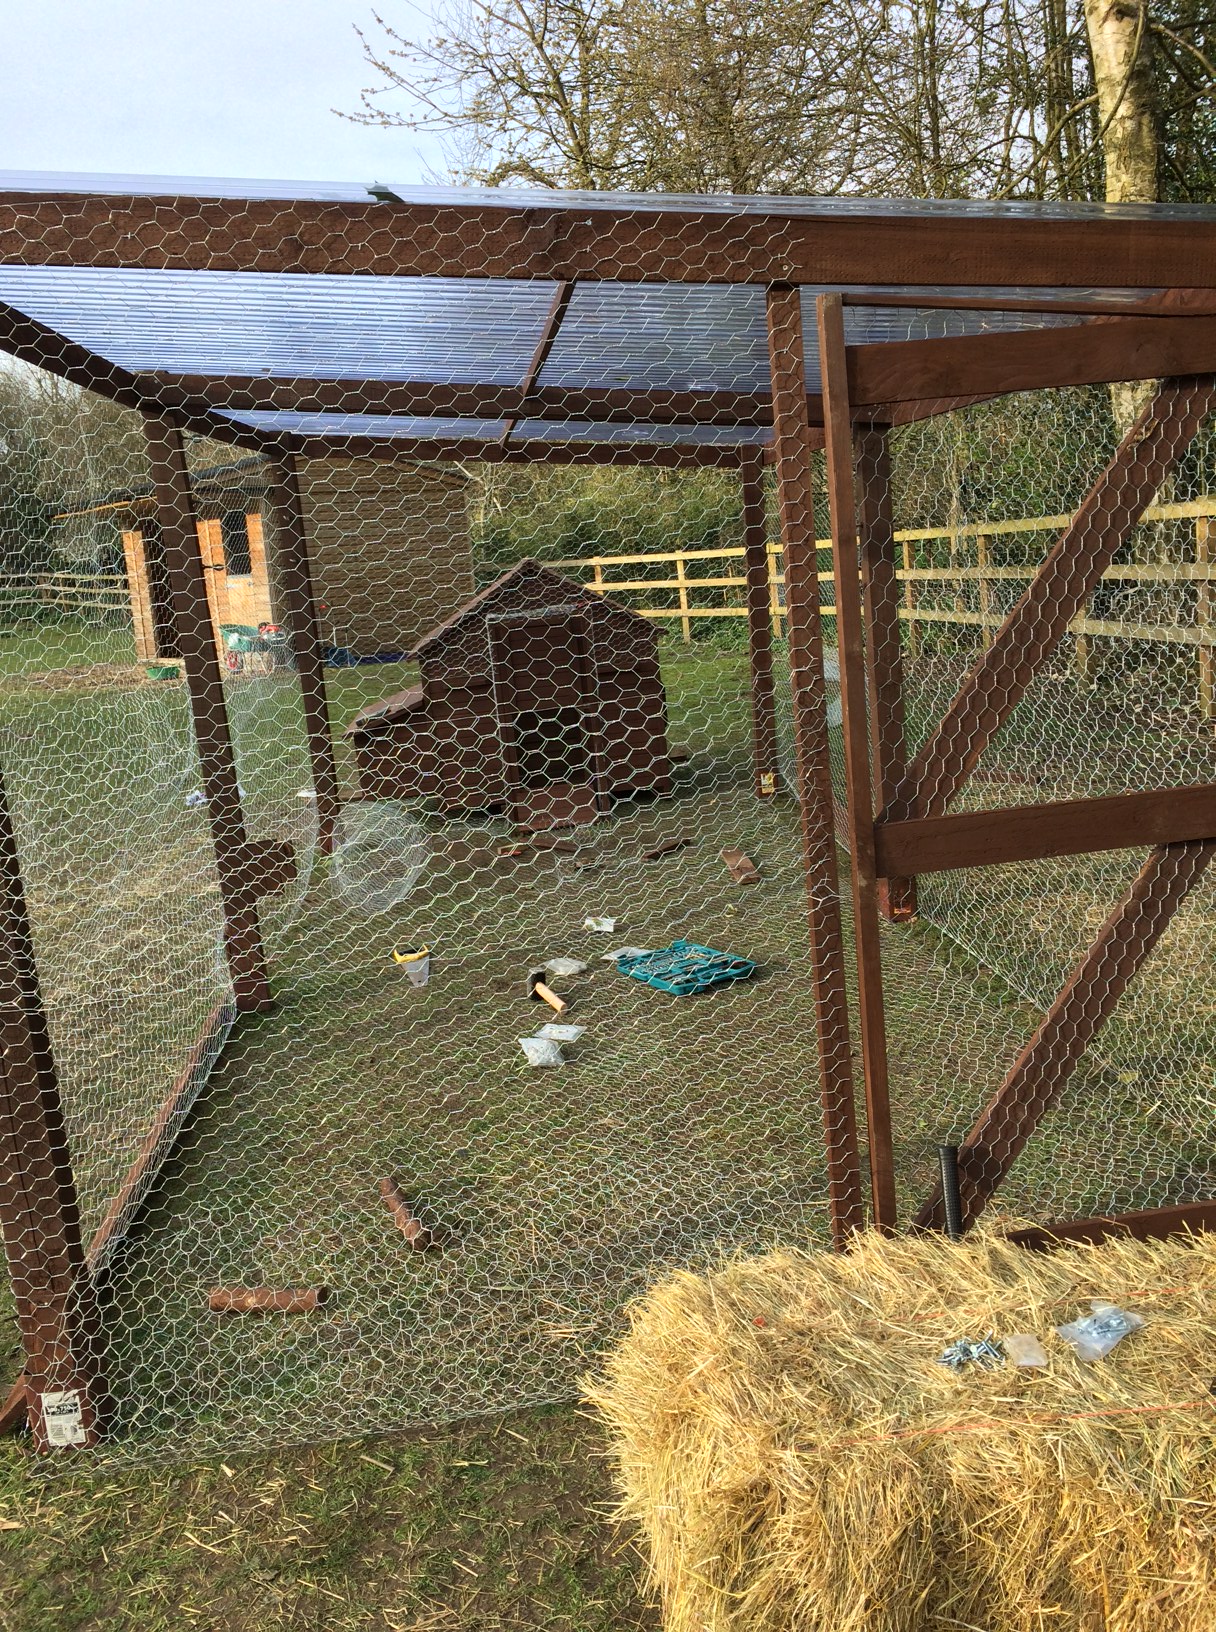
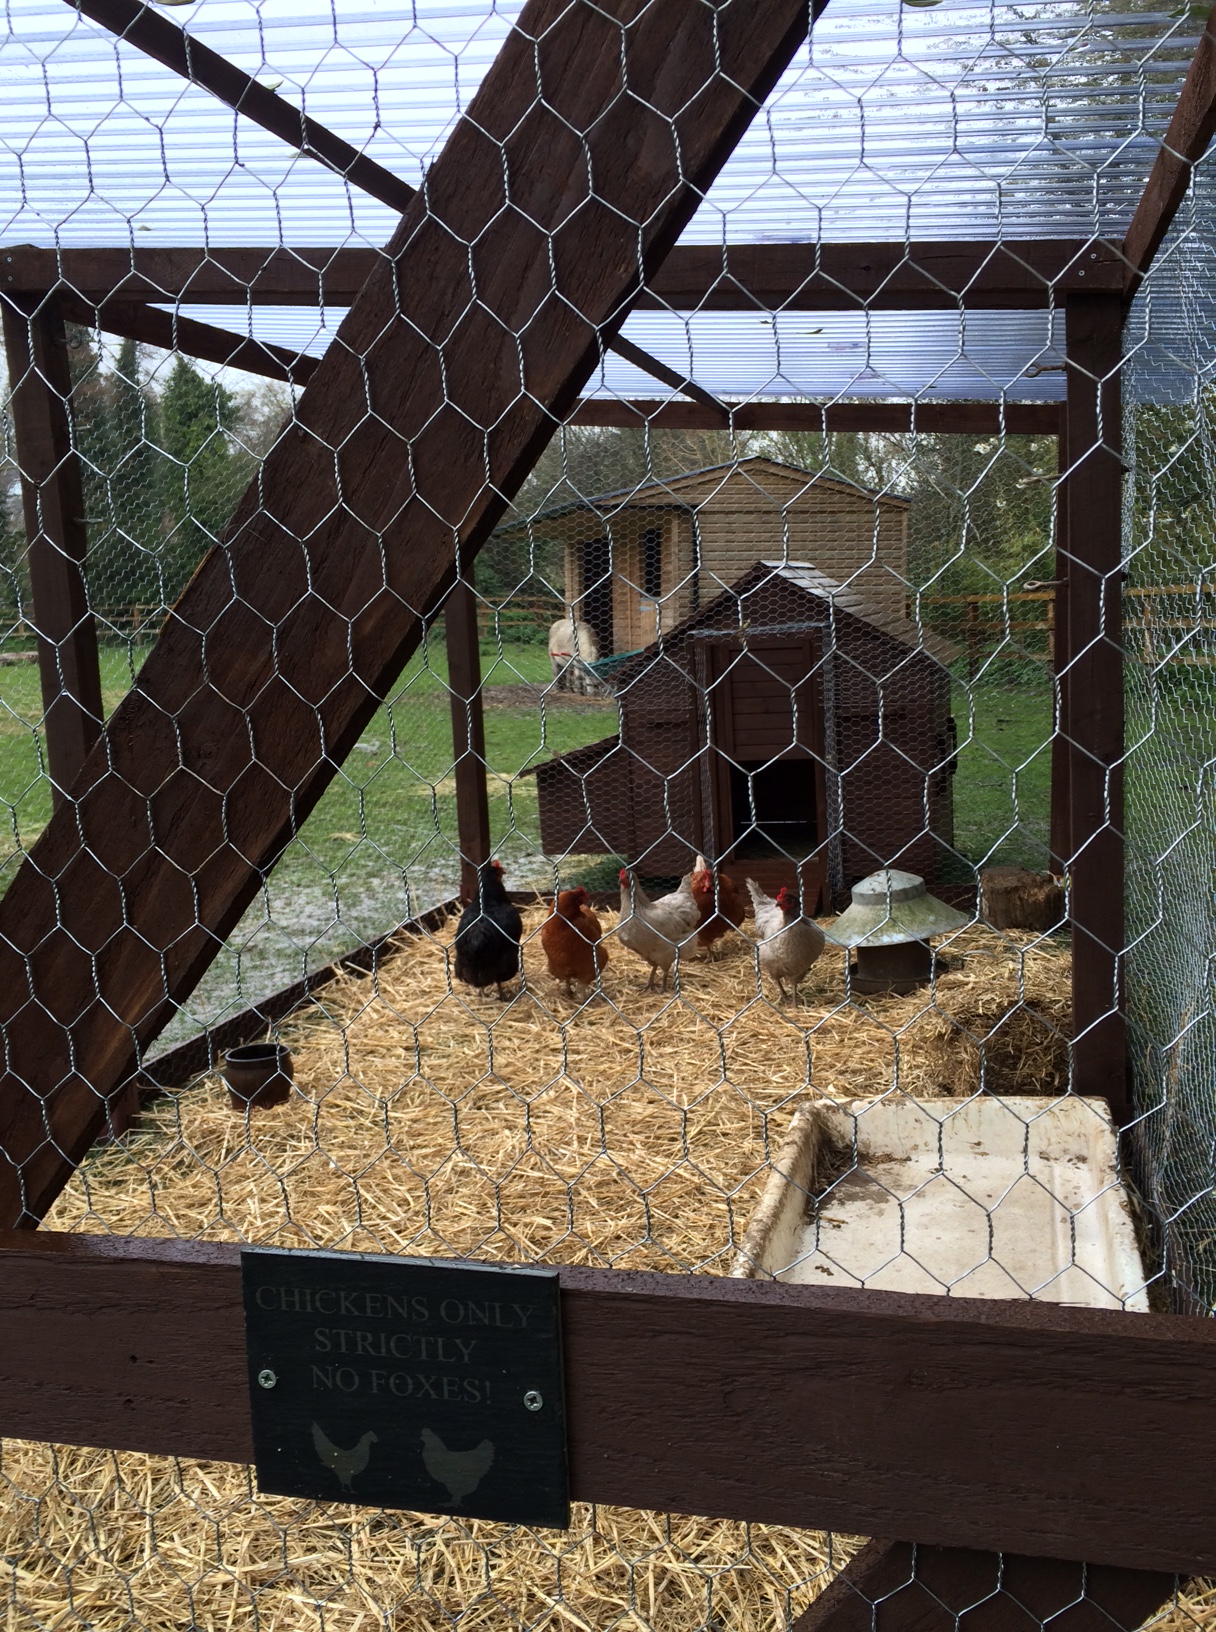
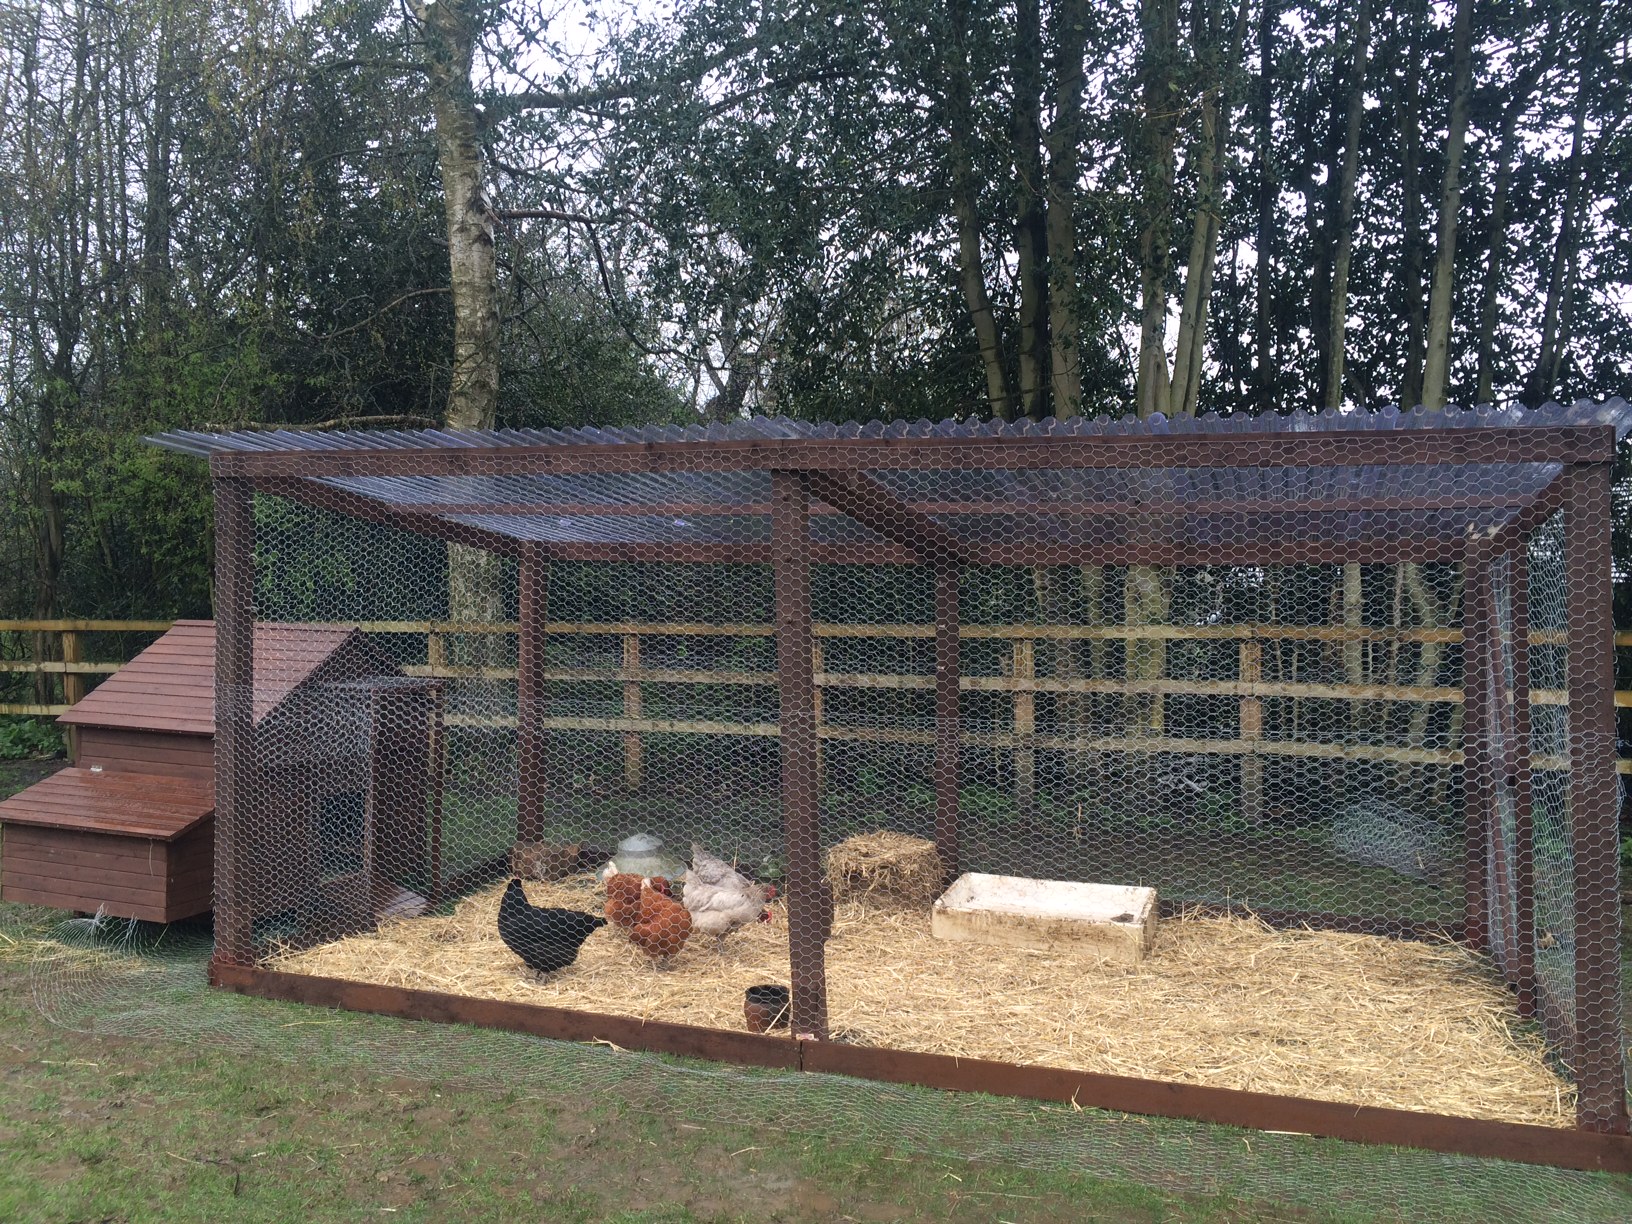
Once the chicken house had been made, it was positioned at the end of the run and works continued on building the remaining run structure and a connecting tunnel.


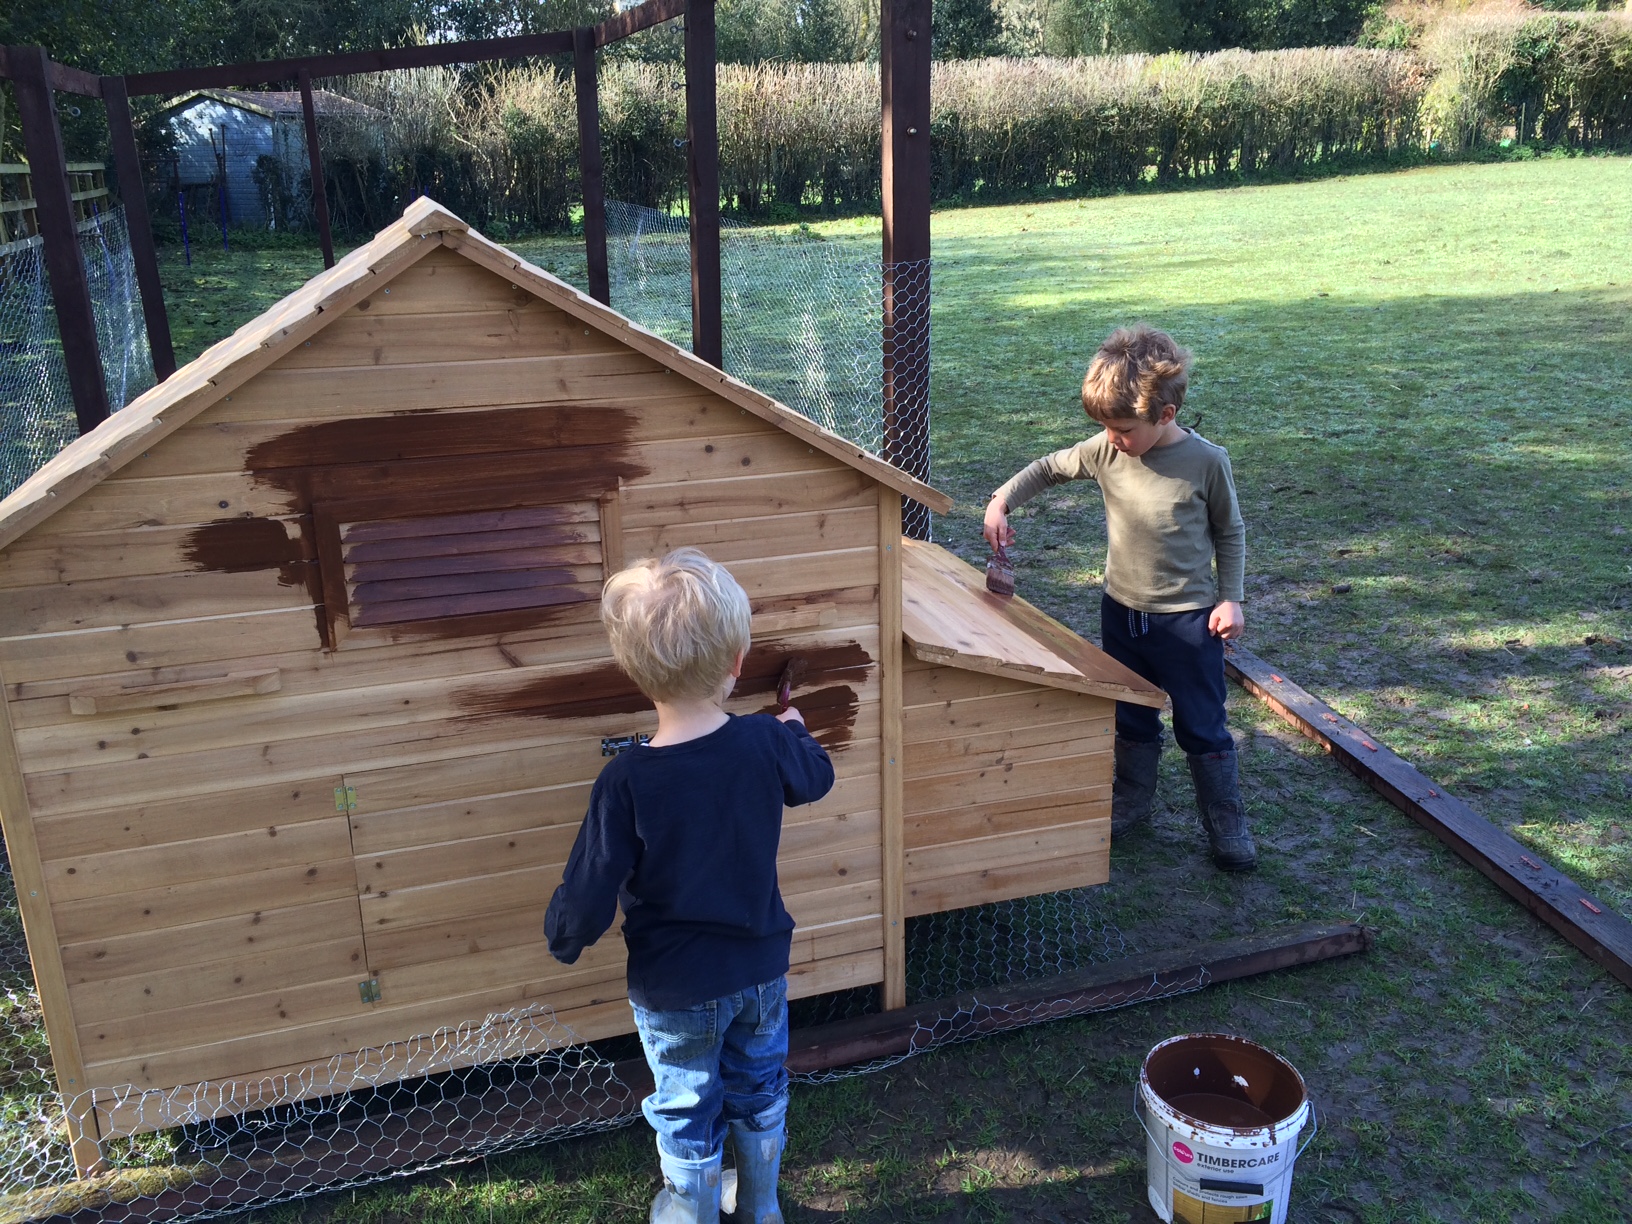
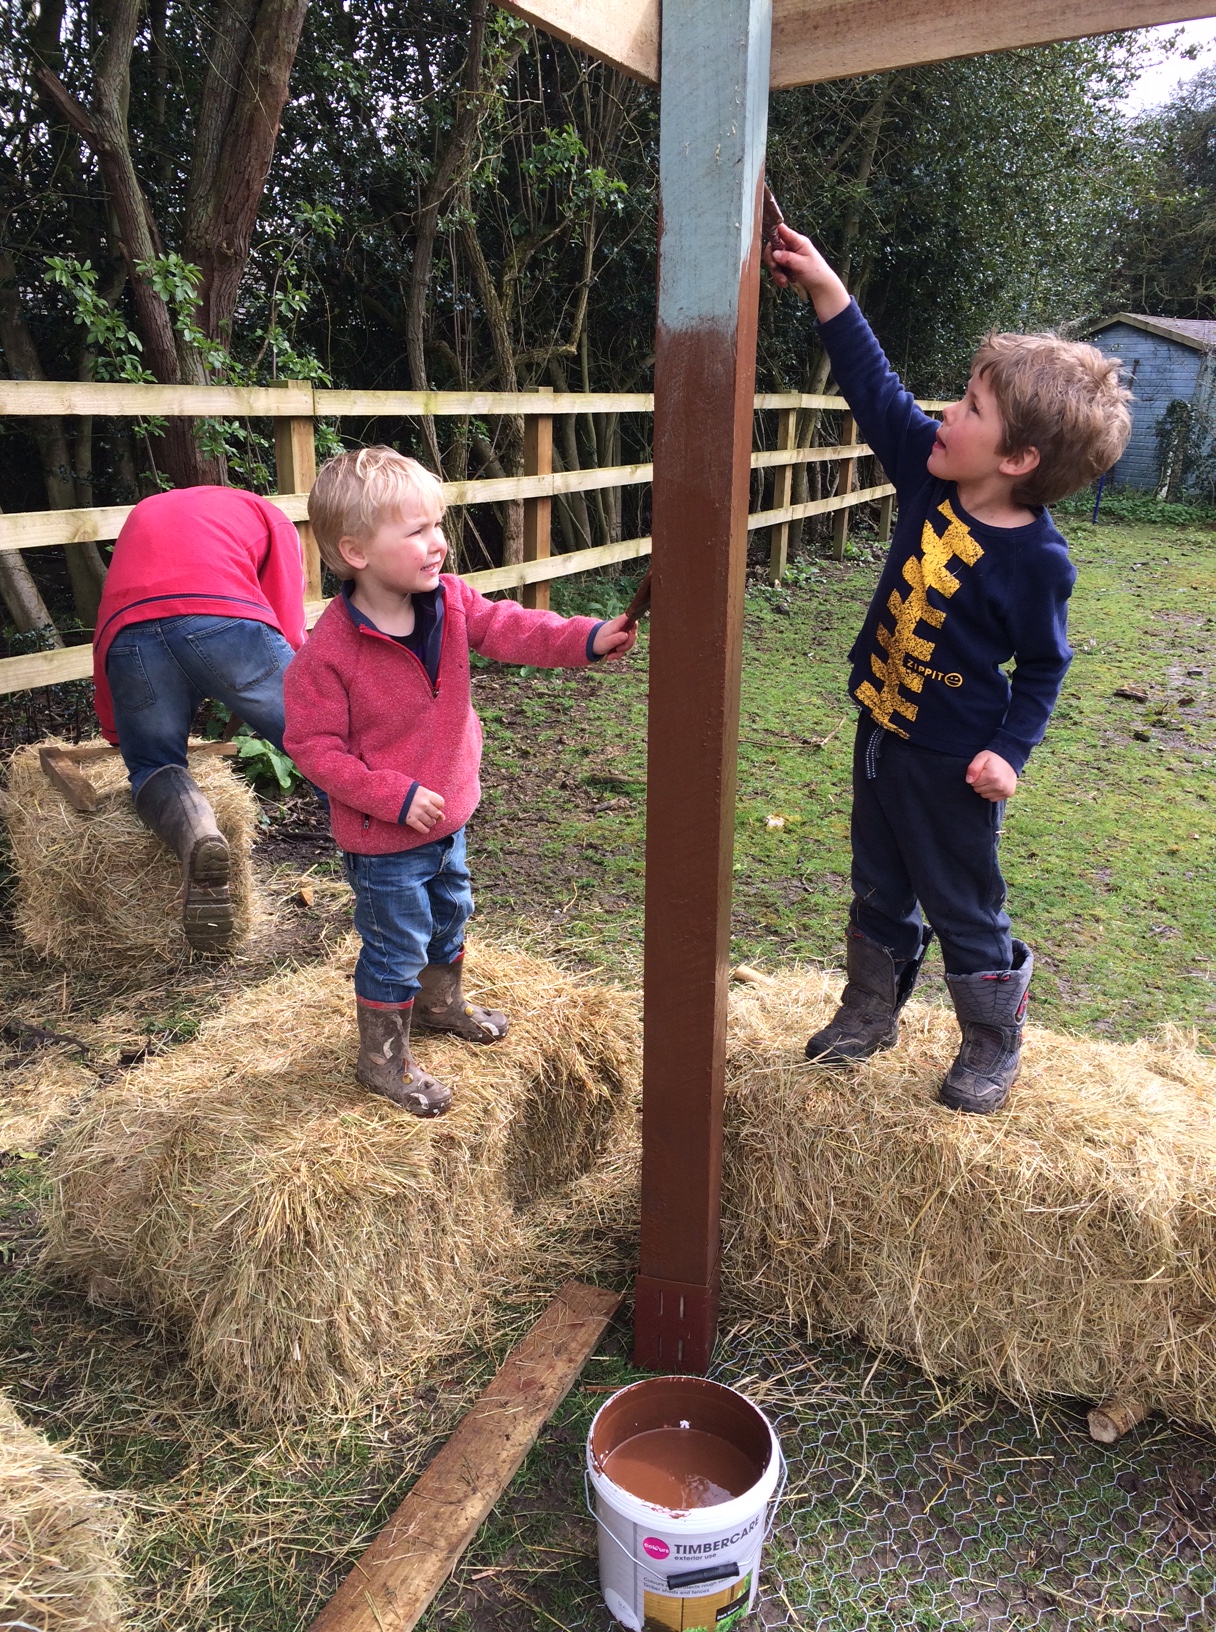
We even gave the whole thing a lick of paint to add a touch of class! Again, the boys helped.
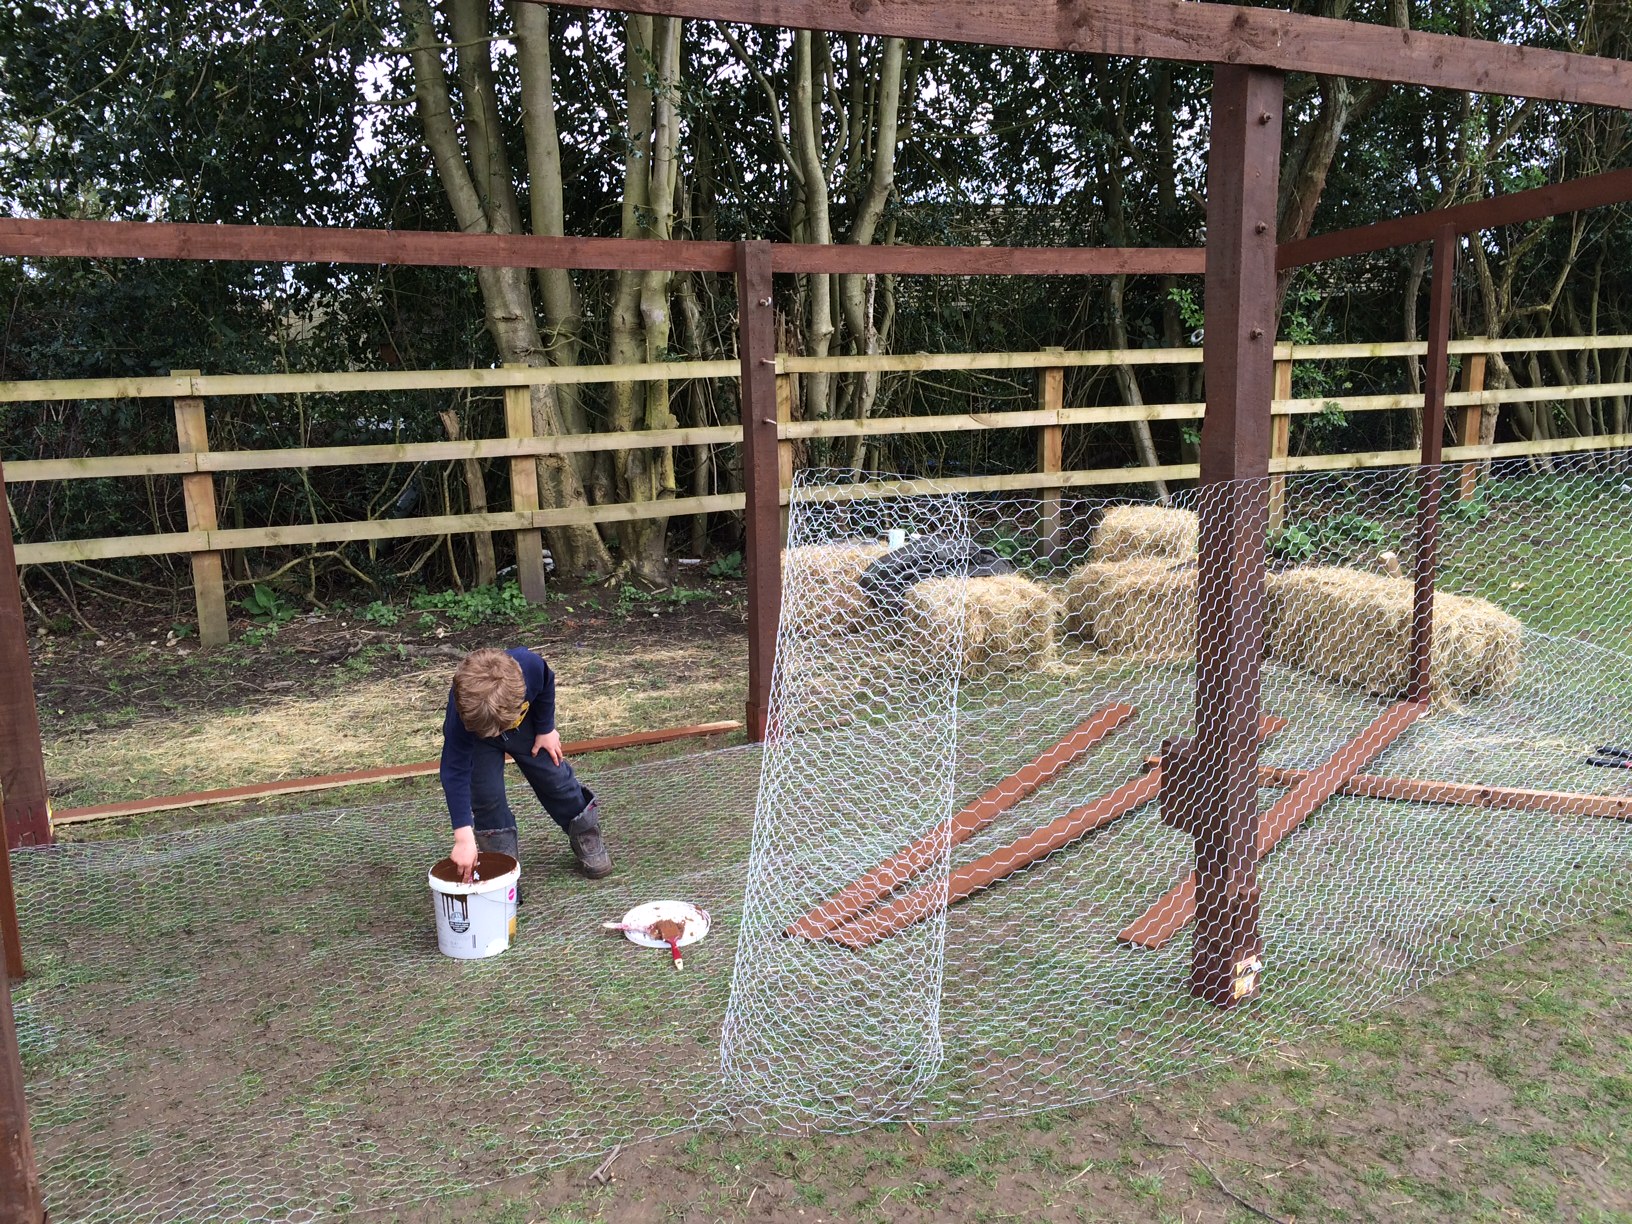 It was then the turn of the almighty chicken wire. We had a 50 metre roll to fully line the run with. A staple gun was the key to ensuring our sanity was left in tact!


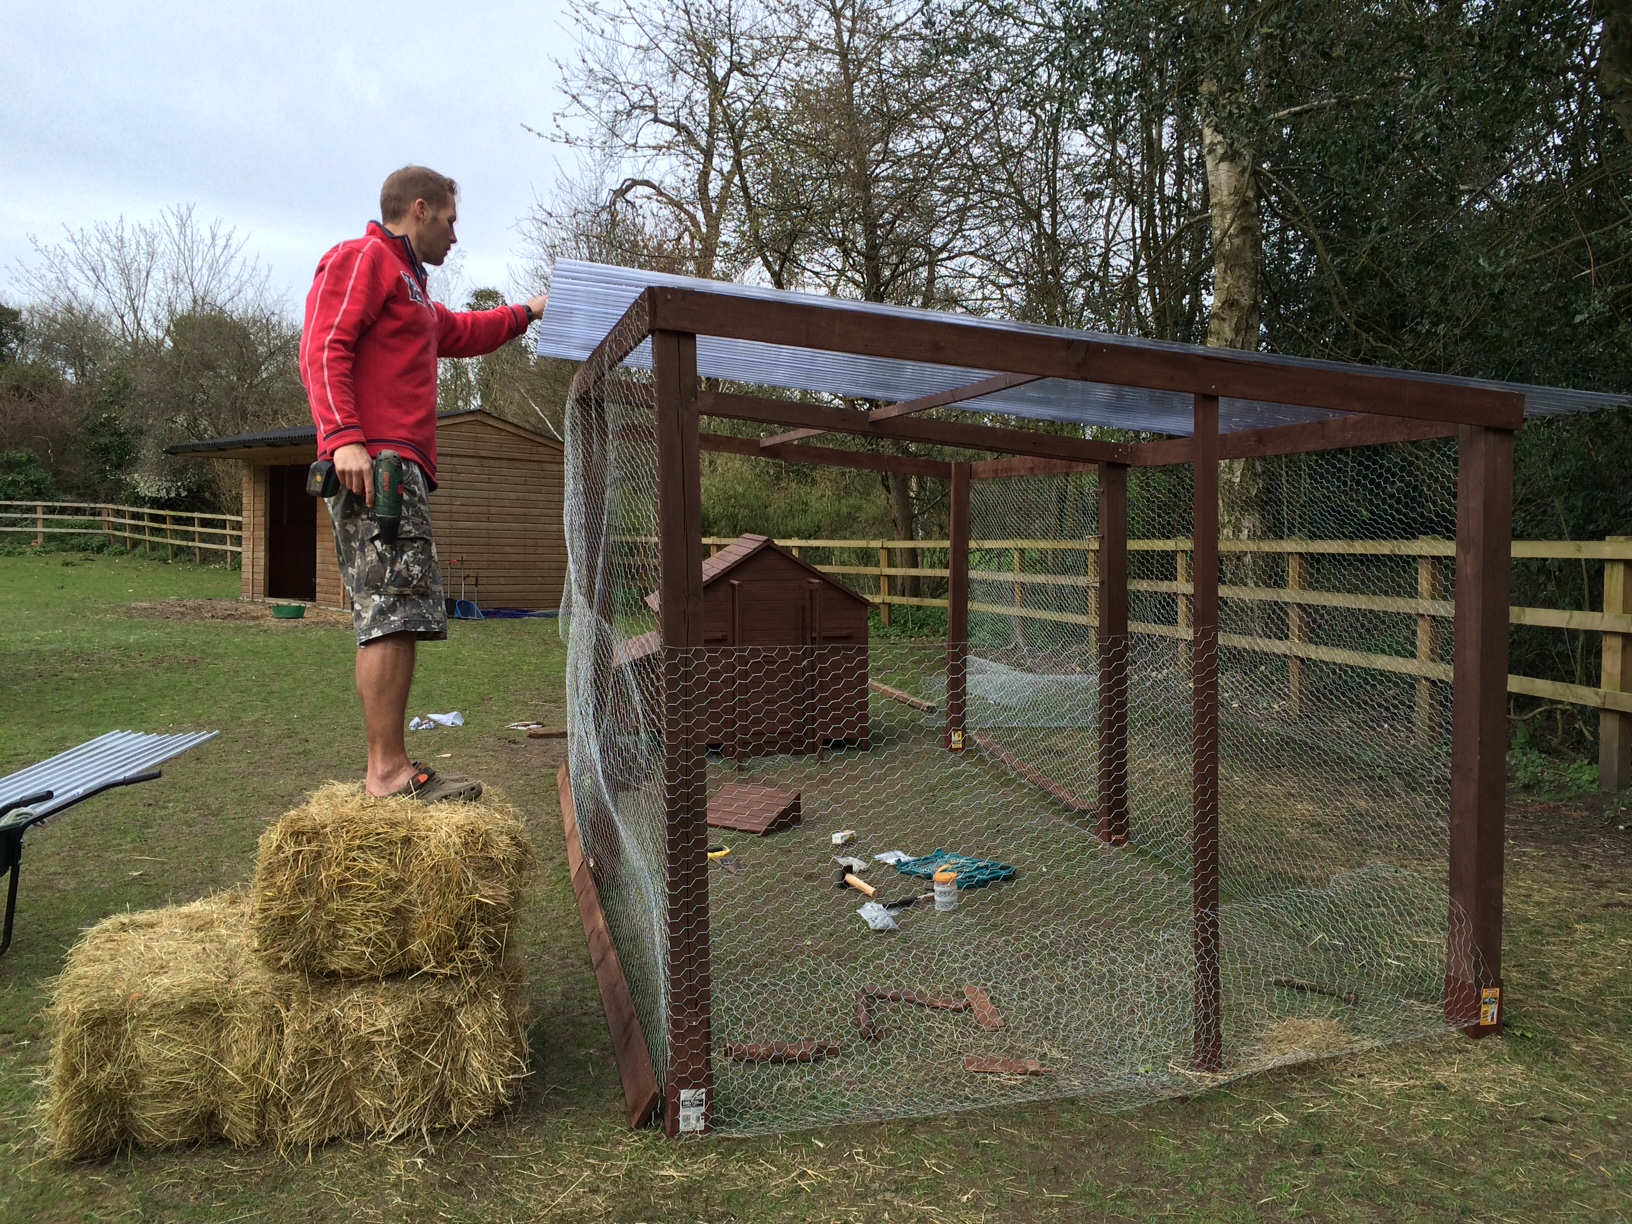
Last, but by no means least, it was time to install the roof along with the run door.
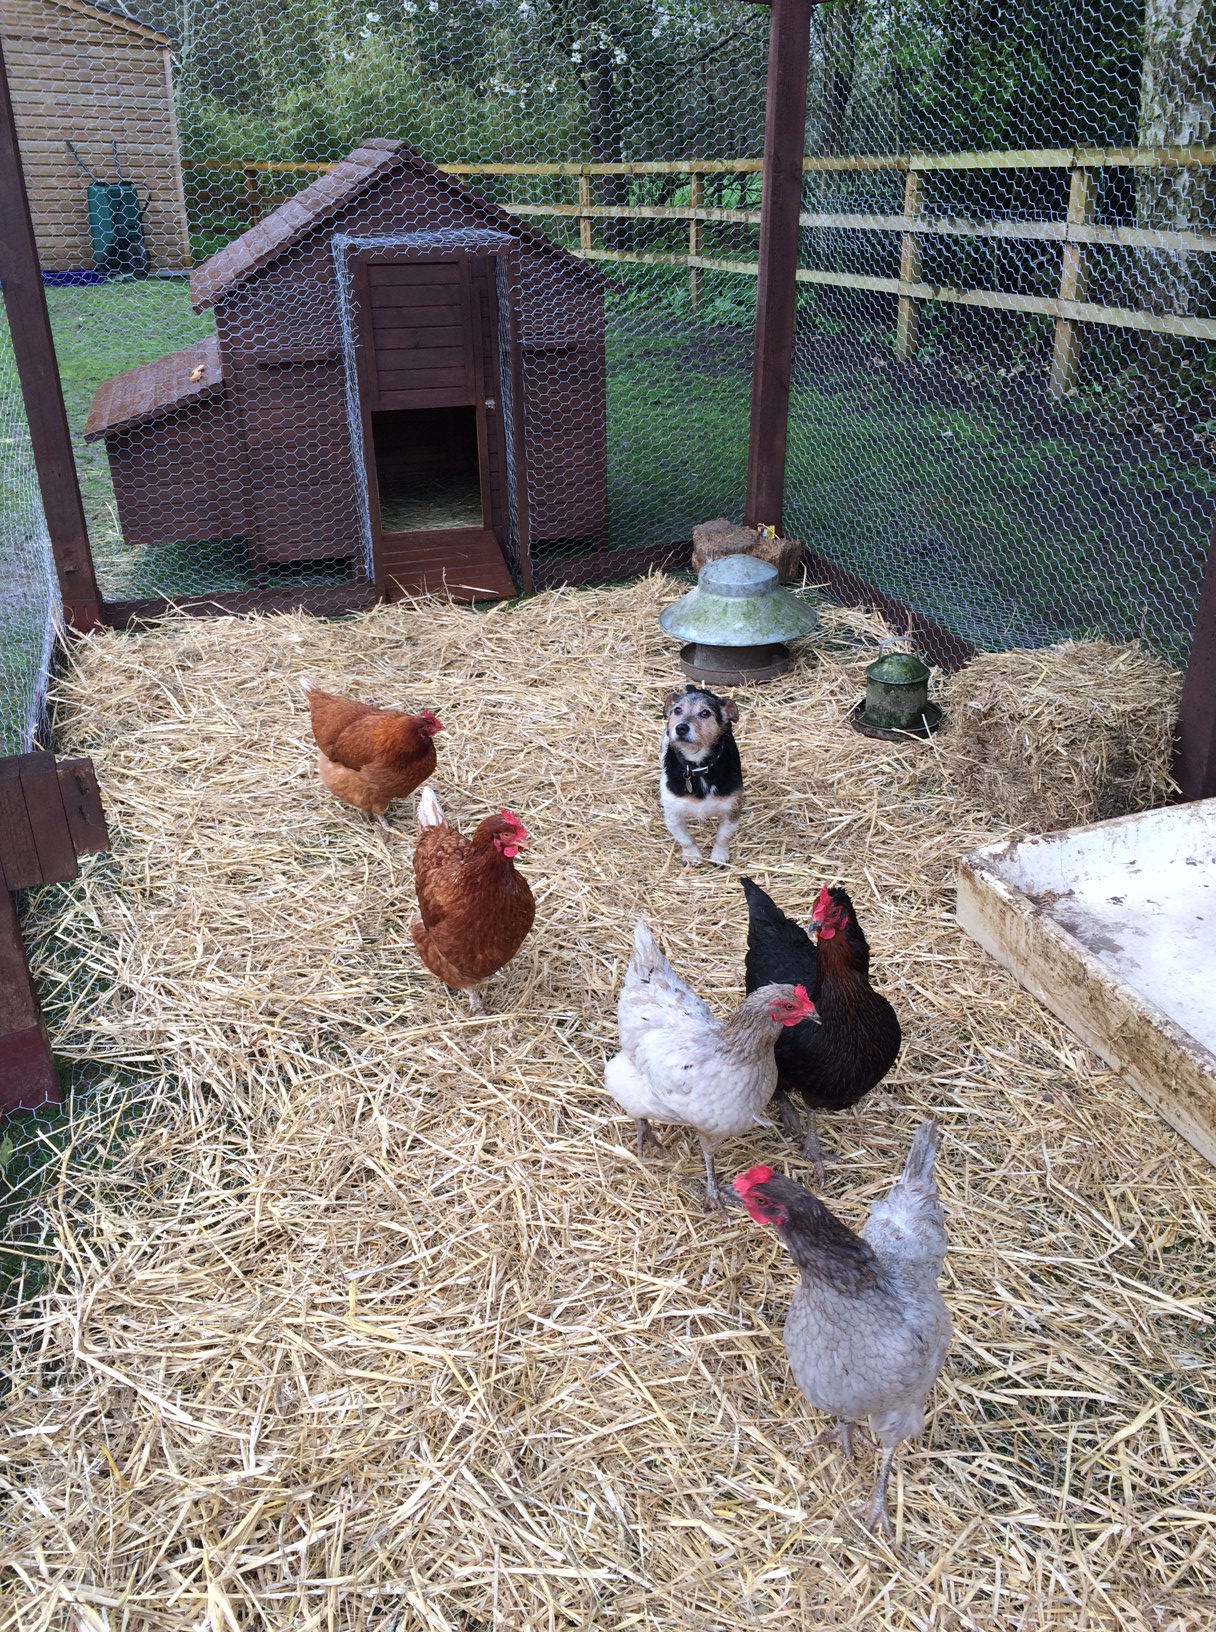
Now for the hens…
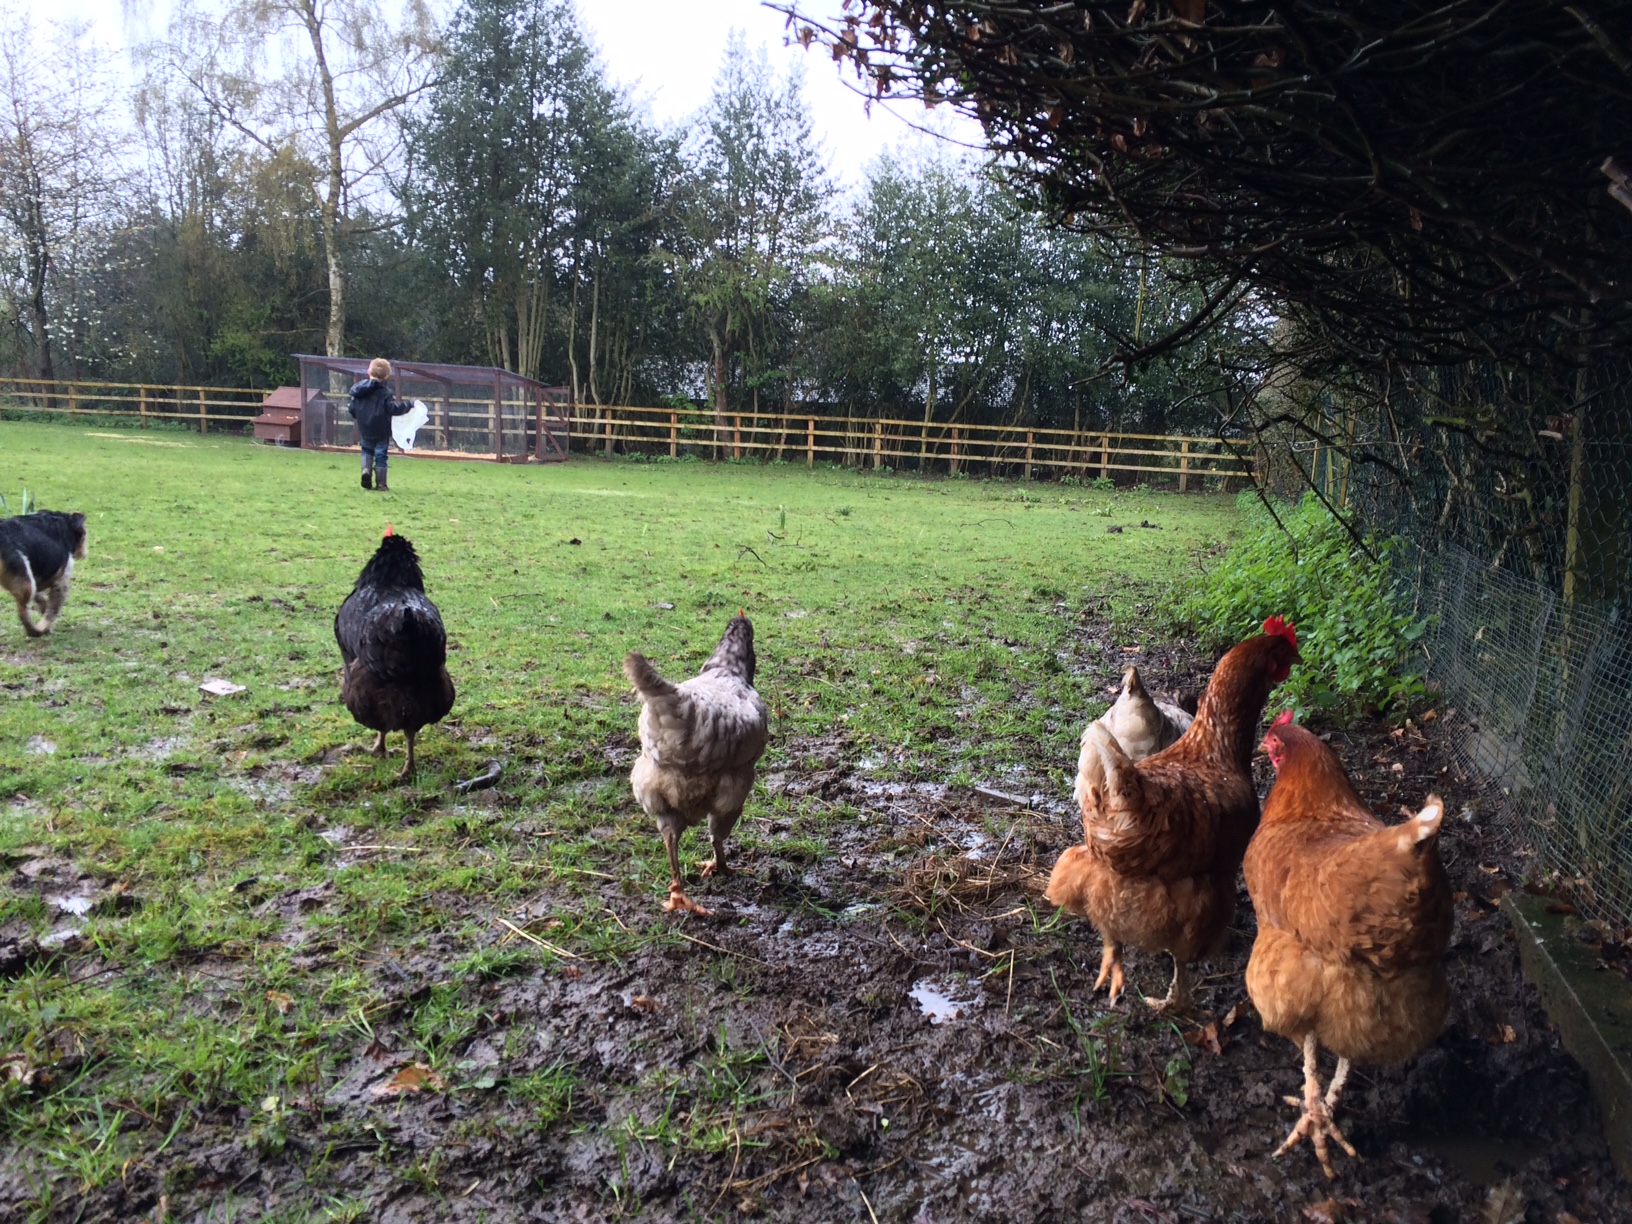


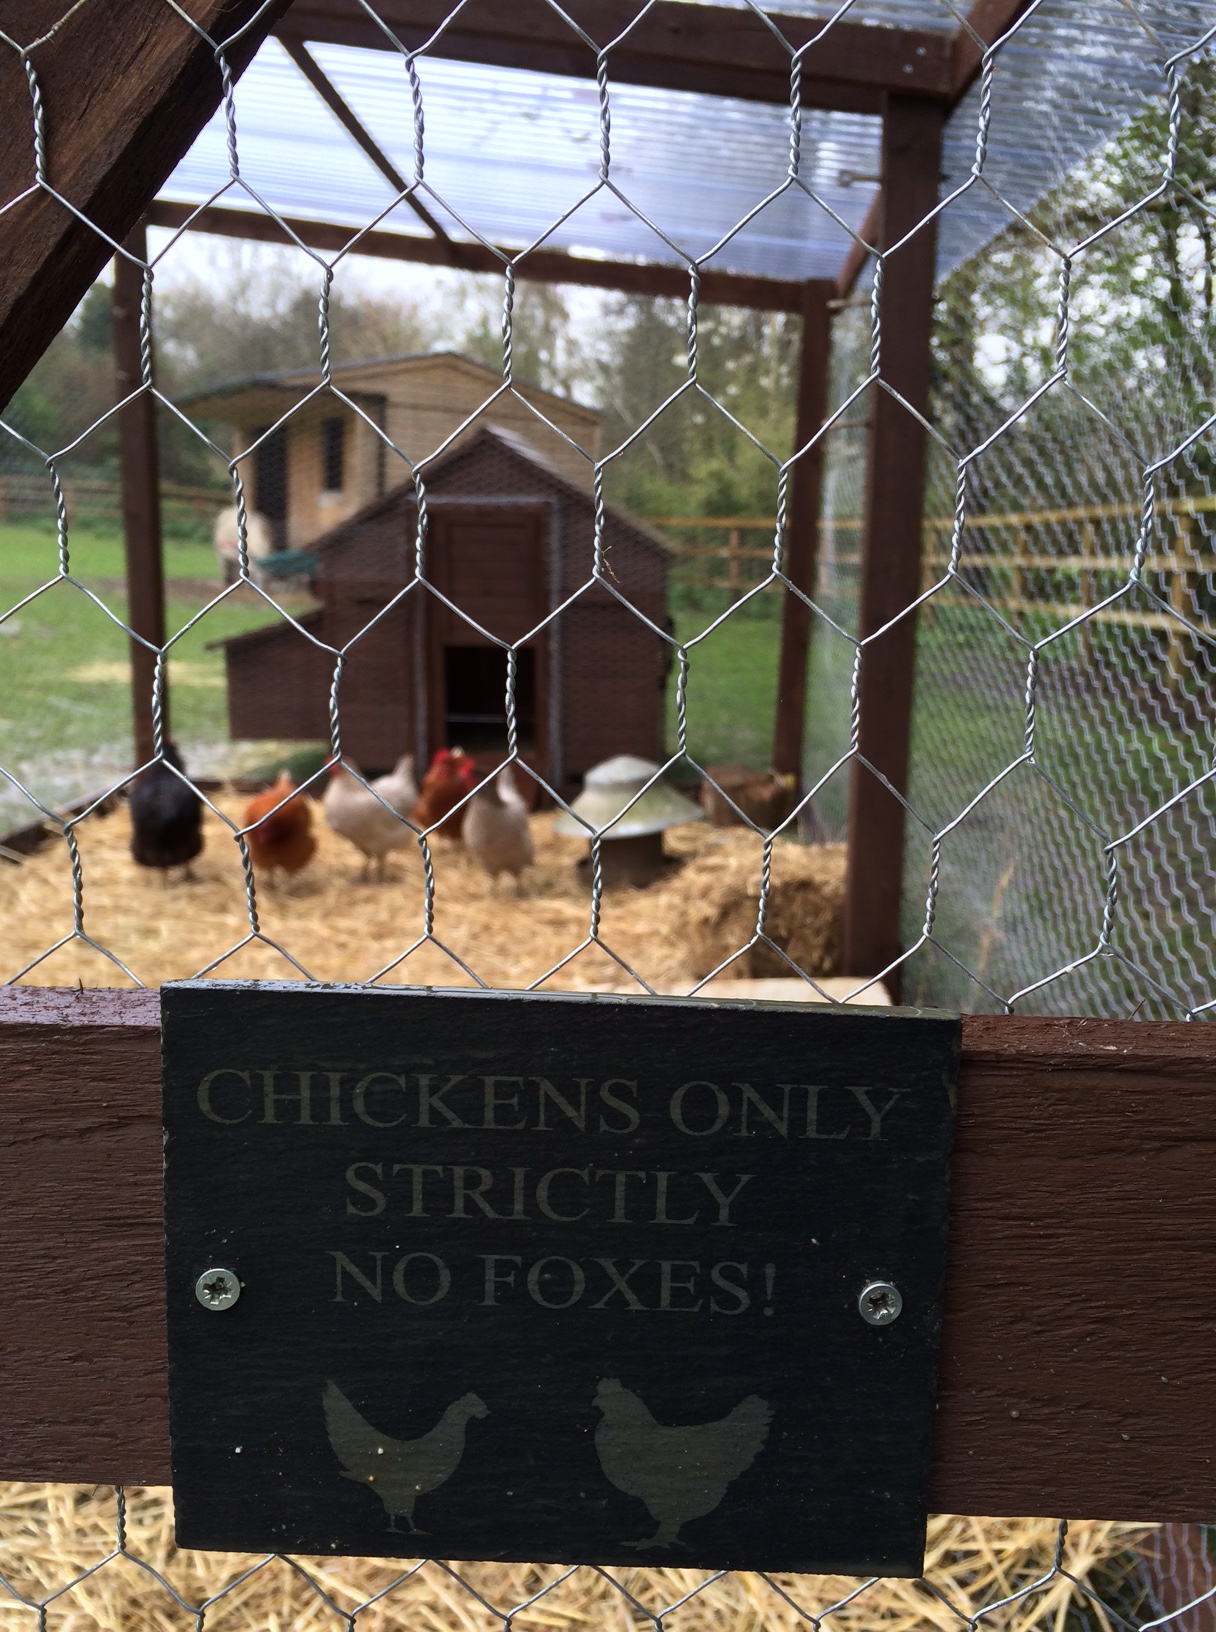
And voilà, here is our completed chicken house with run (chickens and a Jack Russell…!). I hope my chickens enjoy their new home. Perhaps I’ll get a few more eggs as a show of appreciation?!
Thanks for reading x

WOW, well done all!
What a great job! Let us know if you get any more eggs!
Great, all looks brilliant, Matt could go into full production and make chicken runs and sell them on eBay!!!!! That will help to pay for the building work.
Author
Ha ha, yes!!
What a great idea and don’t forget ‘the boys’ will help!
Insightful read thank you, as my hubby is on gardening leave it’s time for a project! X