
To kick-off my very first guest blog post I have a gorgeous Spring wreath tutorial for you all. Written and styled by the ever-so talented Ashlee Jane, aka @the_suffolk_nest, who I really enjoy following on Instagram for her beautiful home interiors, styling and meticulous eye for detail.
Whether you choose to hang your wreath on your front door, attach it to a wall within your home or position it in pride of place on your table top, this DIY wreath is sure to put some creativity and positivity into your step during these uncertain weeks of isolation.
Hi! I’m Ashlee.
I’m totally obsessed with flowers and have been a florist for 4 years working from my little shed in our garden doing weddings, wreaths and workshops. We’re even attempting to grow our own flowers this year since we gained an Allotment plot just a stone’s throw away from our home…we’re complete amateurs, but it’s fun experimenting for now! I’m happiest at home with my little family. We have a 15 month old daughter called Orla and another baby on the way in June – life is about to get busy, but if I have a spare 15 minutes, you’ll usually find me in my shed playing with flowers.

Spring Wreath Tutorial
This is something you could do with your kids at home. A great chance to get them involved being outdoors and looking at different textures, colours, plants and flowers. It’s a beautiful time of year with many flowers about to come into bloom, and you’ll be amazed at what you already have available in your own gardens or right on your door step.
Step 1:
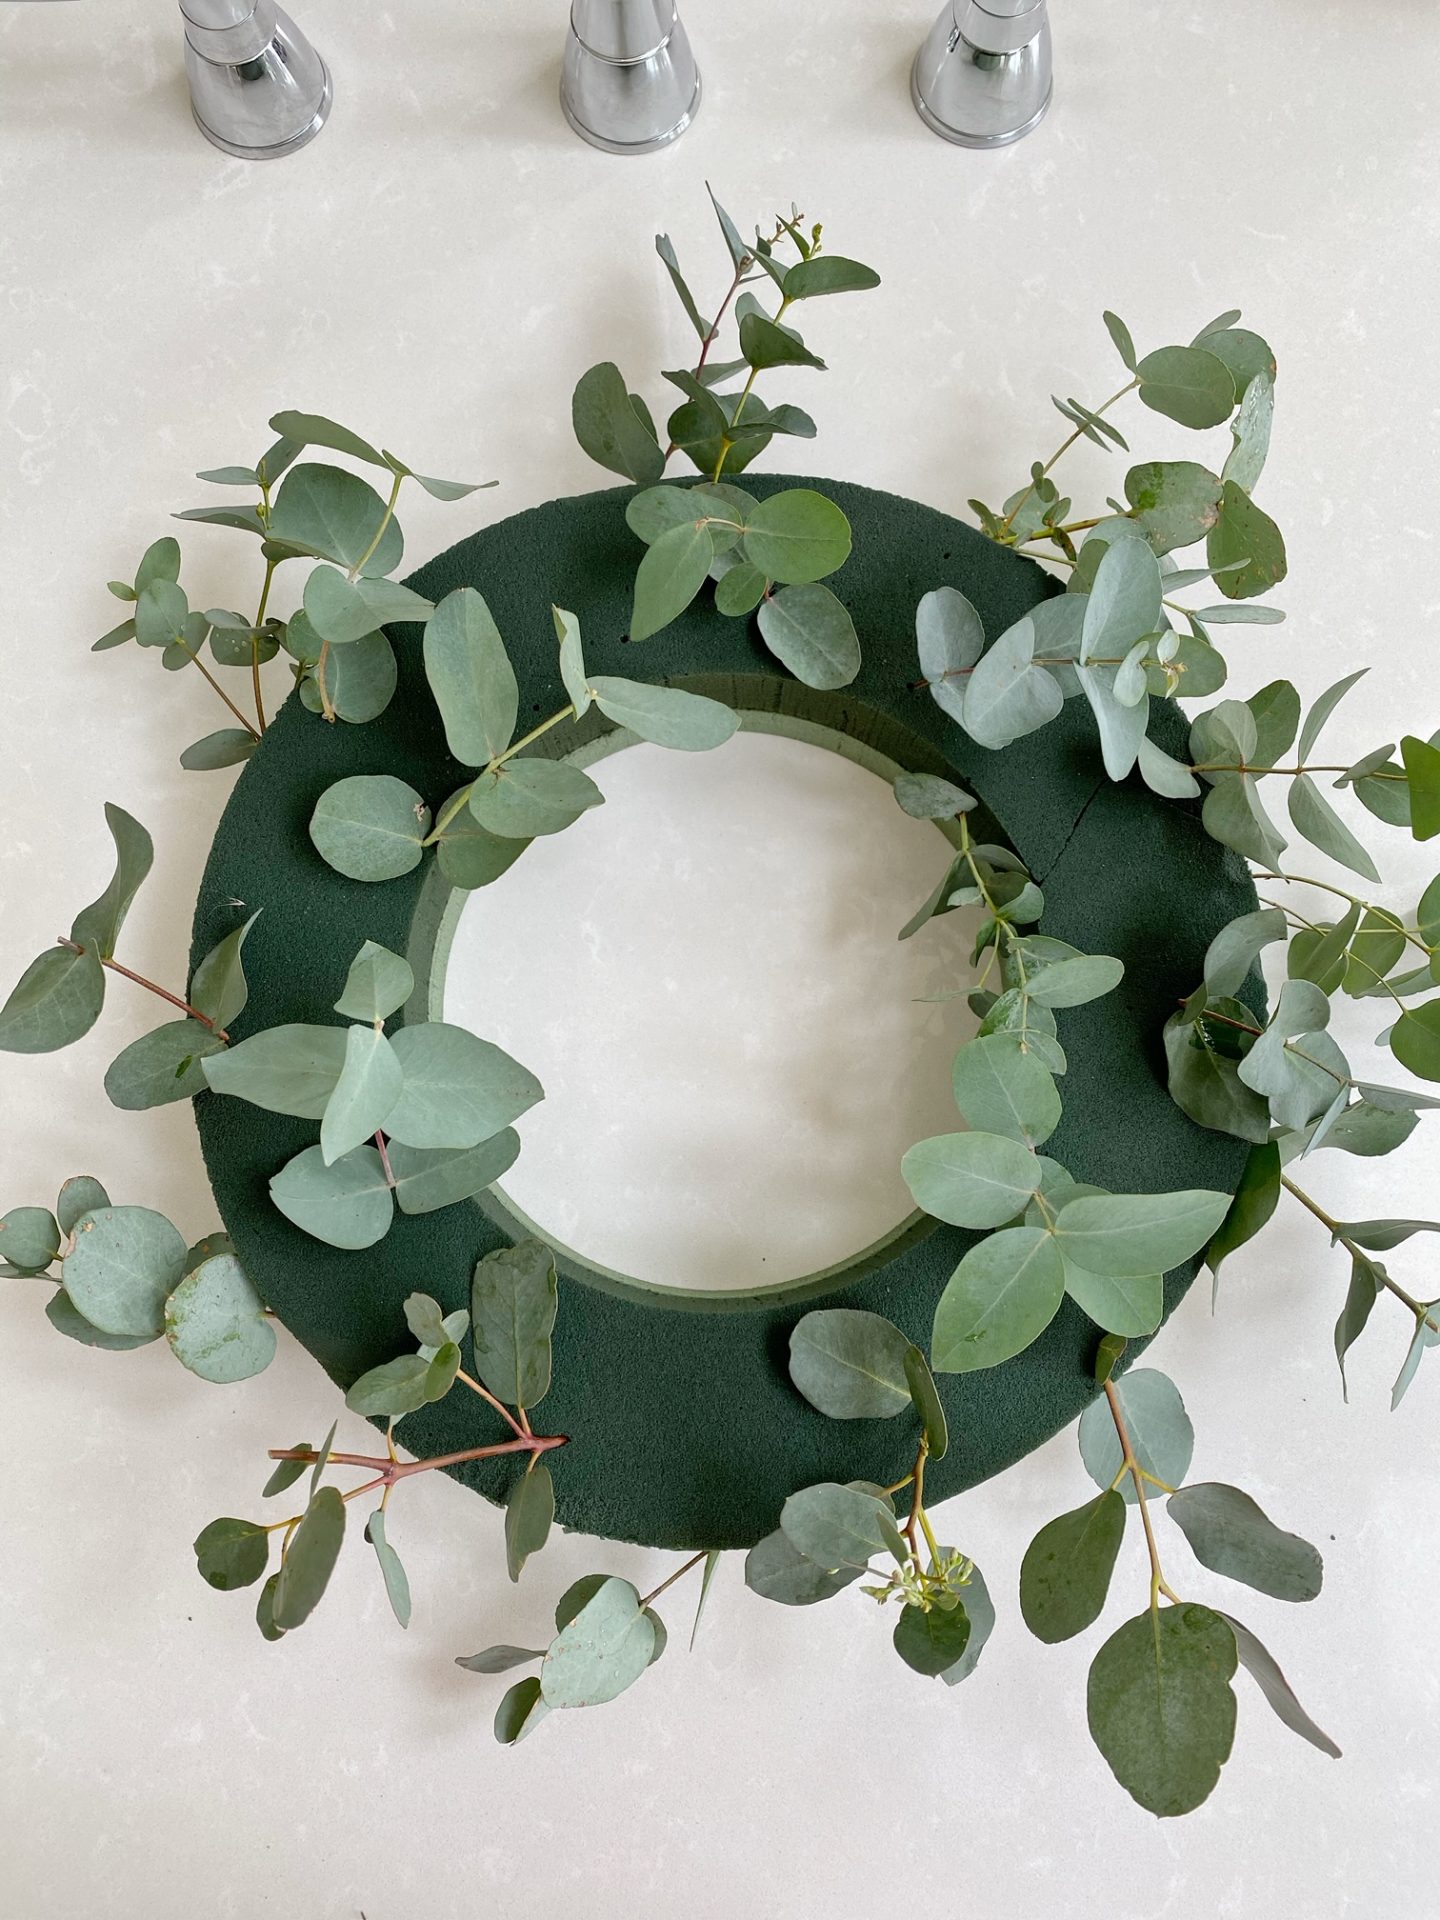
Soak your oasis foam ring in tepid water by simply allowing it to sit on the surface of the water and slowly submerge. This takes around 10 minutes, and avoids any air pockets. I’m using a 12 inch foam wreath base. You can order these on Amazon.

Step 2:
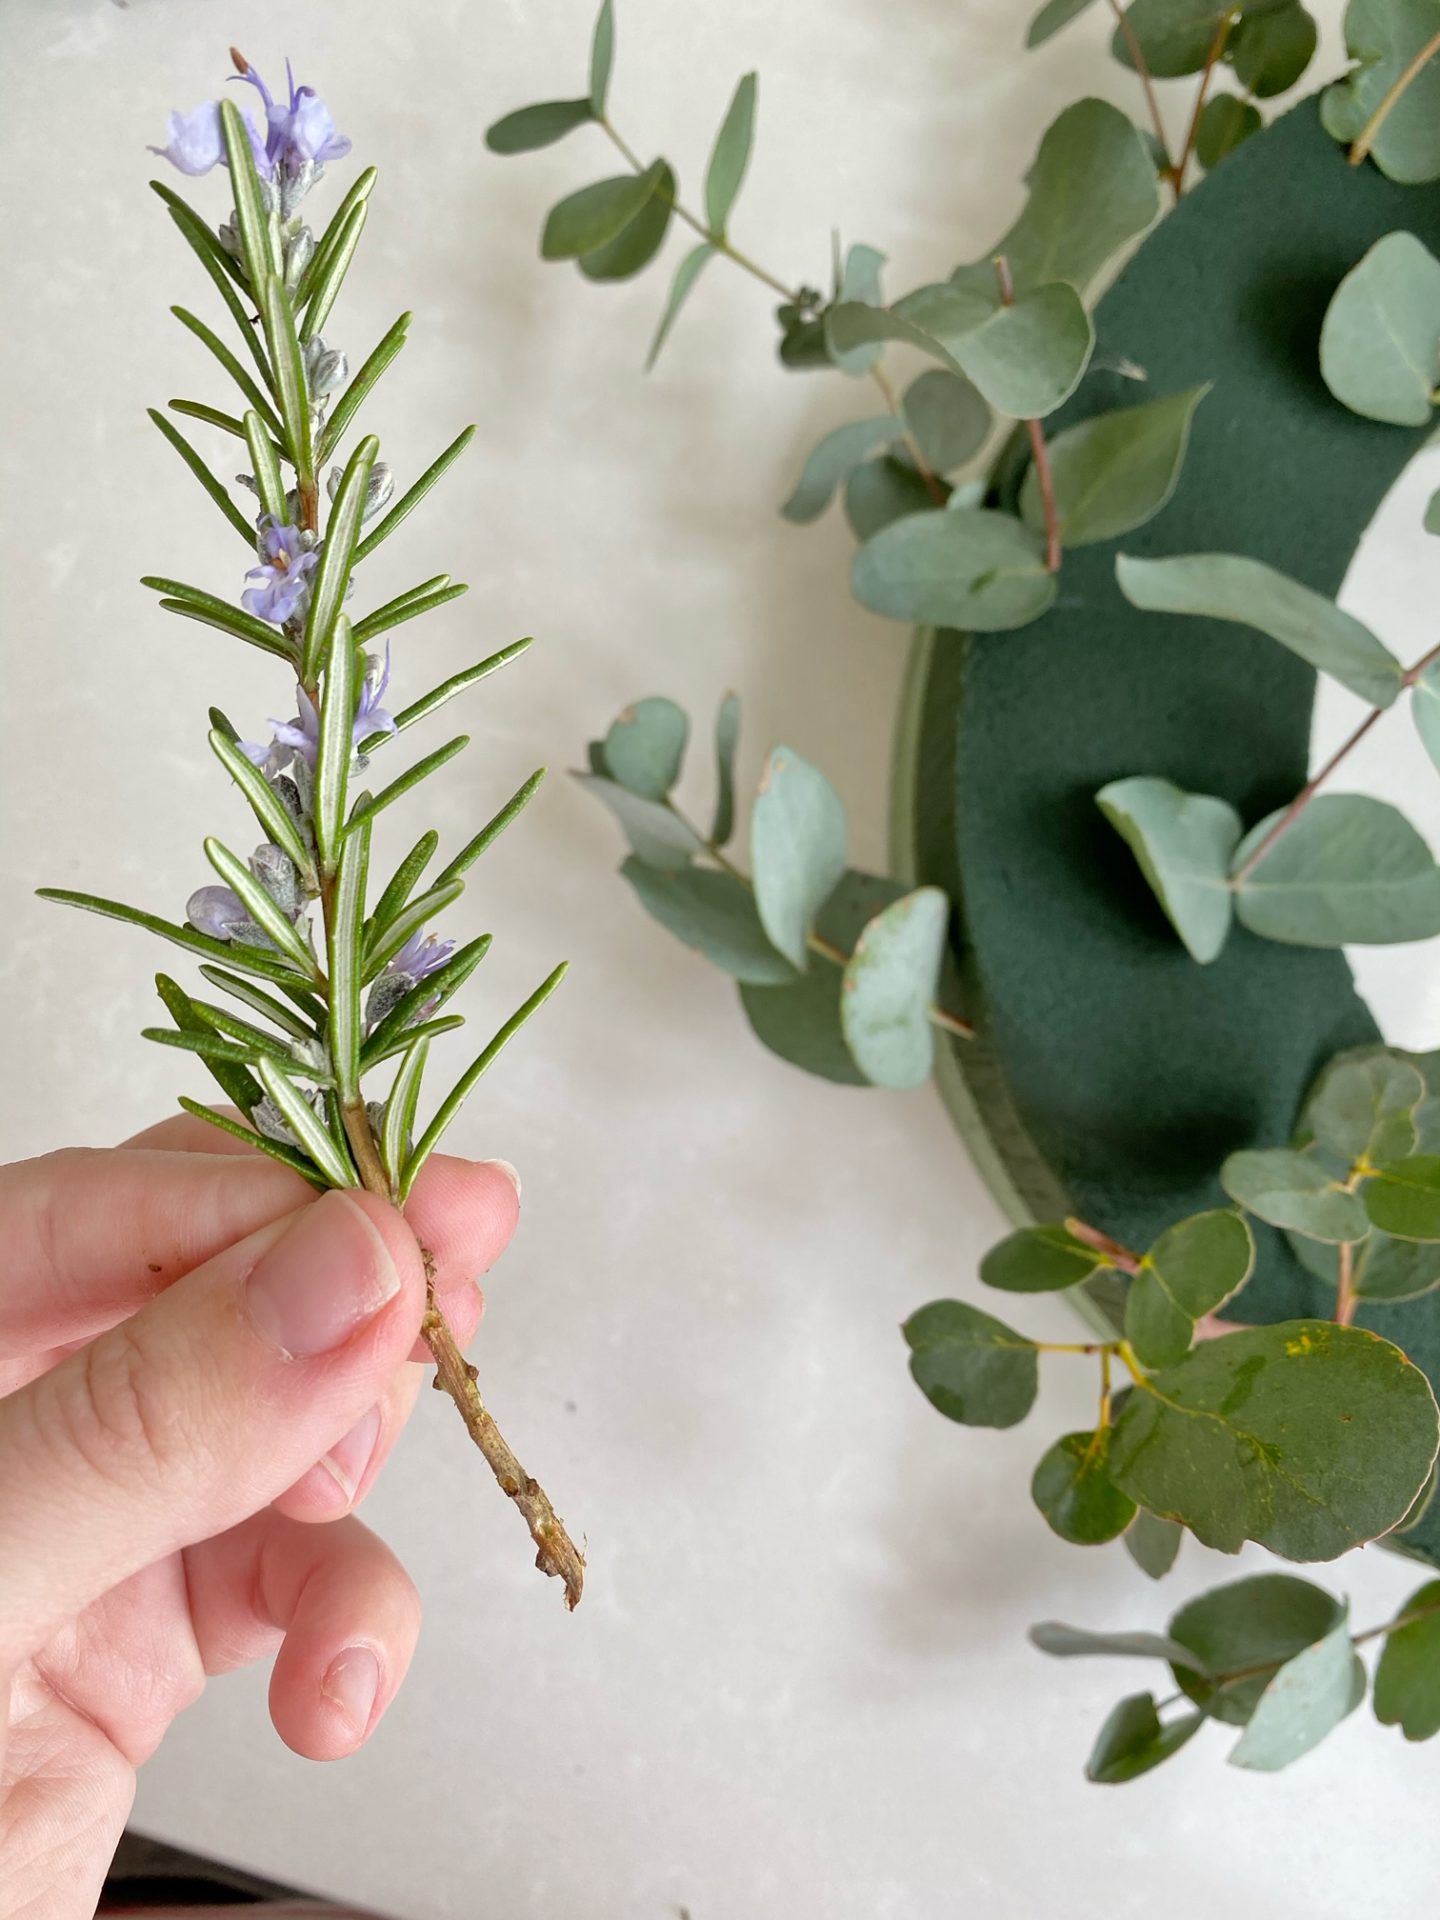
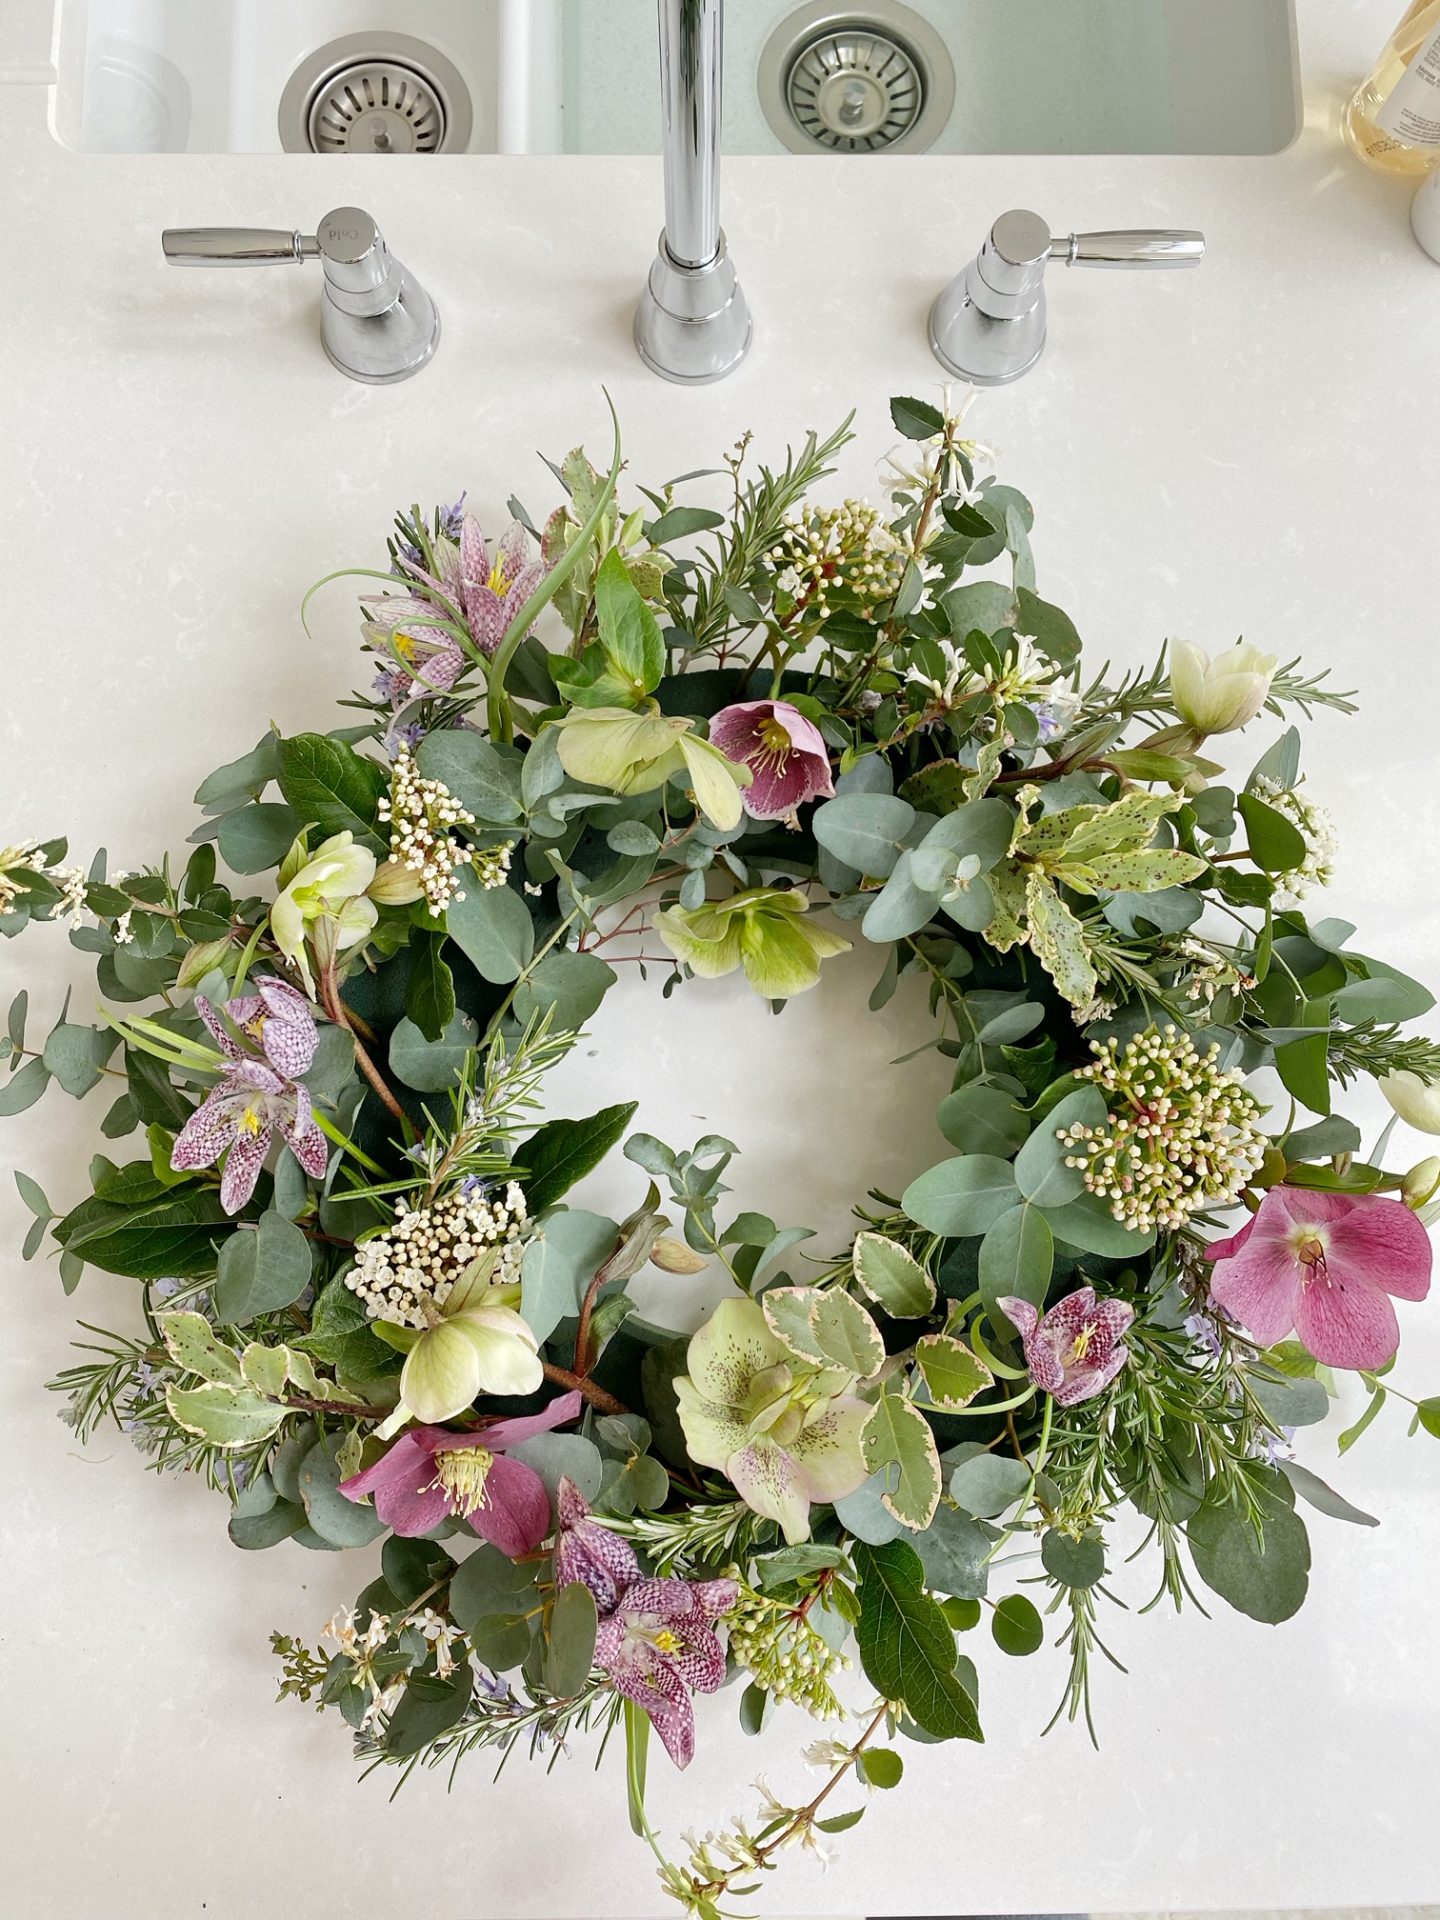
I’m starting off by building my base using foliage. I’ve cut some Eucalytpus, Viburnum and Rosemary from the garden. Cut the stems at a 45 degree angle with sharp scissors and pull off any leaves an inch from the end of the stem, so you have a nice clean stem to poke into the oasis. Don’t forget to fill out the outside and inside of the wreath too as this will be exposed once hung.
Step 3:
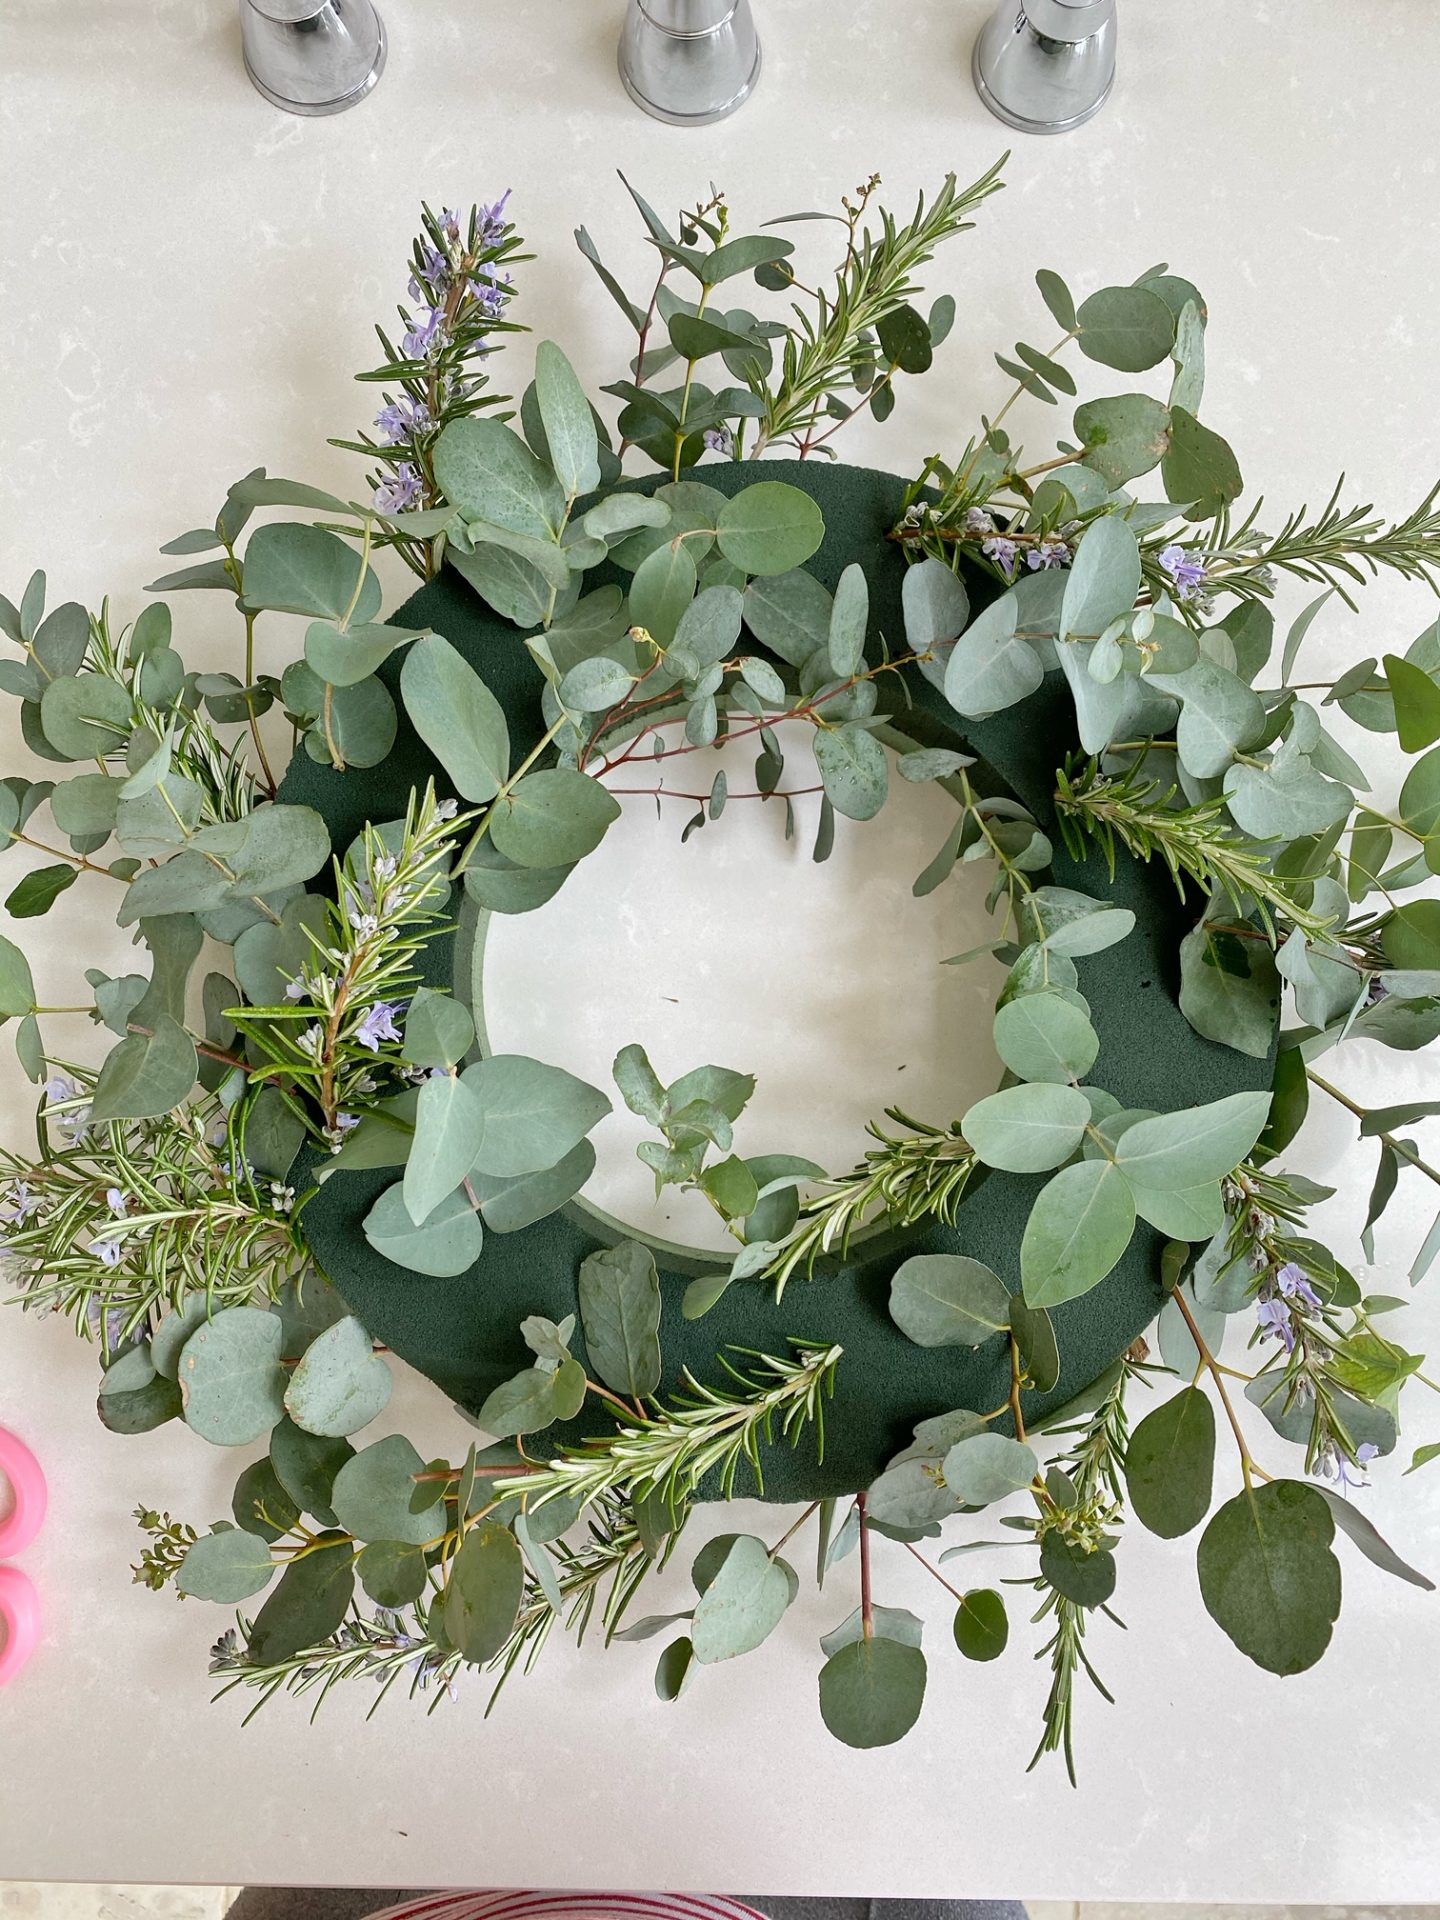
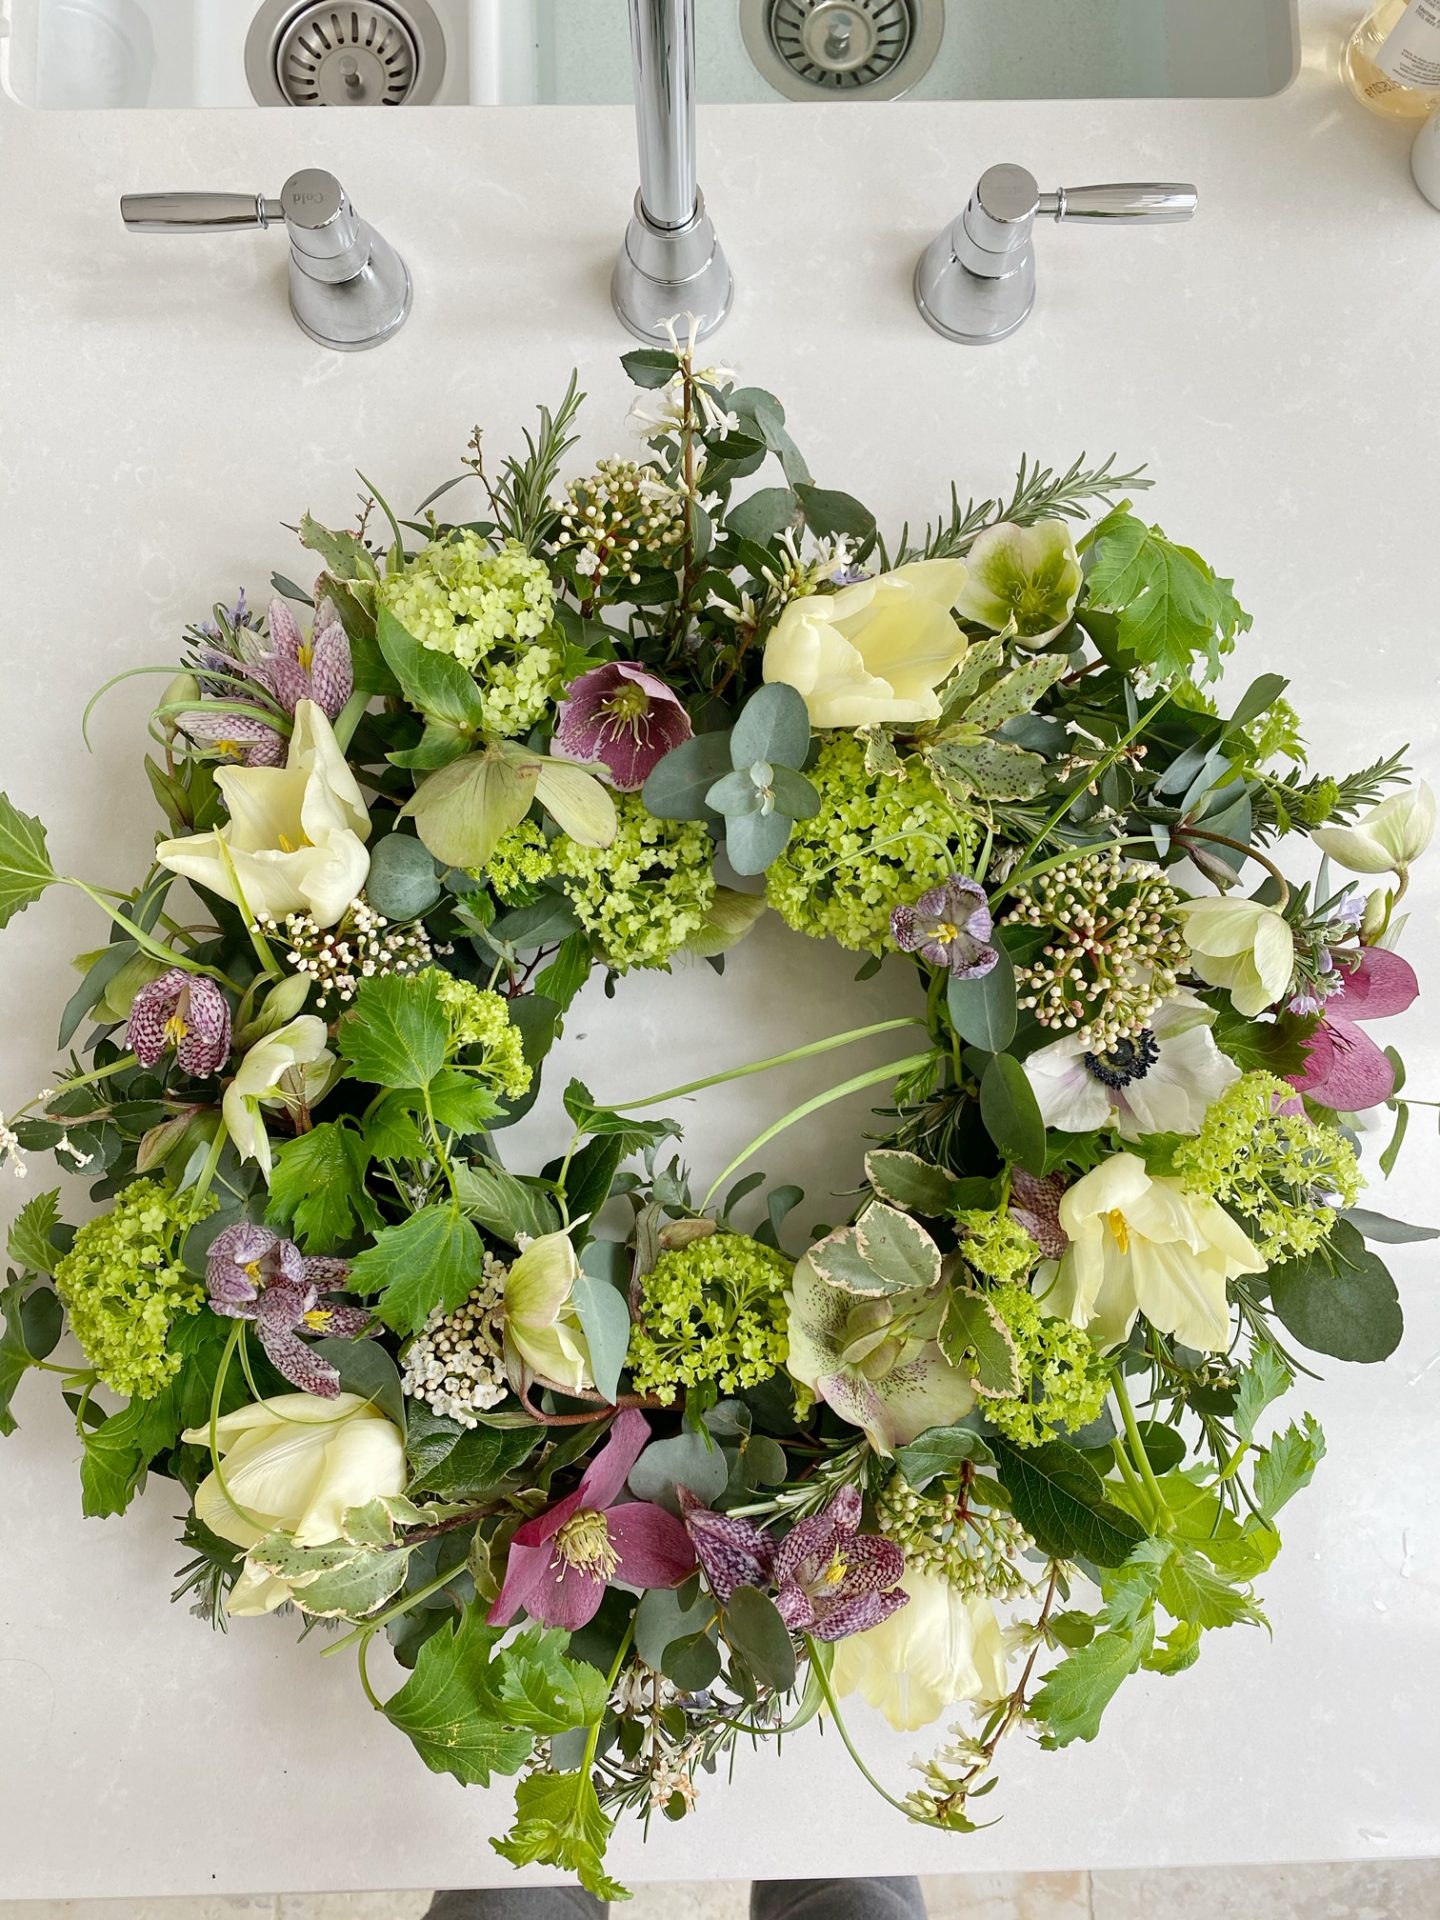
Keep standing back from your wreath to make sure it’s even and you’re happy with the shape. You can easily take stems out of the oasis if you’re not happy with the positioning, but try not to do this too many times as it’ll weaken the oasis. Once happy with your foliage layer, you can start adding in your flowers.
Spring flowers currently in season: Hellebores, Tulips, Daffodils, Muscari, Cherry Blossom, Hyacinths, Narcissi, Ranunculus. If you can’t get hold of flowers, you could always have some delivered by the likes of Bloom & Wild or Freddie’s Flowers.
Make sure again to have a nice clean cut on your flowers and poke them into the oasis about an inch deep so that they’re nice and secure. I like to start with my biggest, focal flowers, and then finish with the smaller flowers to fill in. You can go back at any point and add in more foliage to hide any gaps if you need to.

Step 4:
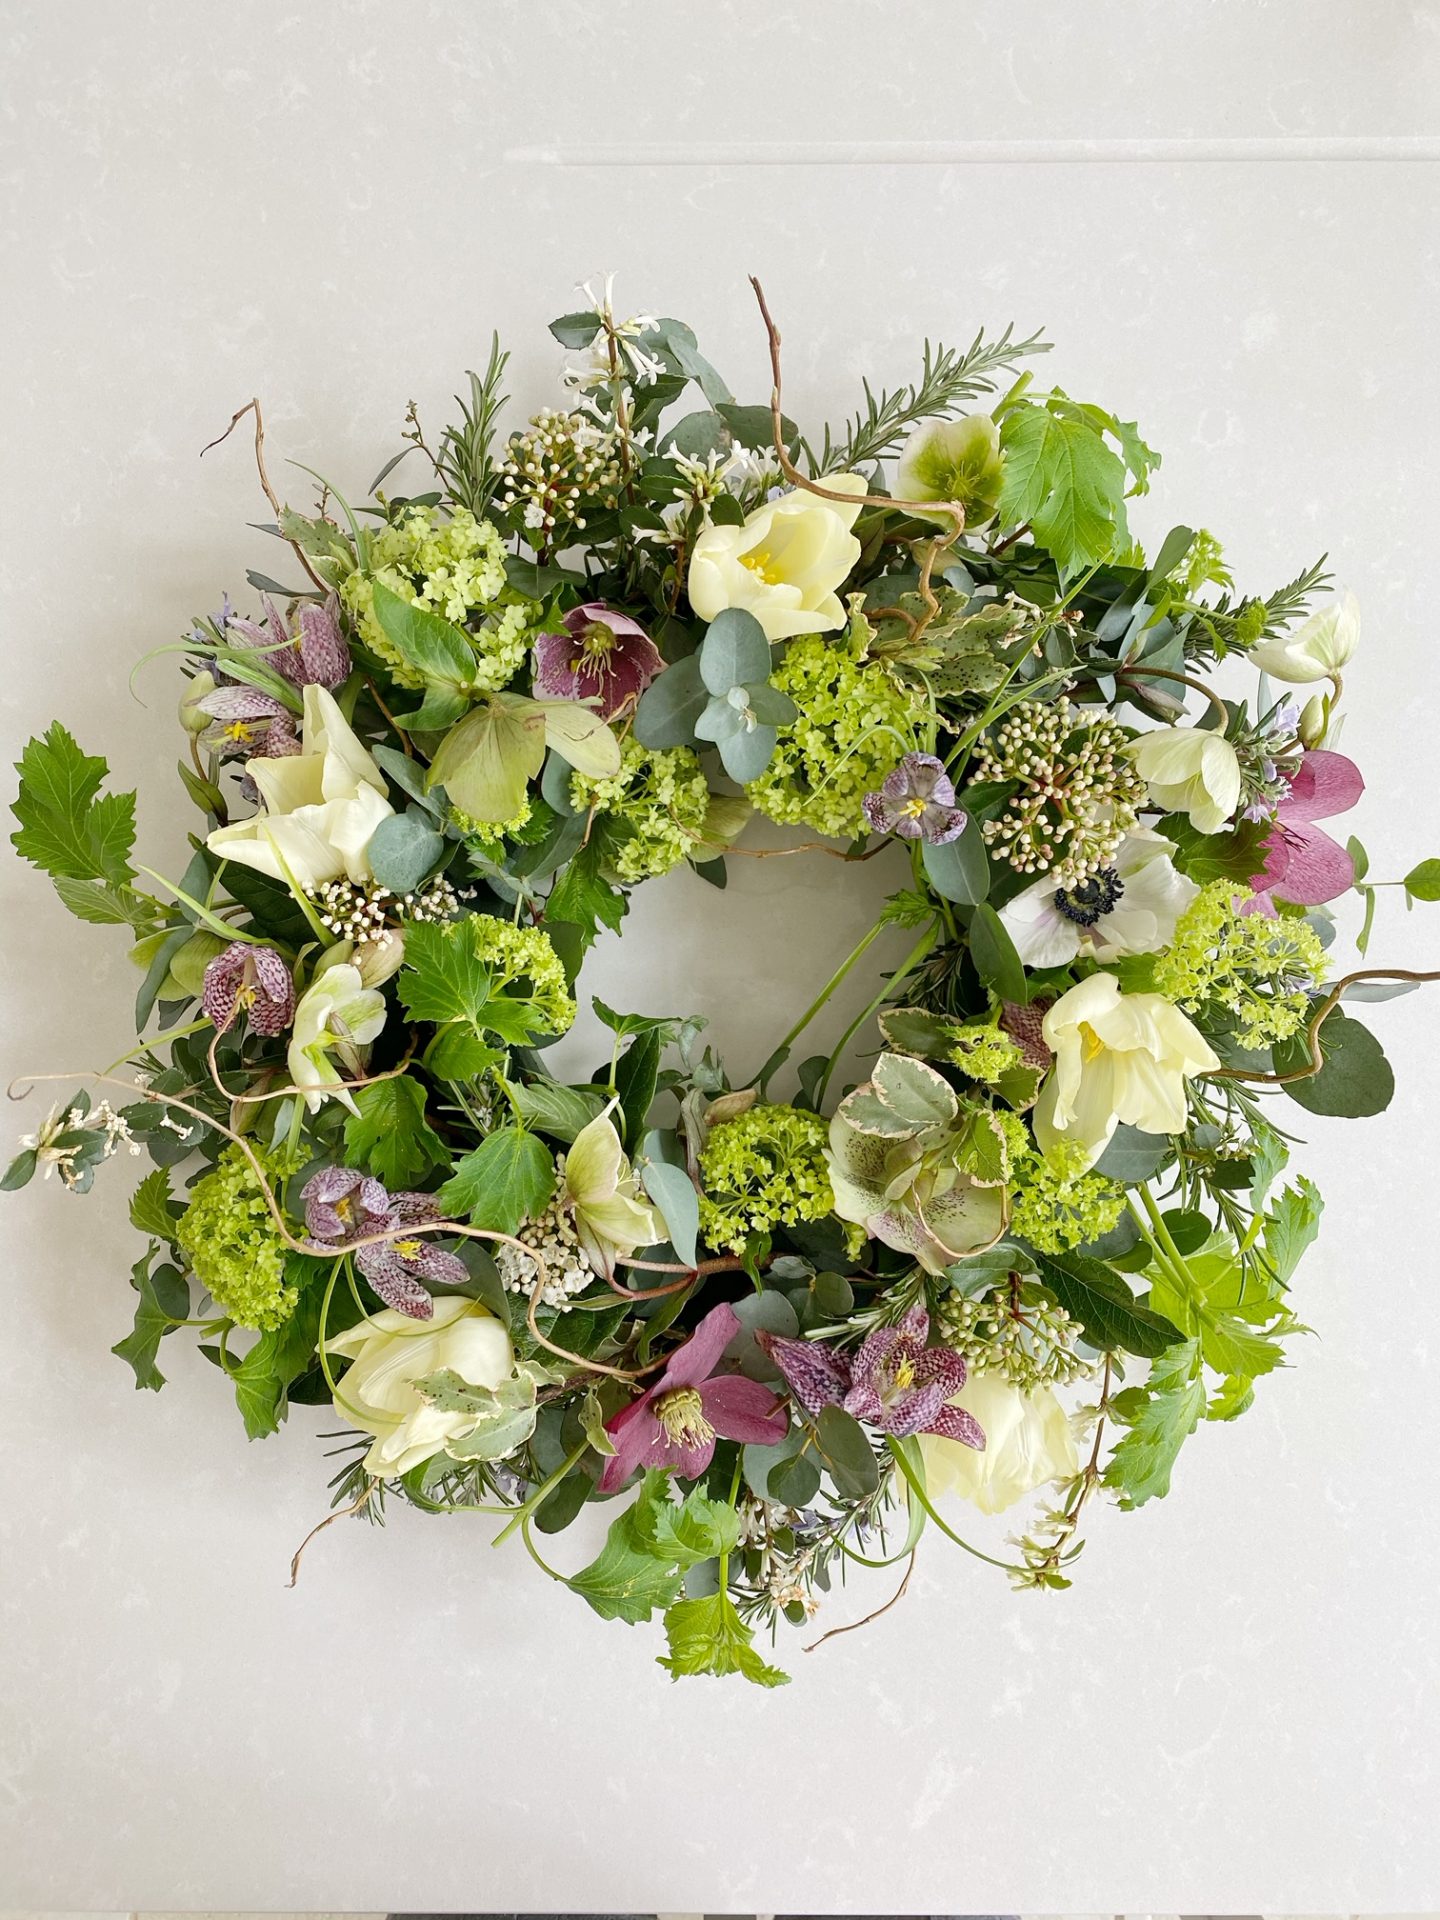
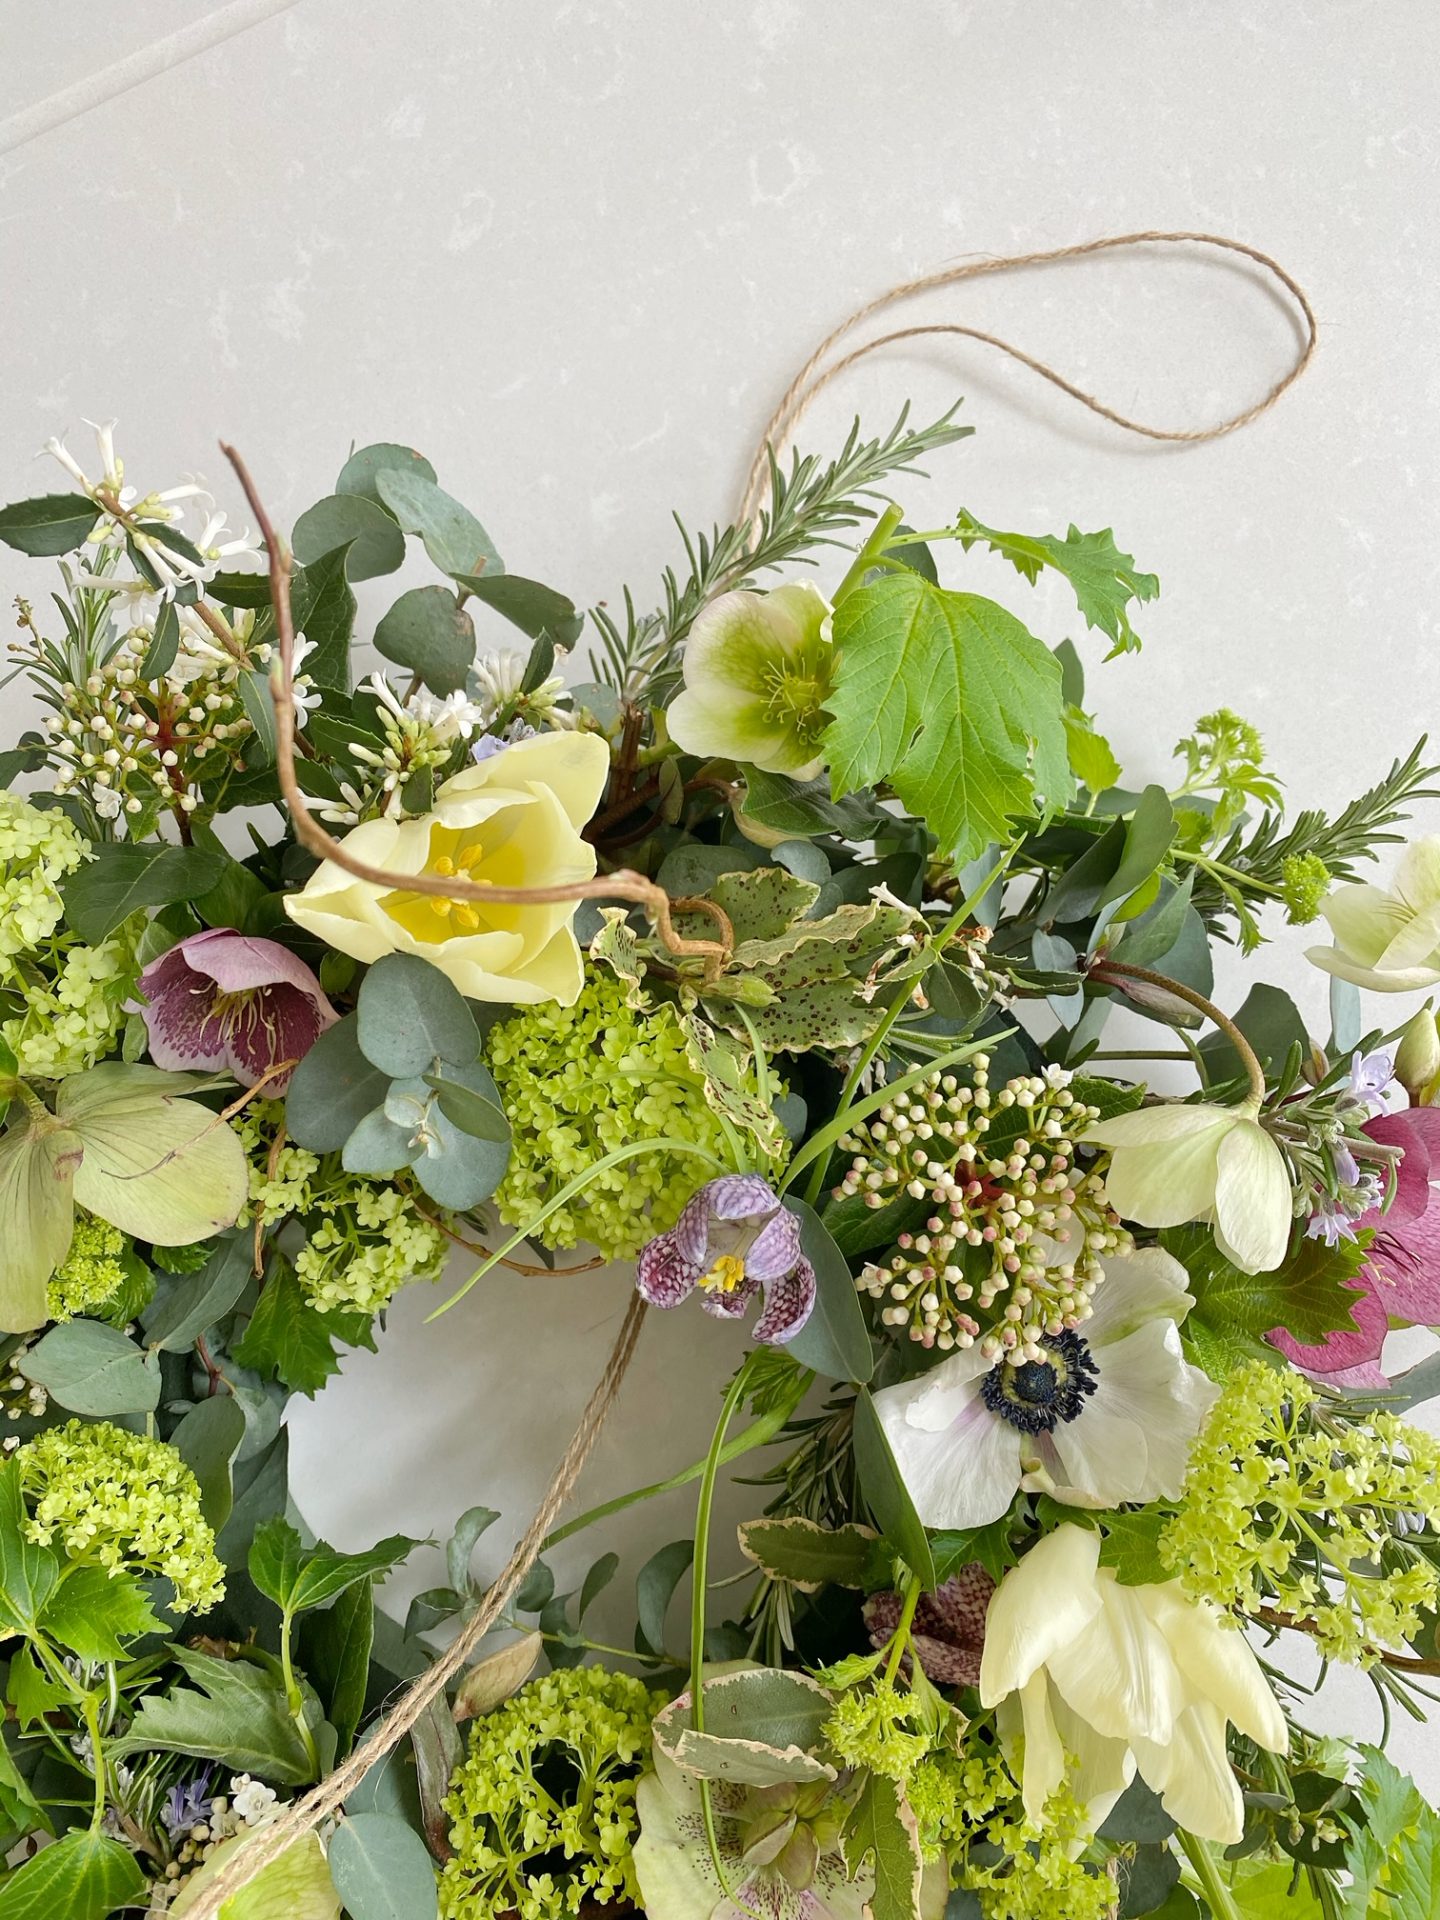
Once complete, decide where the top of your wreath is.
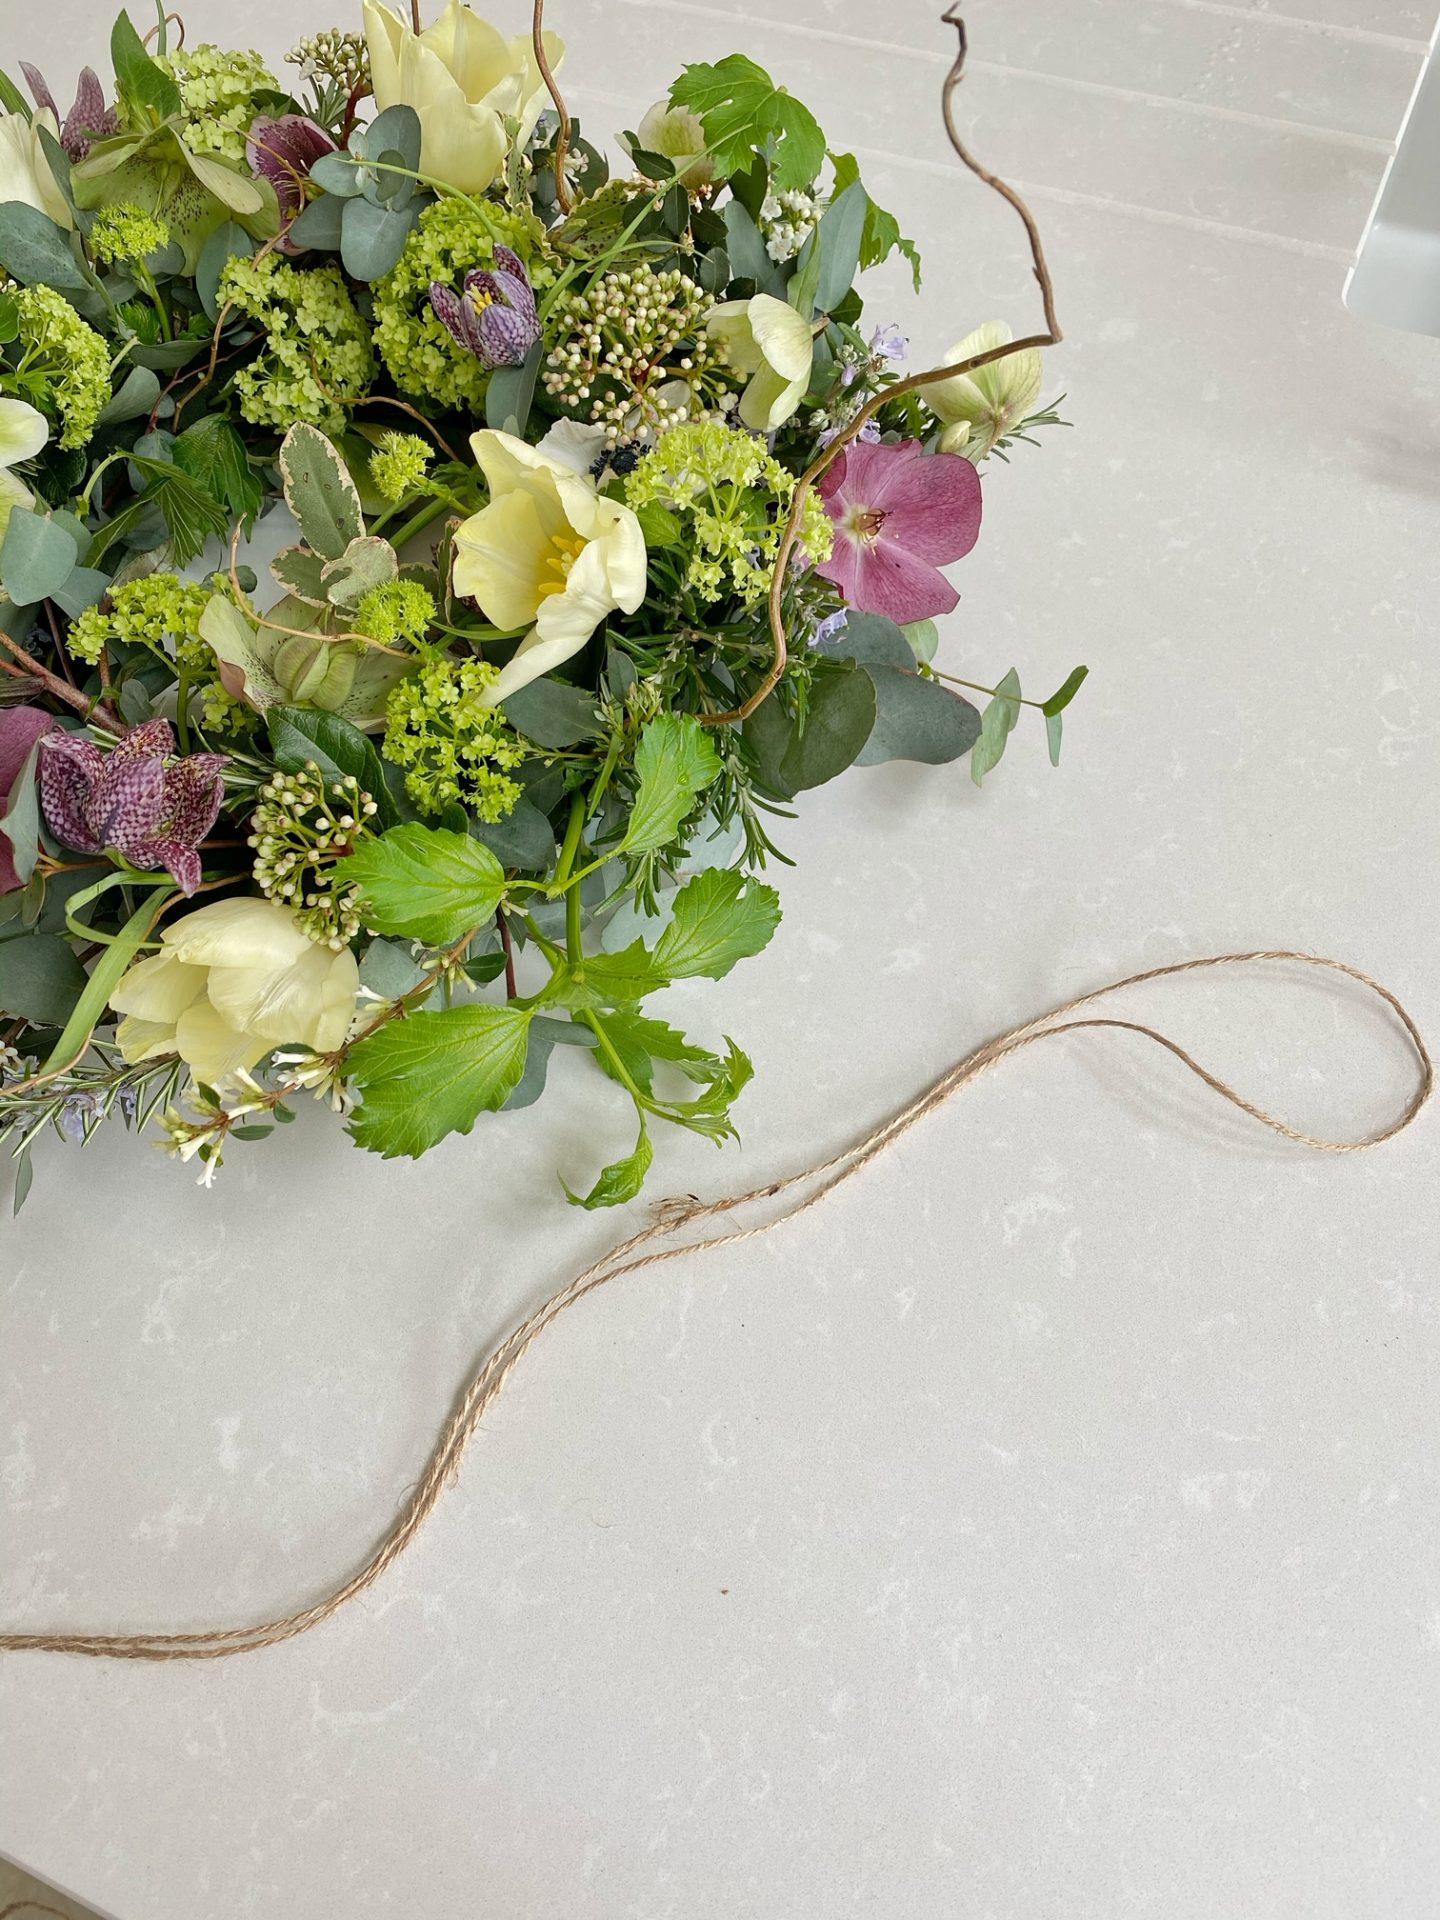
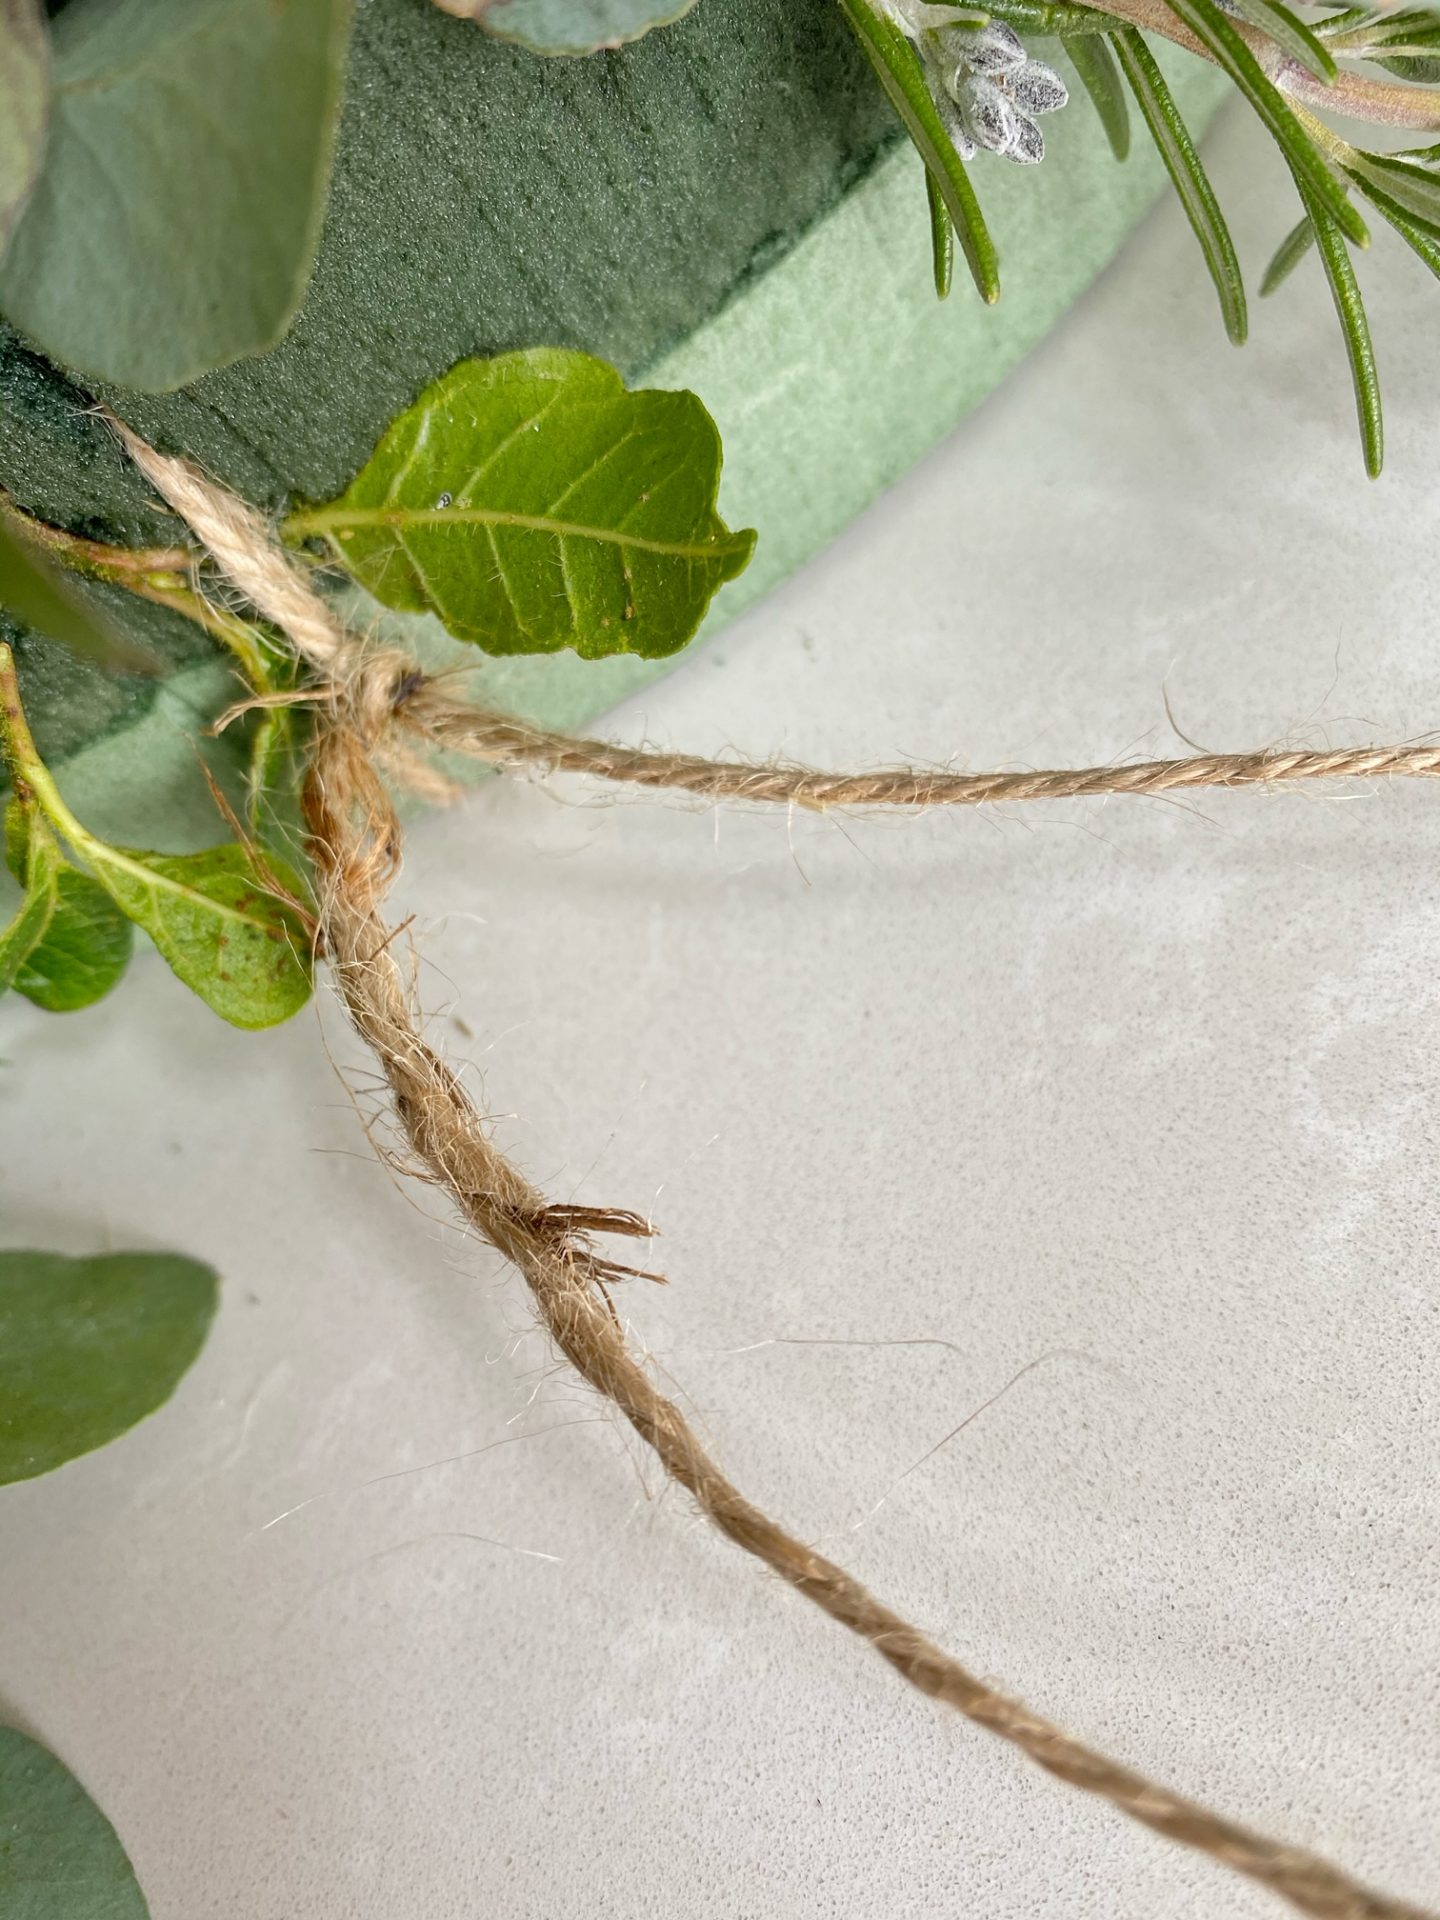
To hang your wreath, double up a length of twine, or any other string/ribbon you have available, and thread this underneath the top of the wreath. It can be a bit fiddly to intertwine this around your stems, just take your time and be careful. Then you just simply need to put a nice tight knot as close to the oasis as possible and another at the point you wish to hang it.
Step 5:
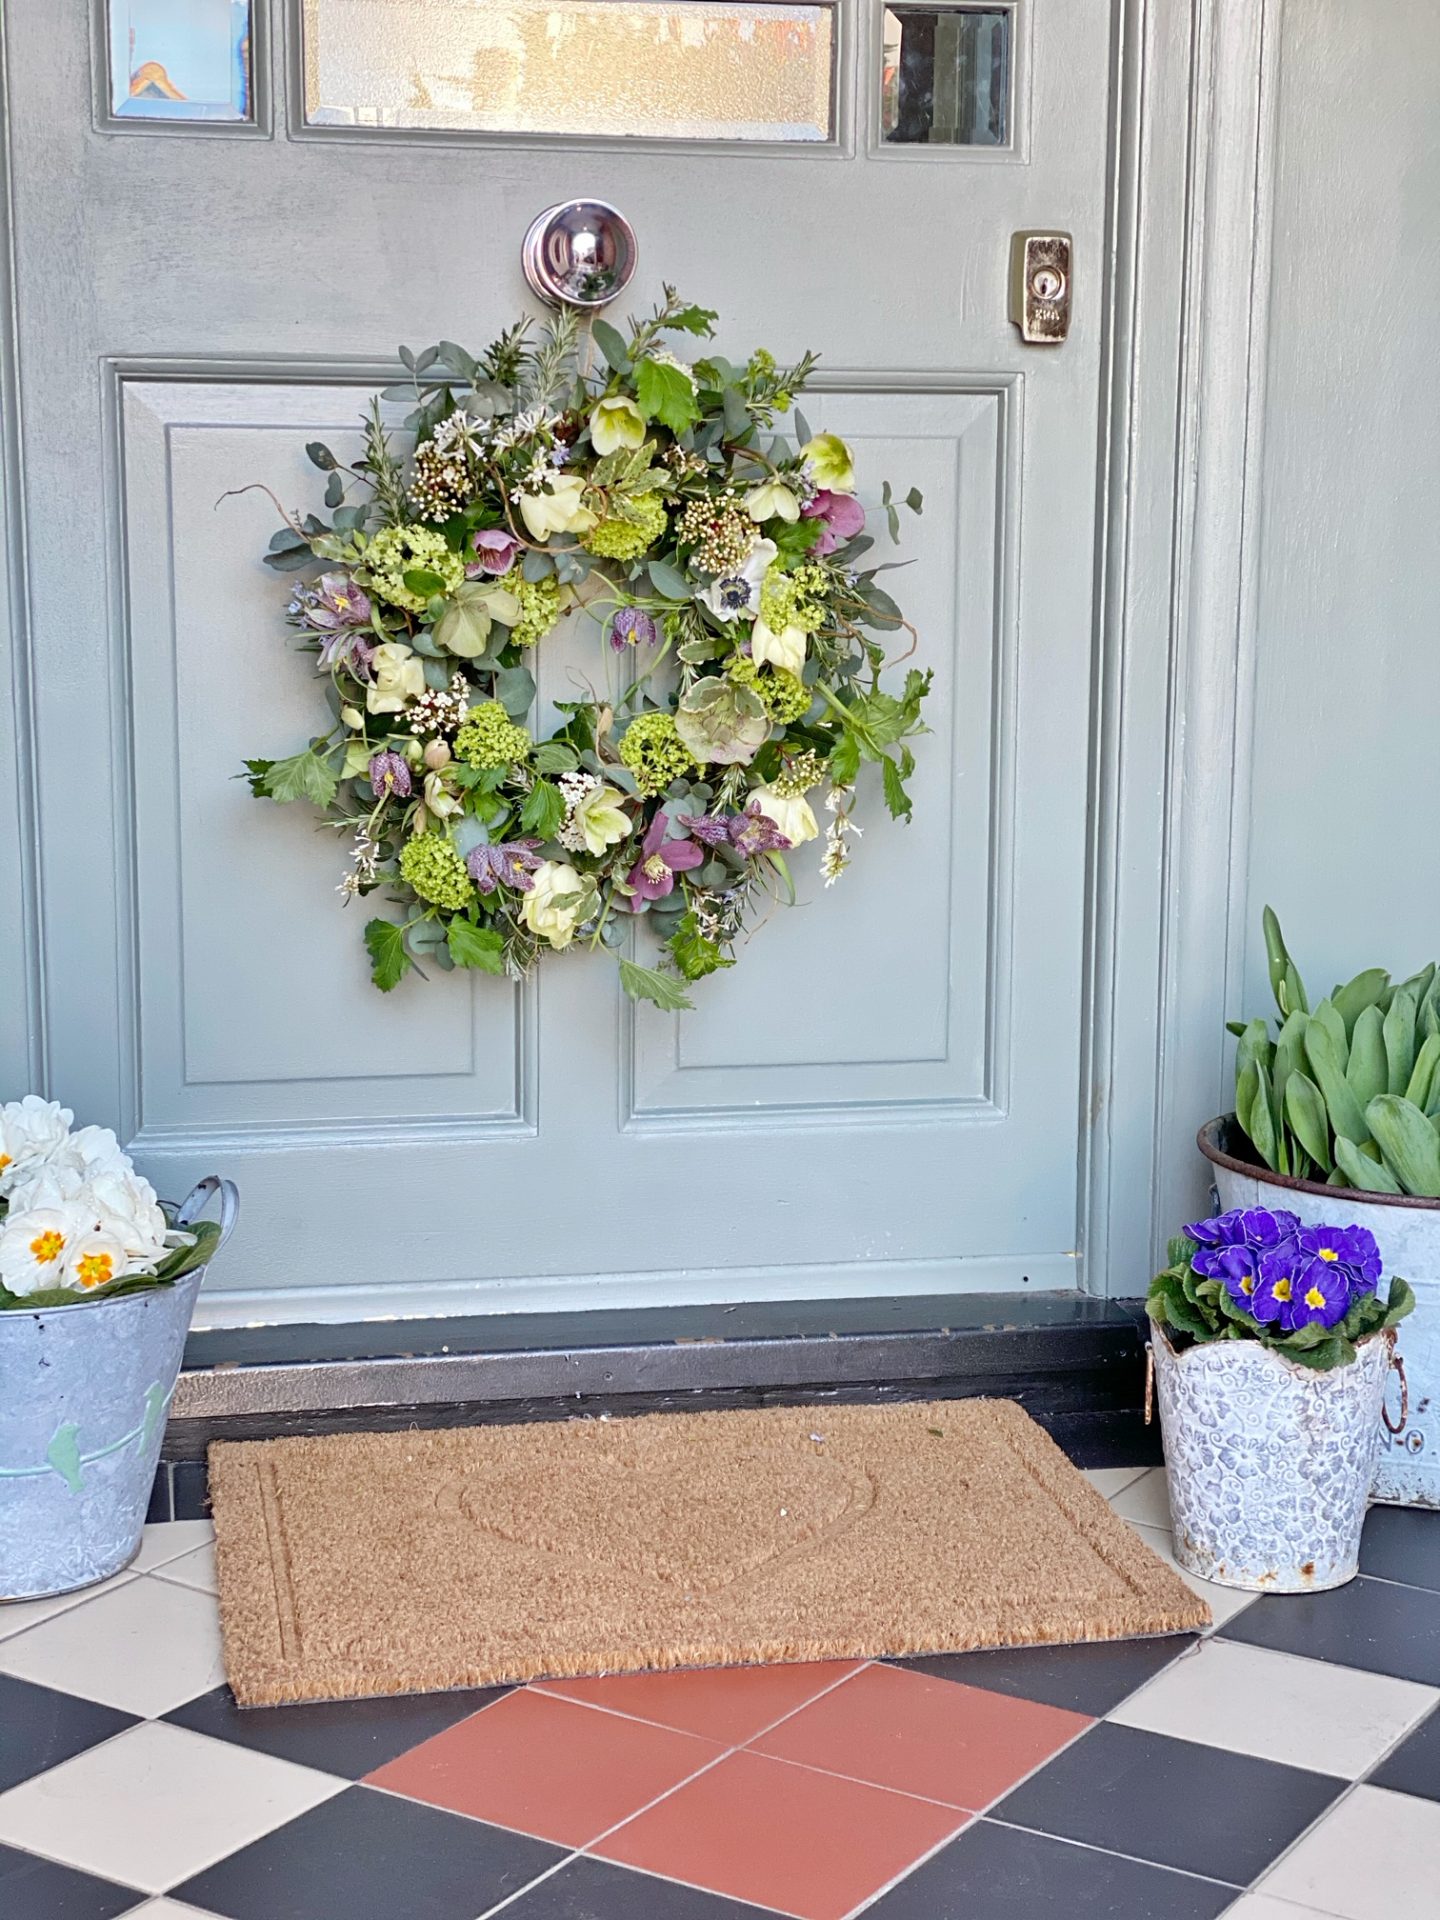
Admire and hang your wreath on your door! It’ll probably drip for a good 5-10 minutes due to any excess water, so be sure to place an old towel or bucket underneath to catch the drips. Your wreath should last a good 4-6 days, possibly more depending on the flowers you’ve chosen. You can help prolong its life by lightly spraying it with water daily, or removing the wreath from the door, laying it on a flat surface and gently pouring water into the oasis every few days.

How pretty!
Beautiful 🌈
Gorgeous . Love it . Thanks for sharing . X
Absolutely beautiful
This is so beautiful Ashlee, I love the hellebores running through it. Absolutely agree this is a charming thing to do with all this spare time we now have! Wishing you well X