
To get us out of the house and away from the never-ending desire to play ‘on tech’ (I’m referring to my children here, not Matt..!), we decided to come together and get creative by making something that the children could enjoy whilst being outside and that could be made using items that were no longer wanted or needed – to give them a new lease of life and new existence… as a ‘mud kitchen’.
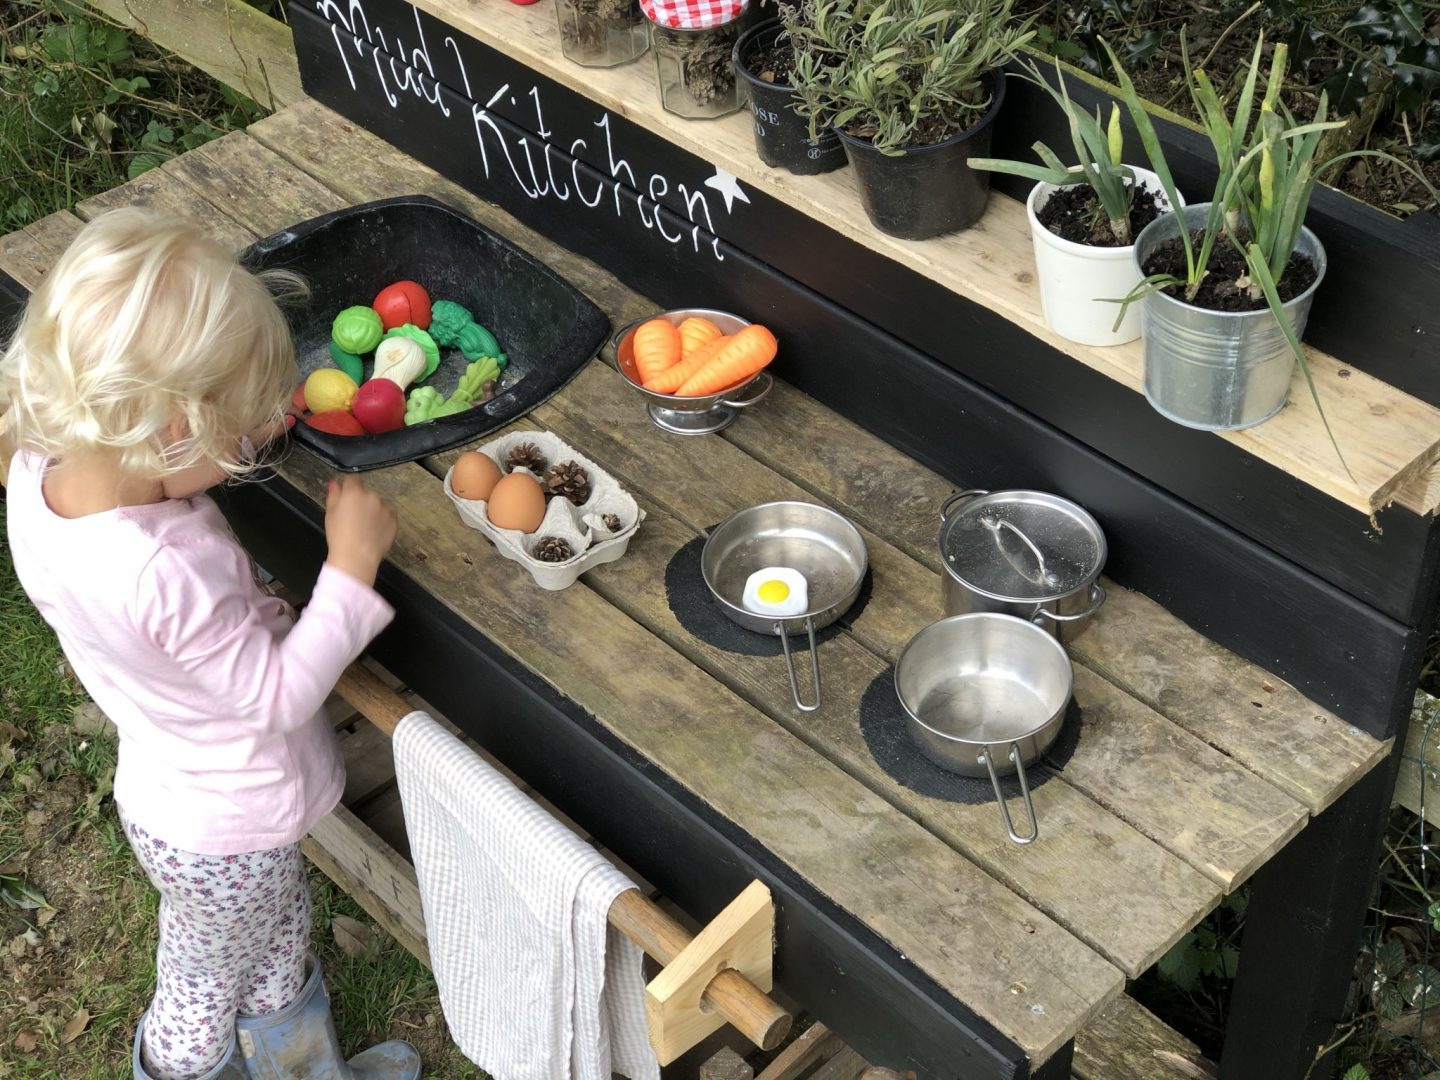
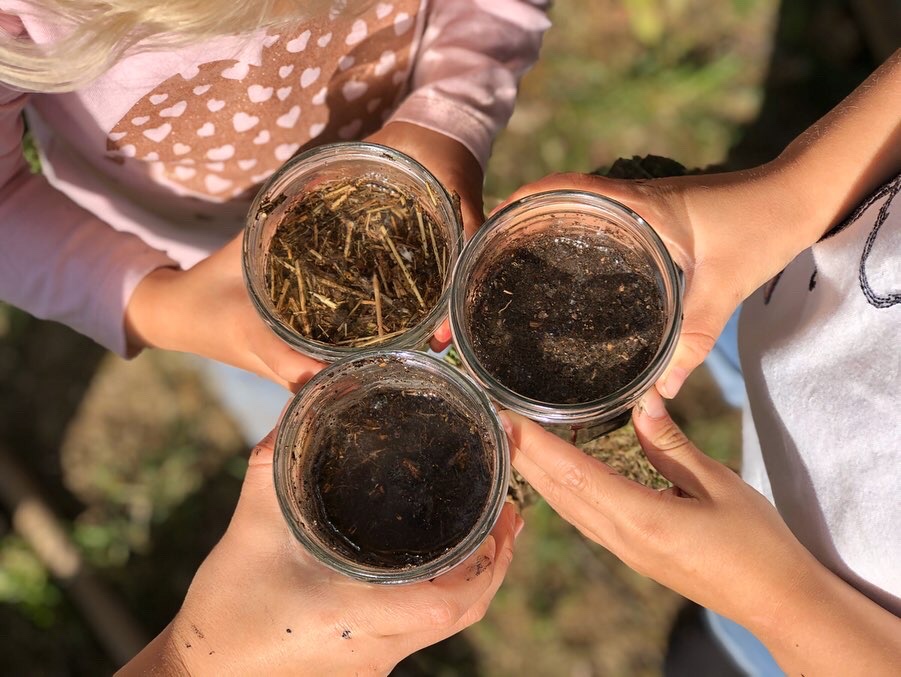
What is a mud kitchen I hear you ask? A mud kitchen is an outdoor pretend play cooking area, complete with everything your child needs to conjure up culinary creations from nature’s dirtiest ingredients.
As some of you may know, we have been building our very own vegetable patch/planters down at the bottom of the field, next to the chickens. To have something that the children can play with whilst down there would be great as it will encourage them to come down with me to check the chickens, the ponies and the plants.
How we made our mud kitchen
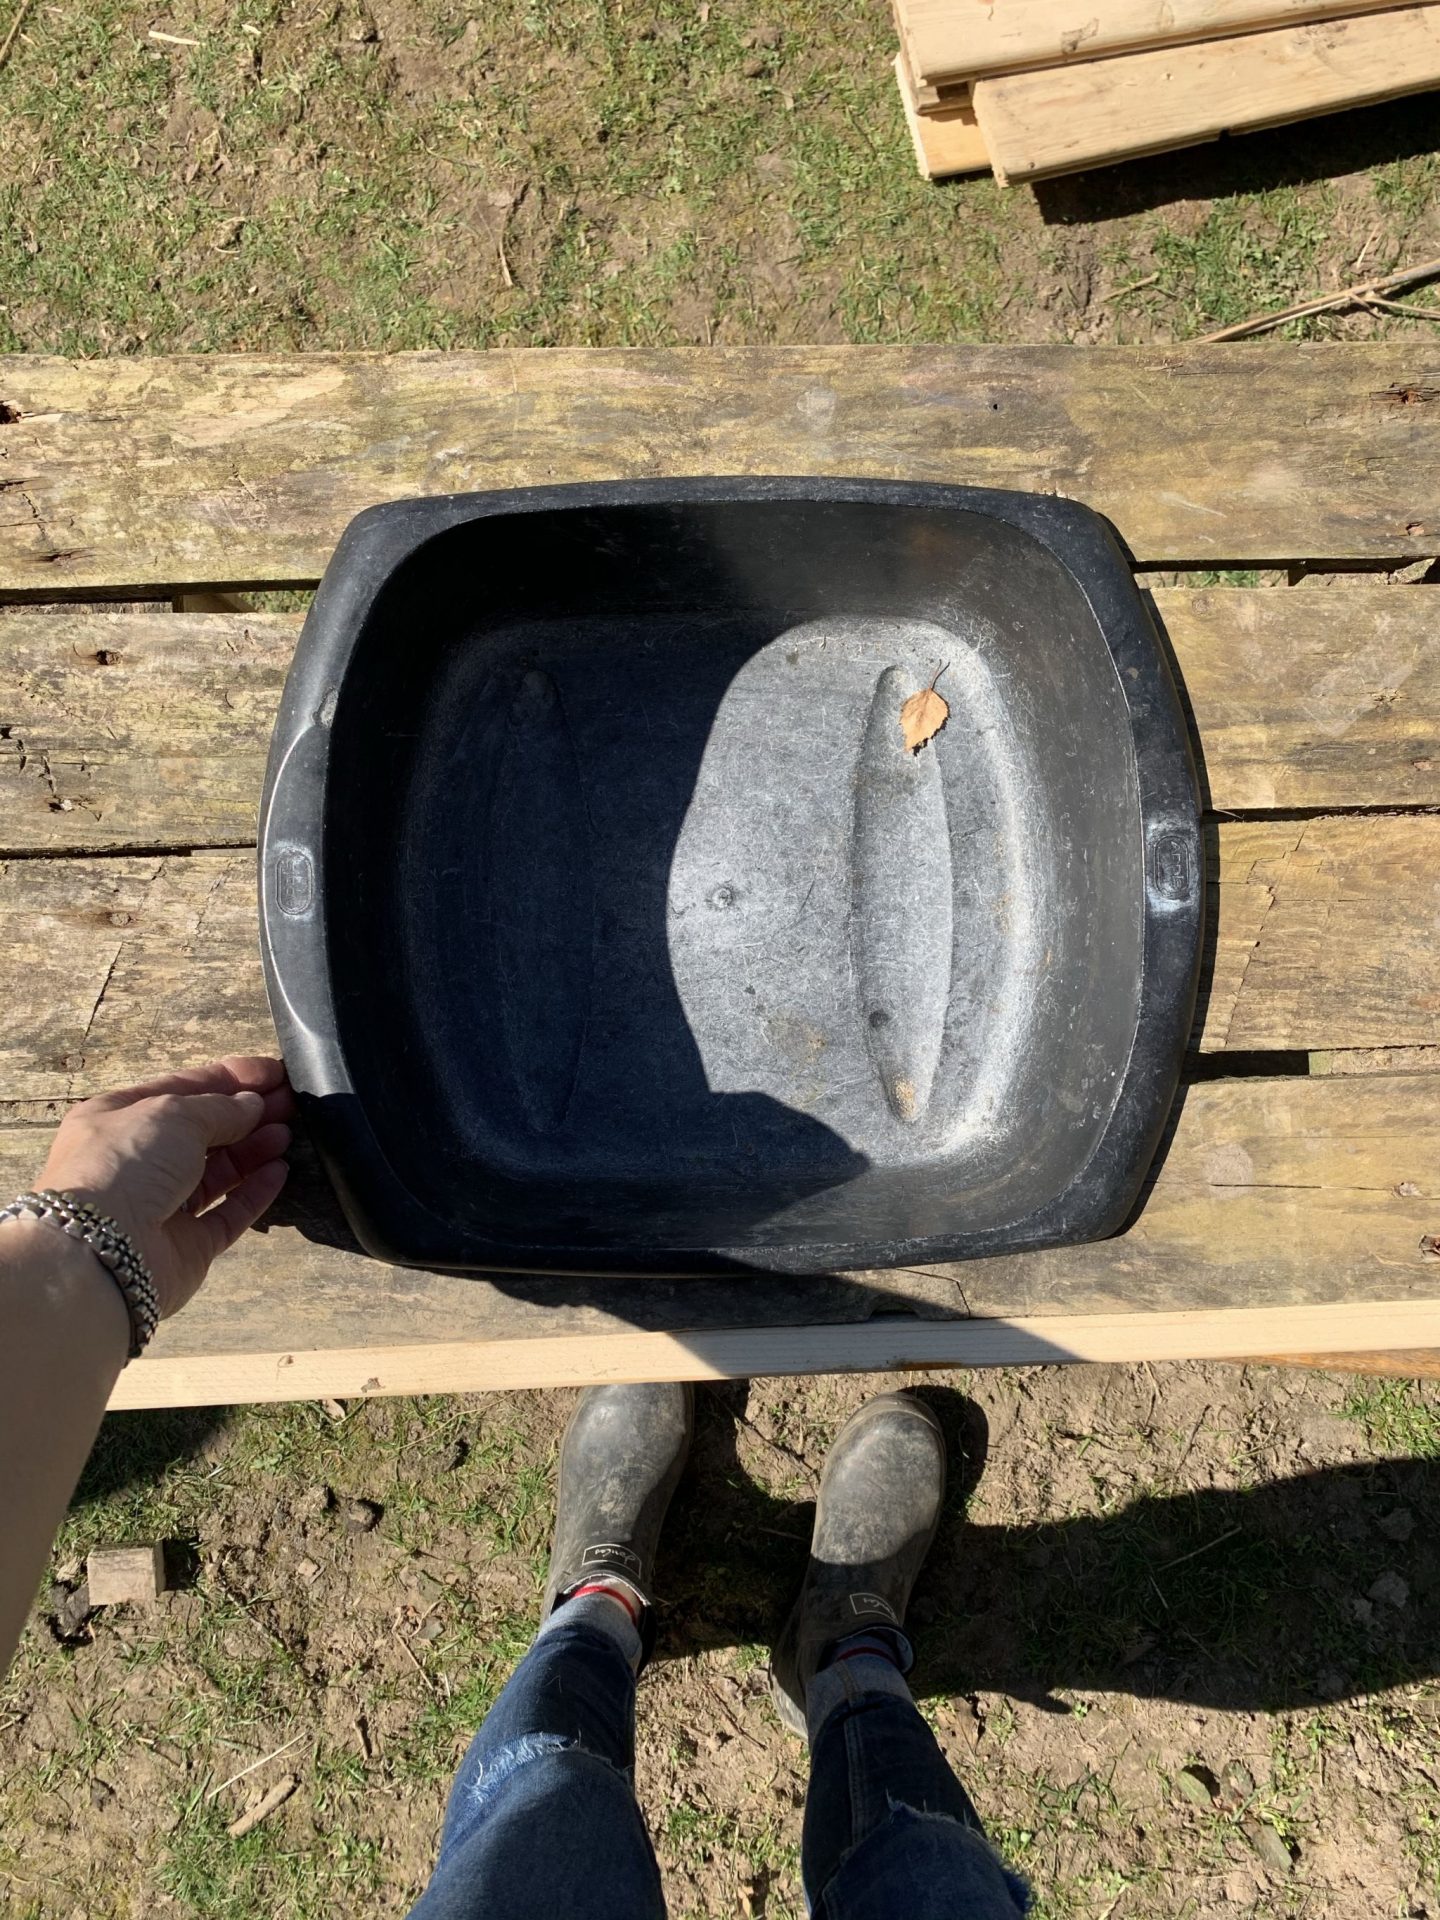
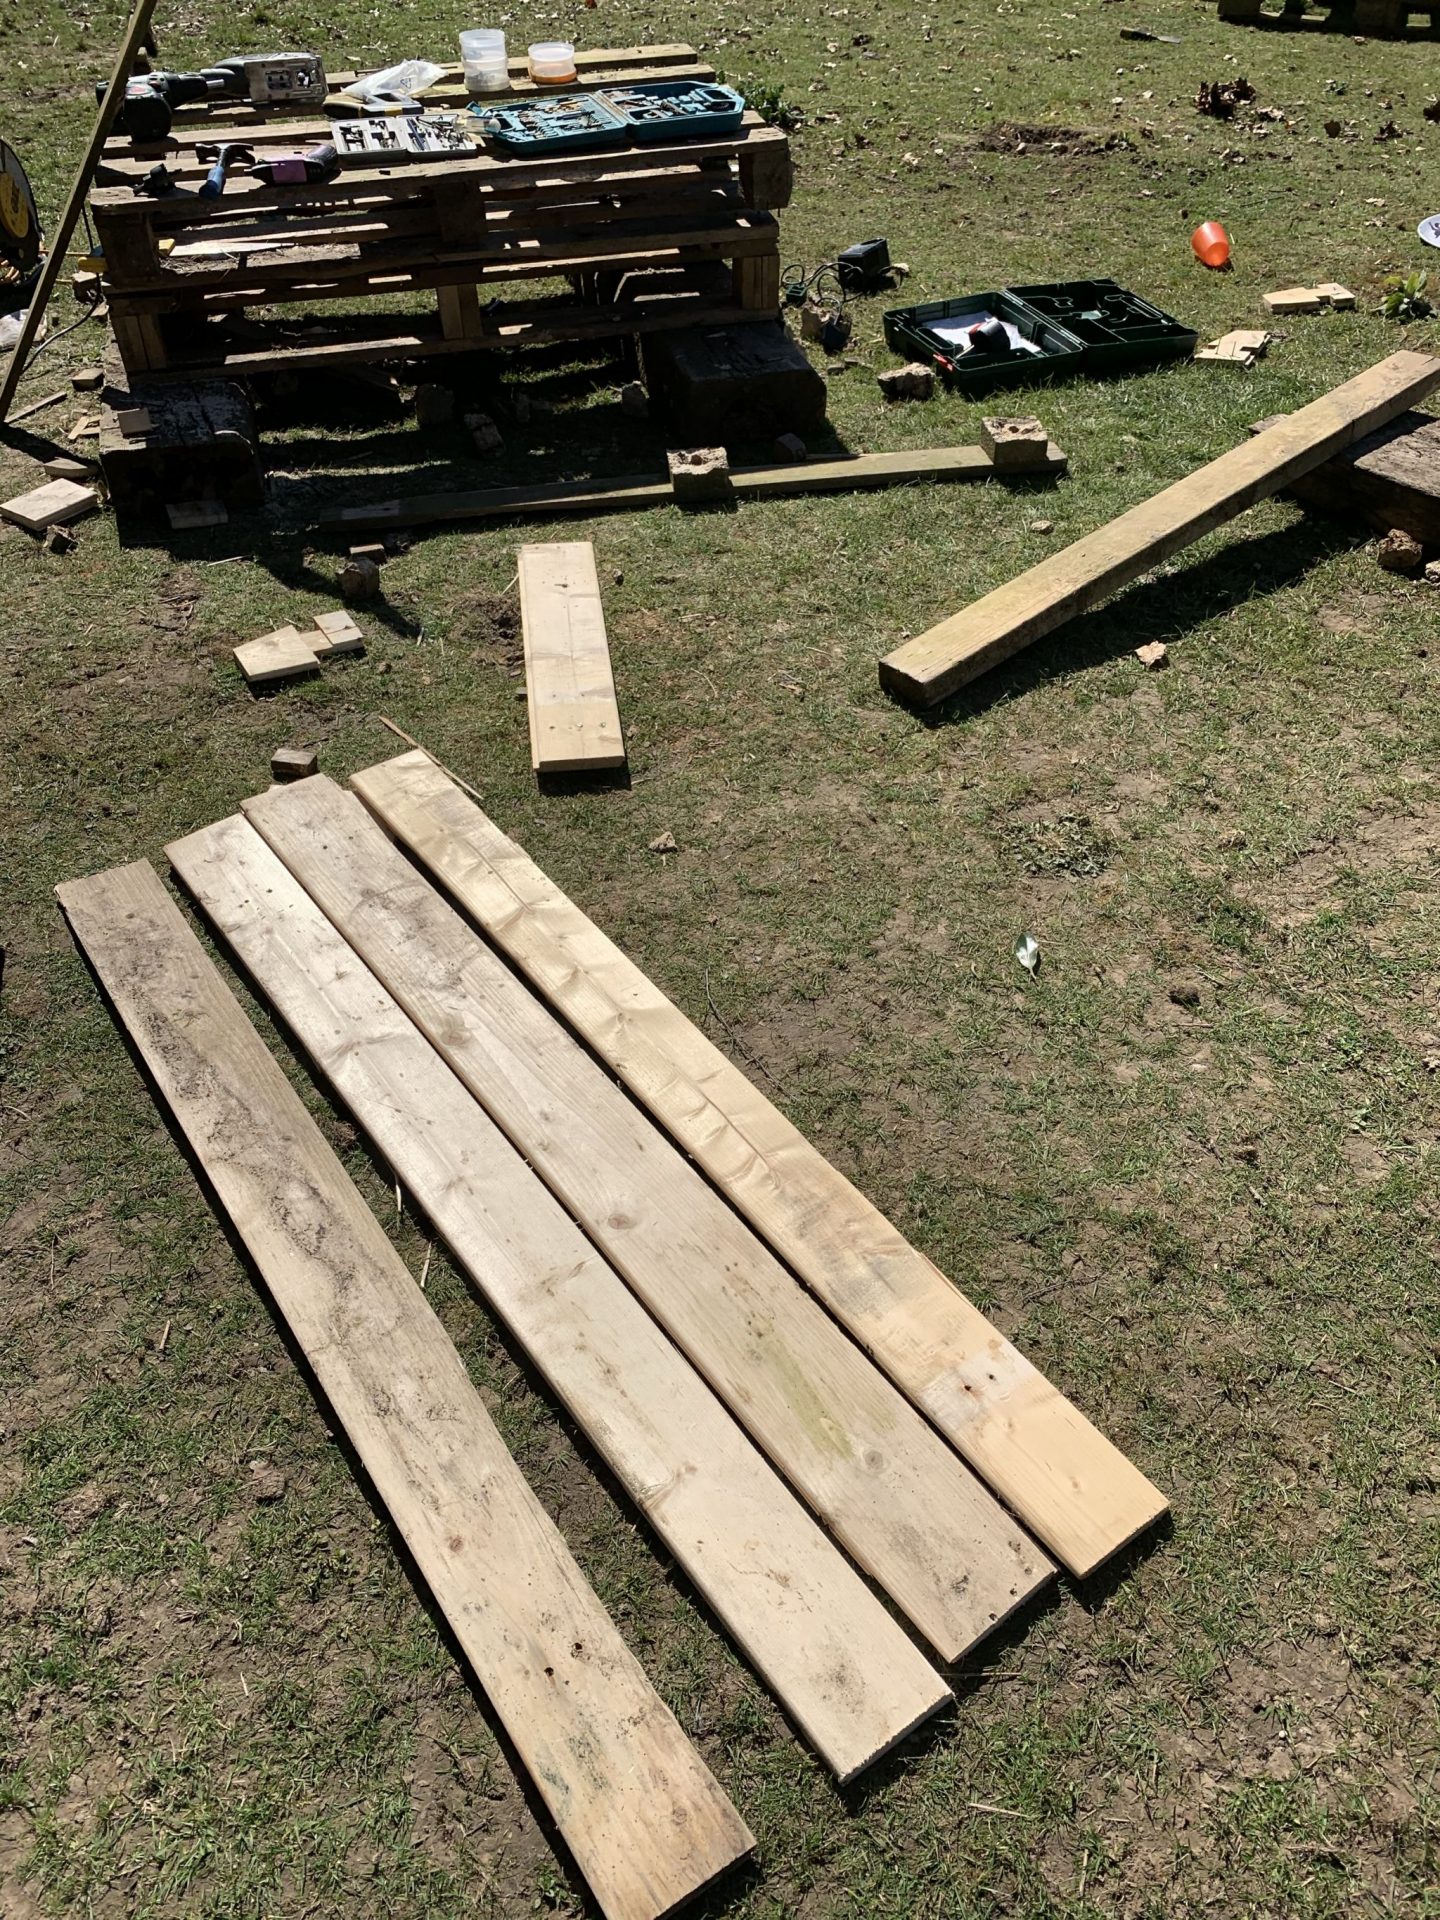
First up, we needed a couple of wood pallets, some off cuts of wood, an old washing bowl, some paint, our DYI tools and… a little imagination!
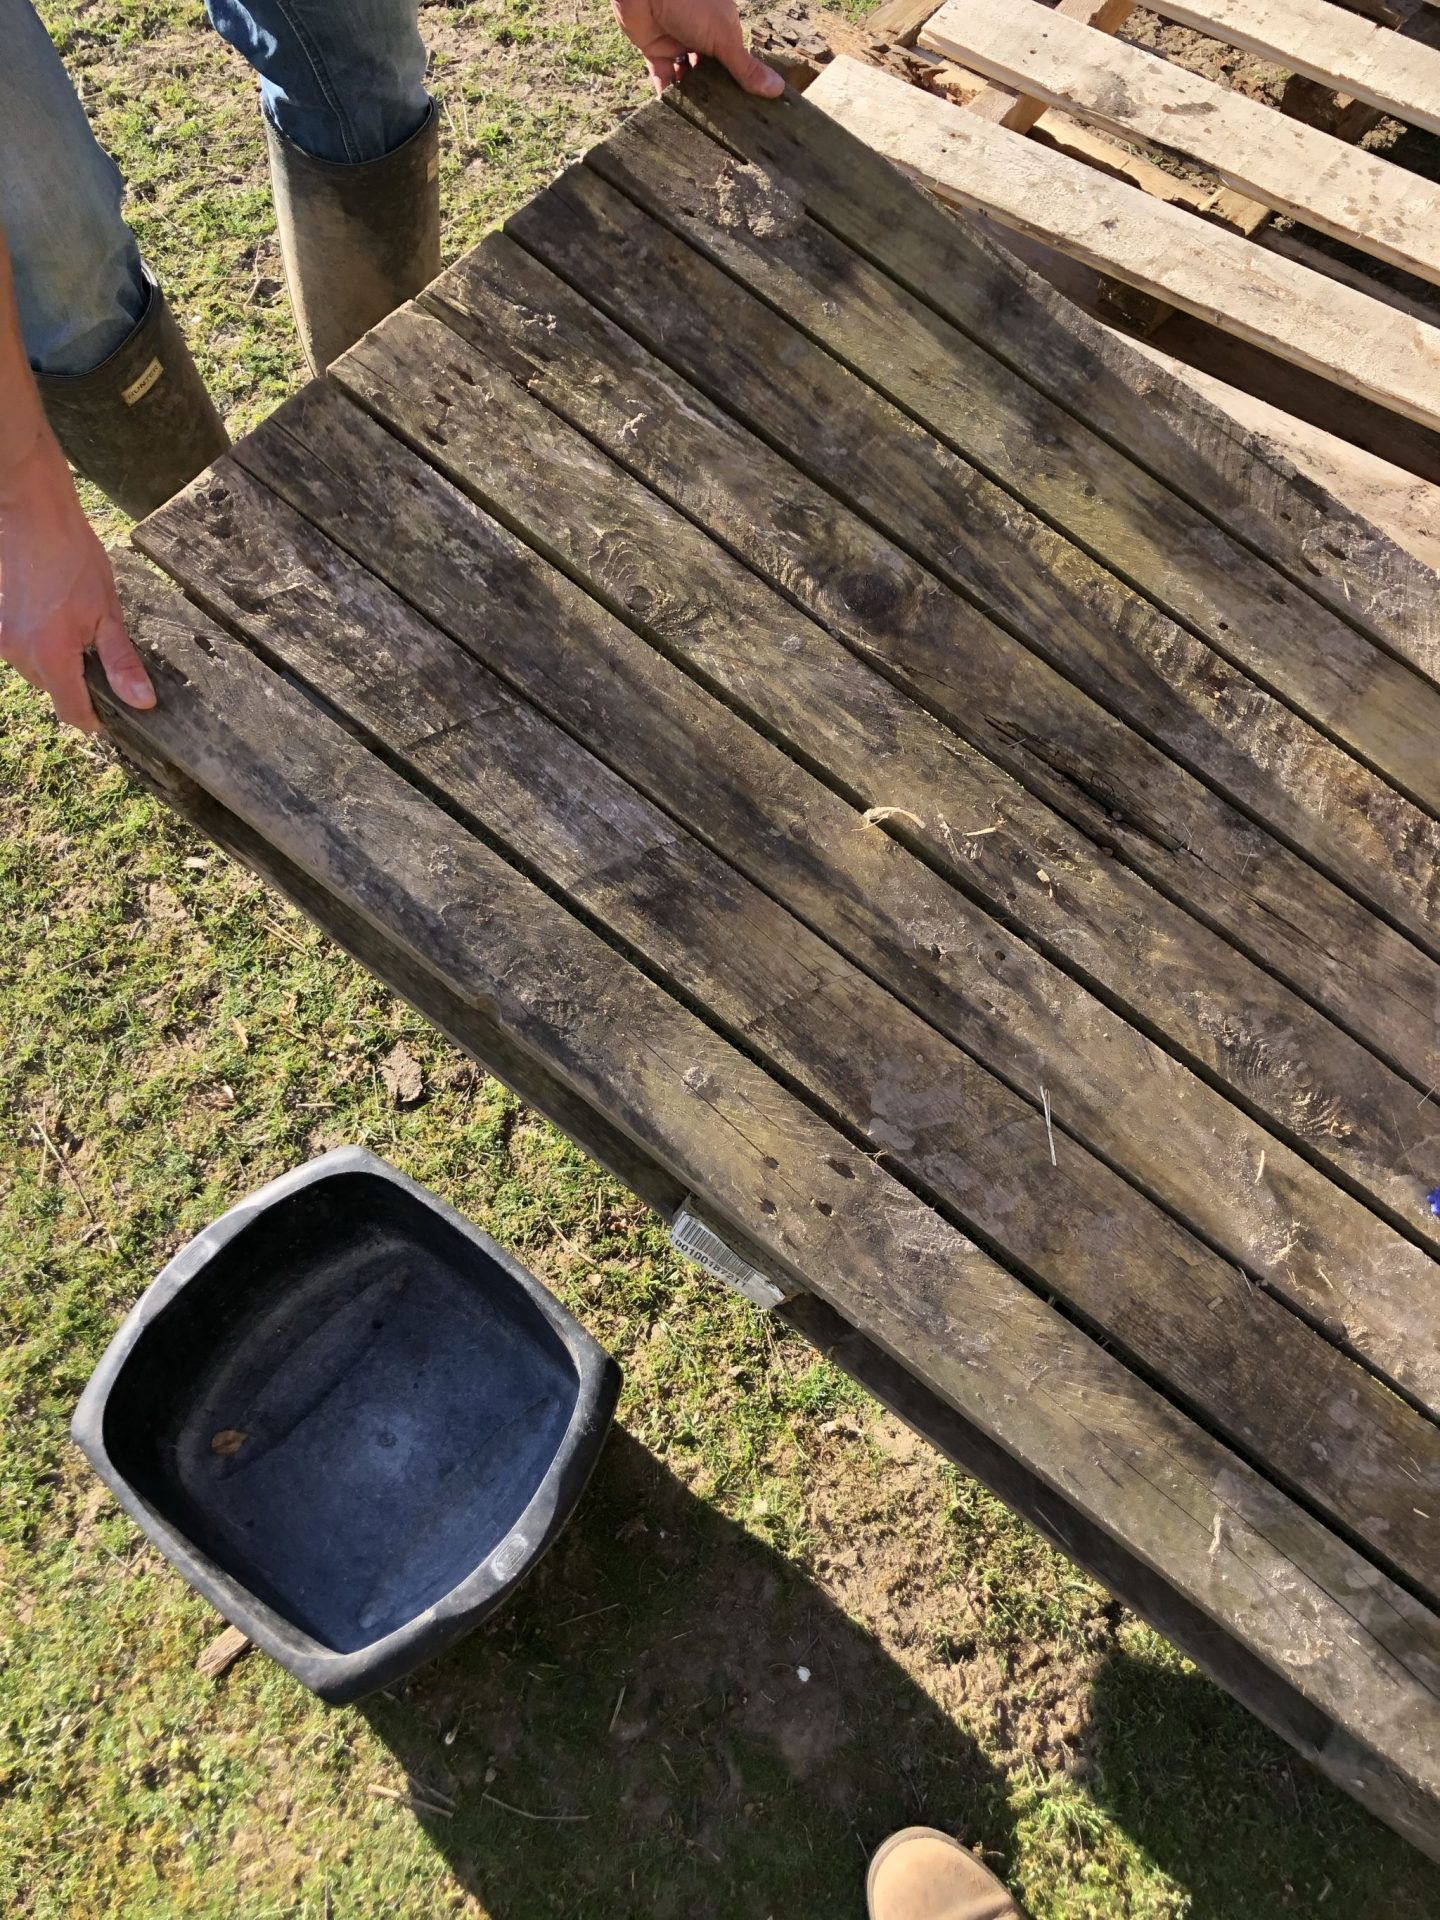
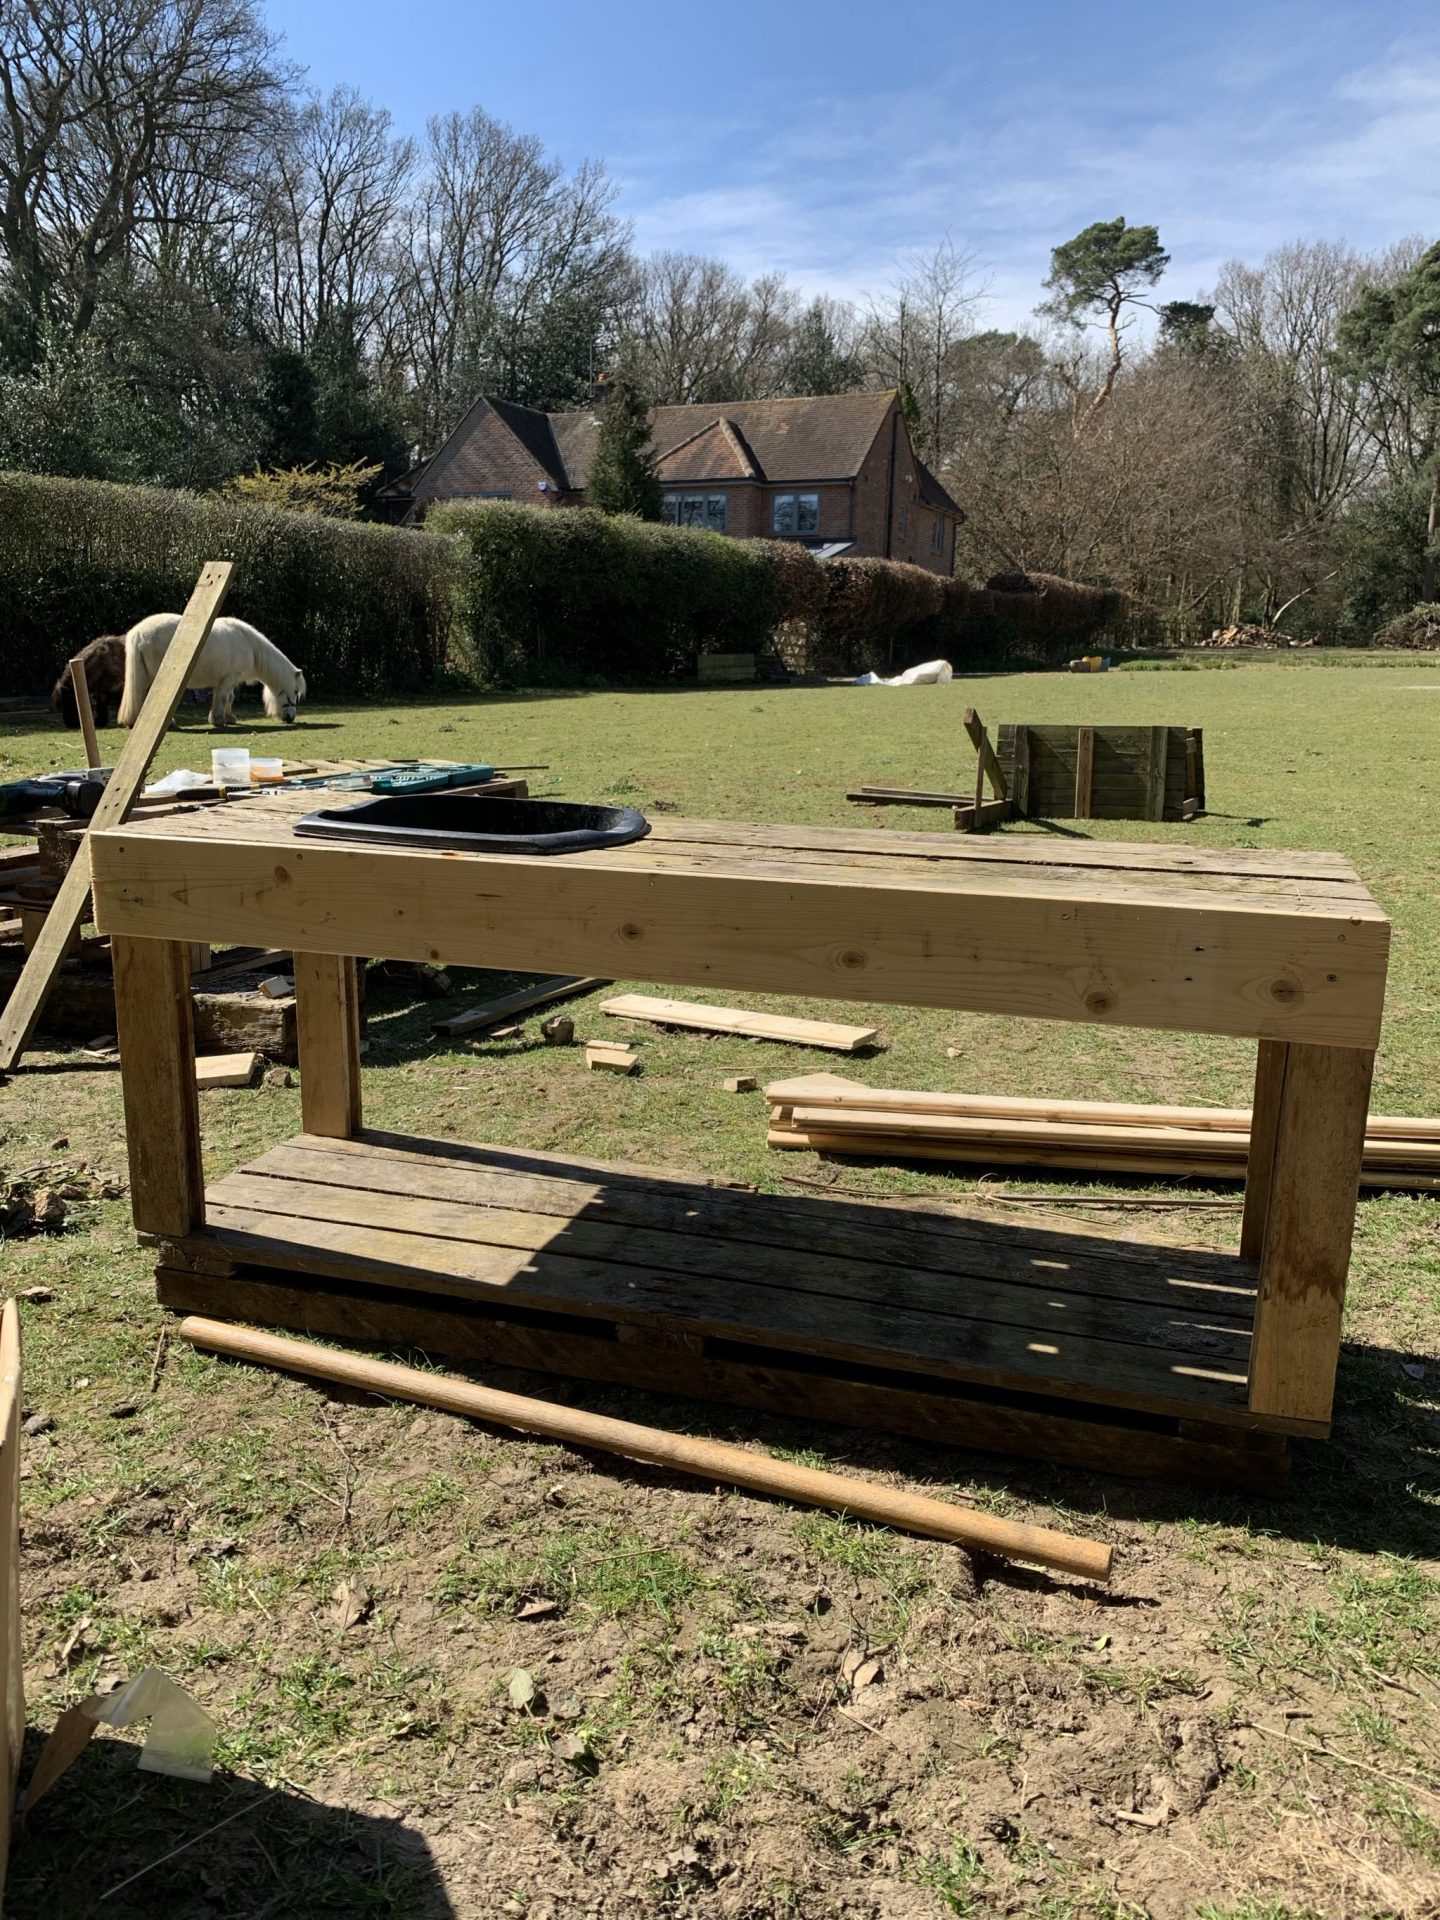
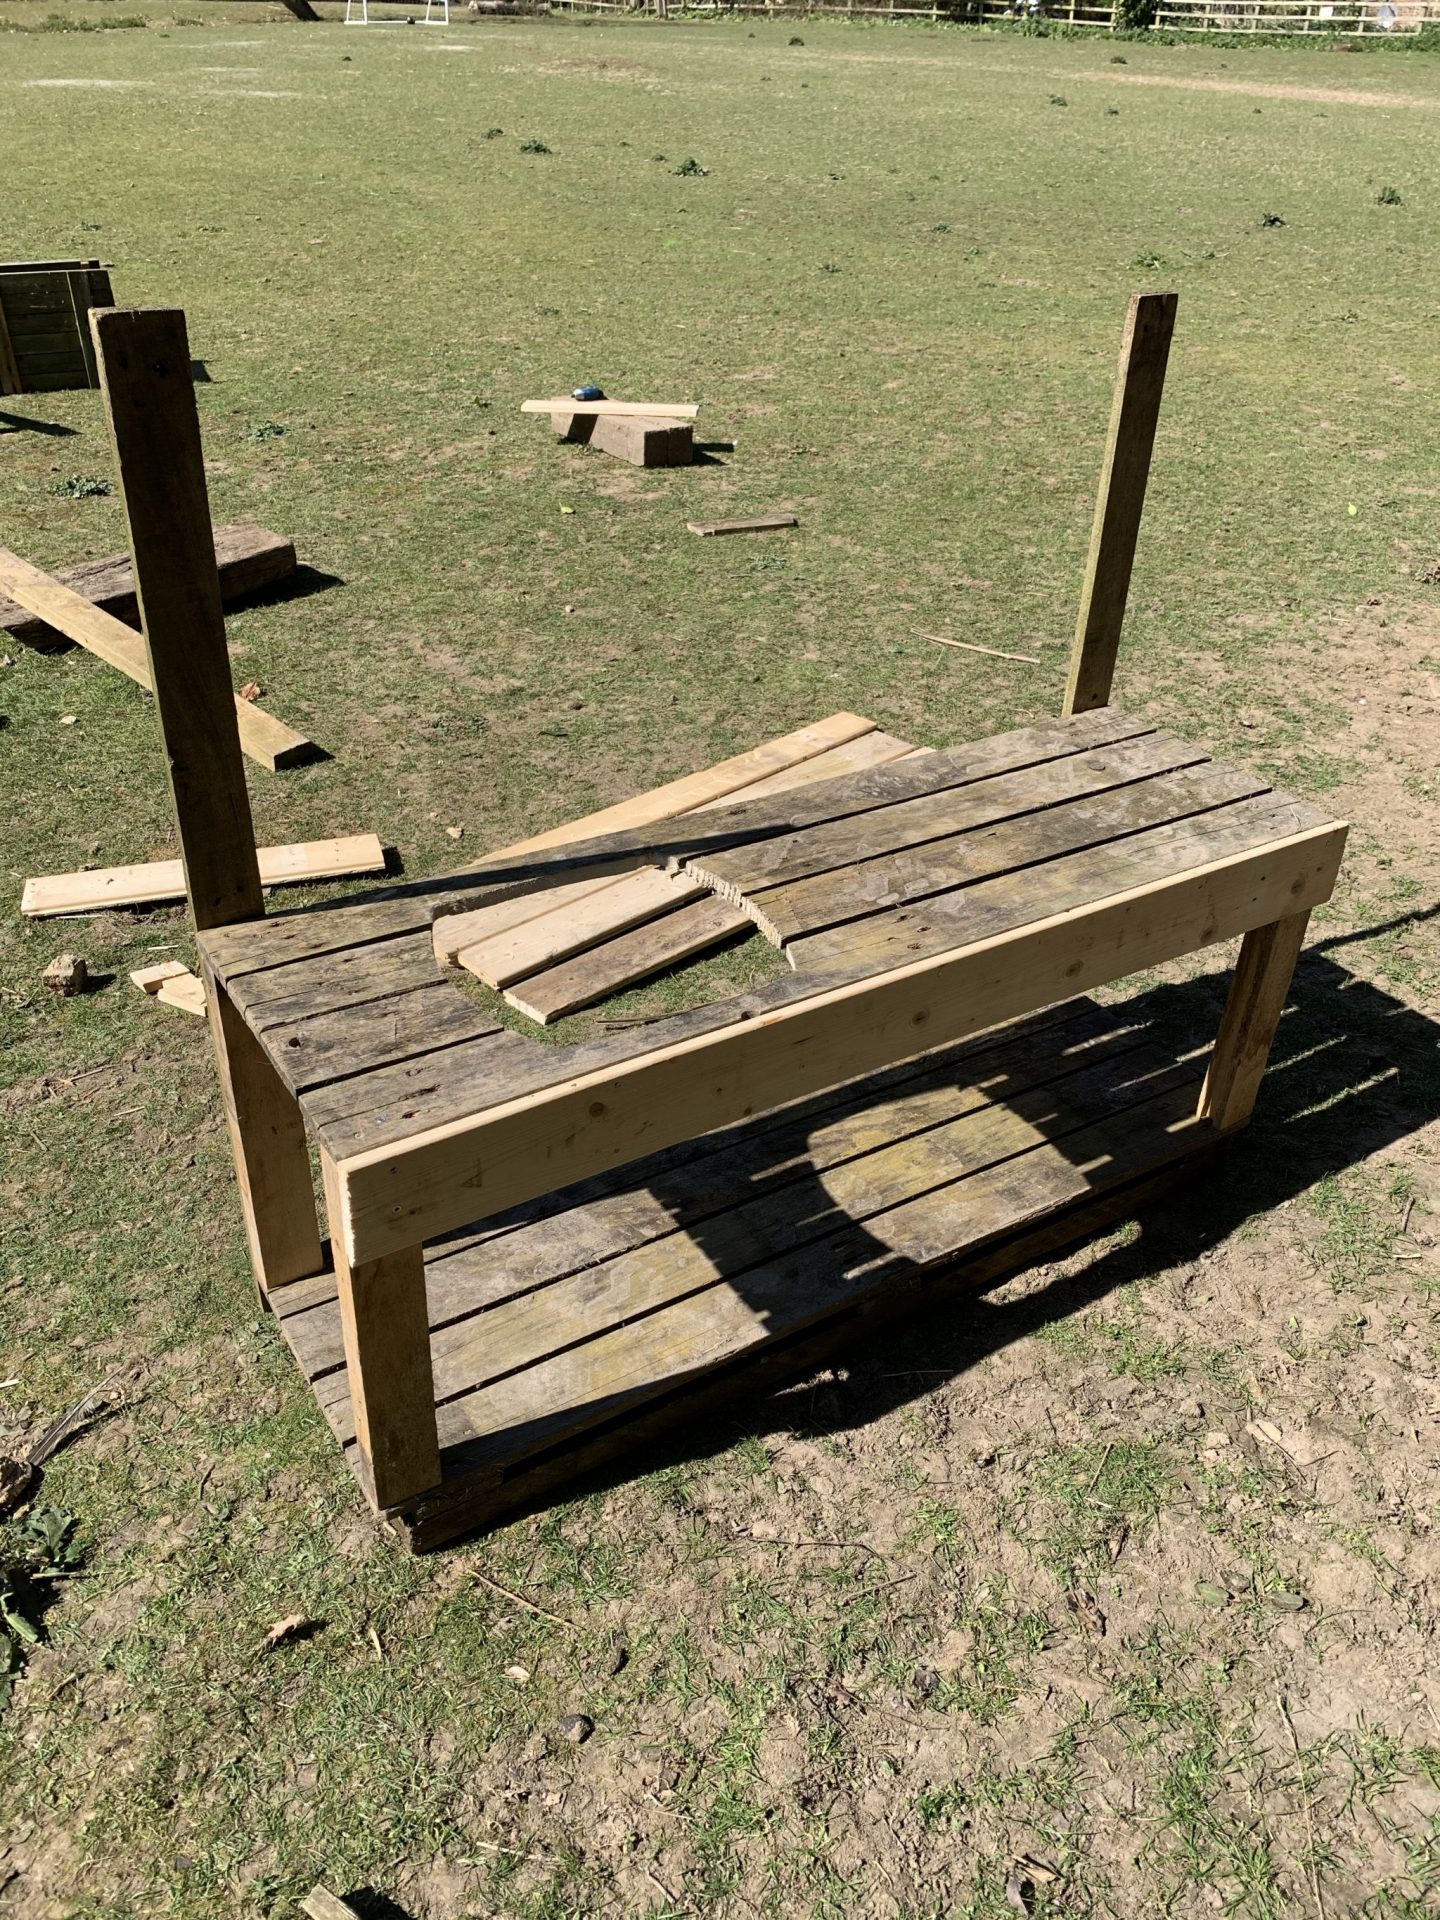
We cut one pallet in half (length ways) and used one side for the top of the kitchen and the other, as the bottom. Using the wood from the pallet base (the larger bracing pieces) we created four legs to join the two pallet halves together which also acted as the supports for the kitchen.
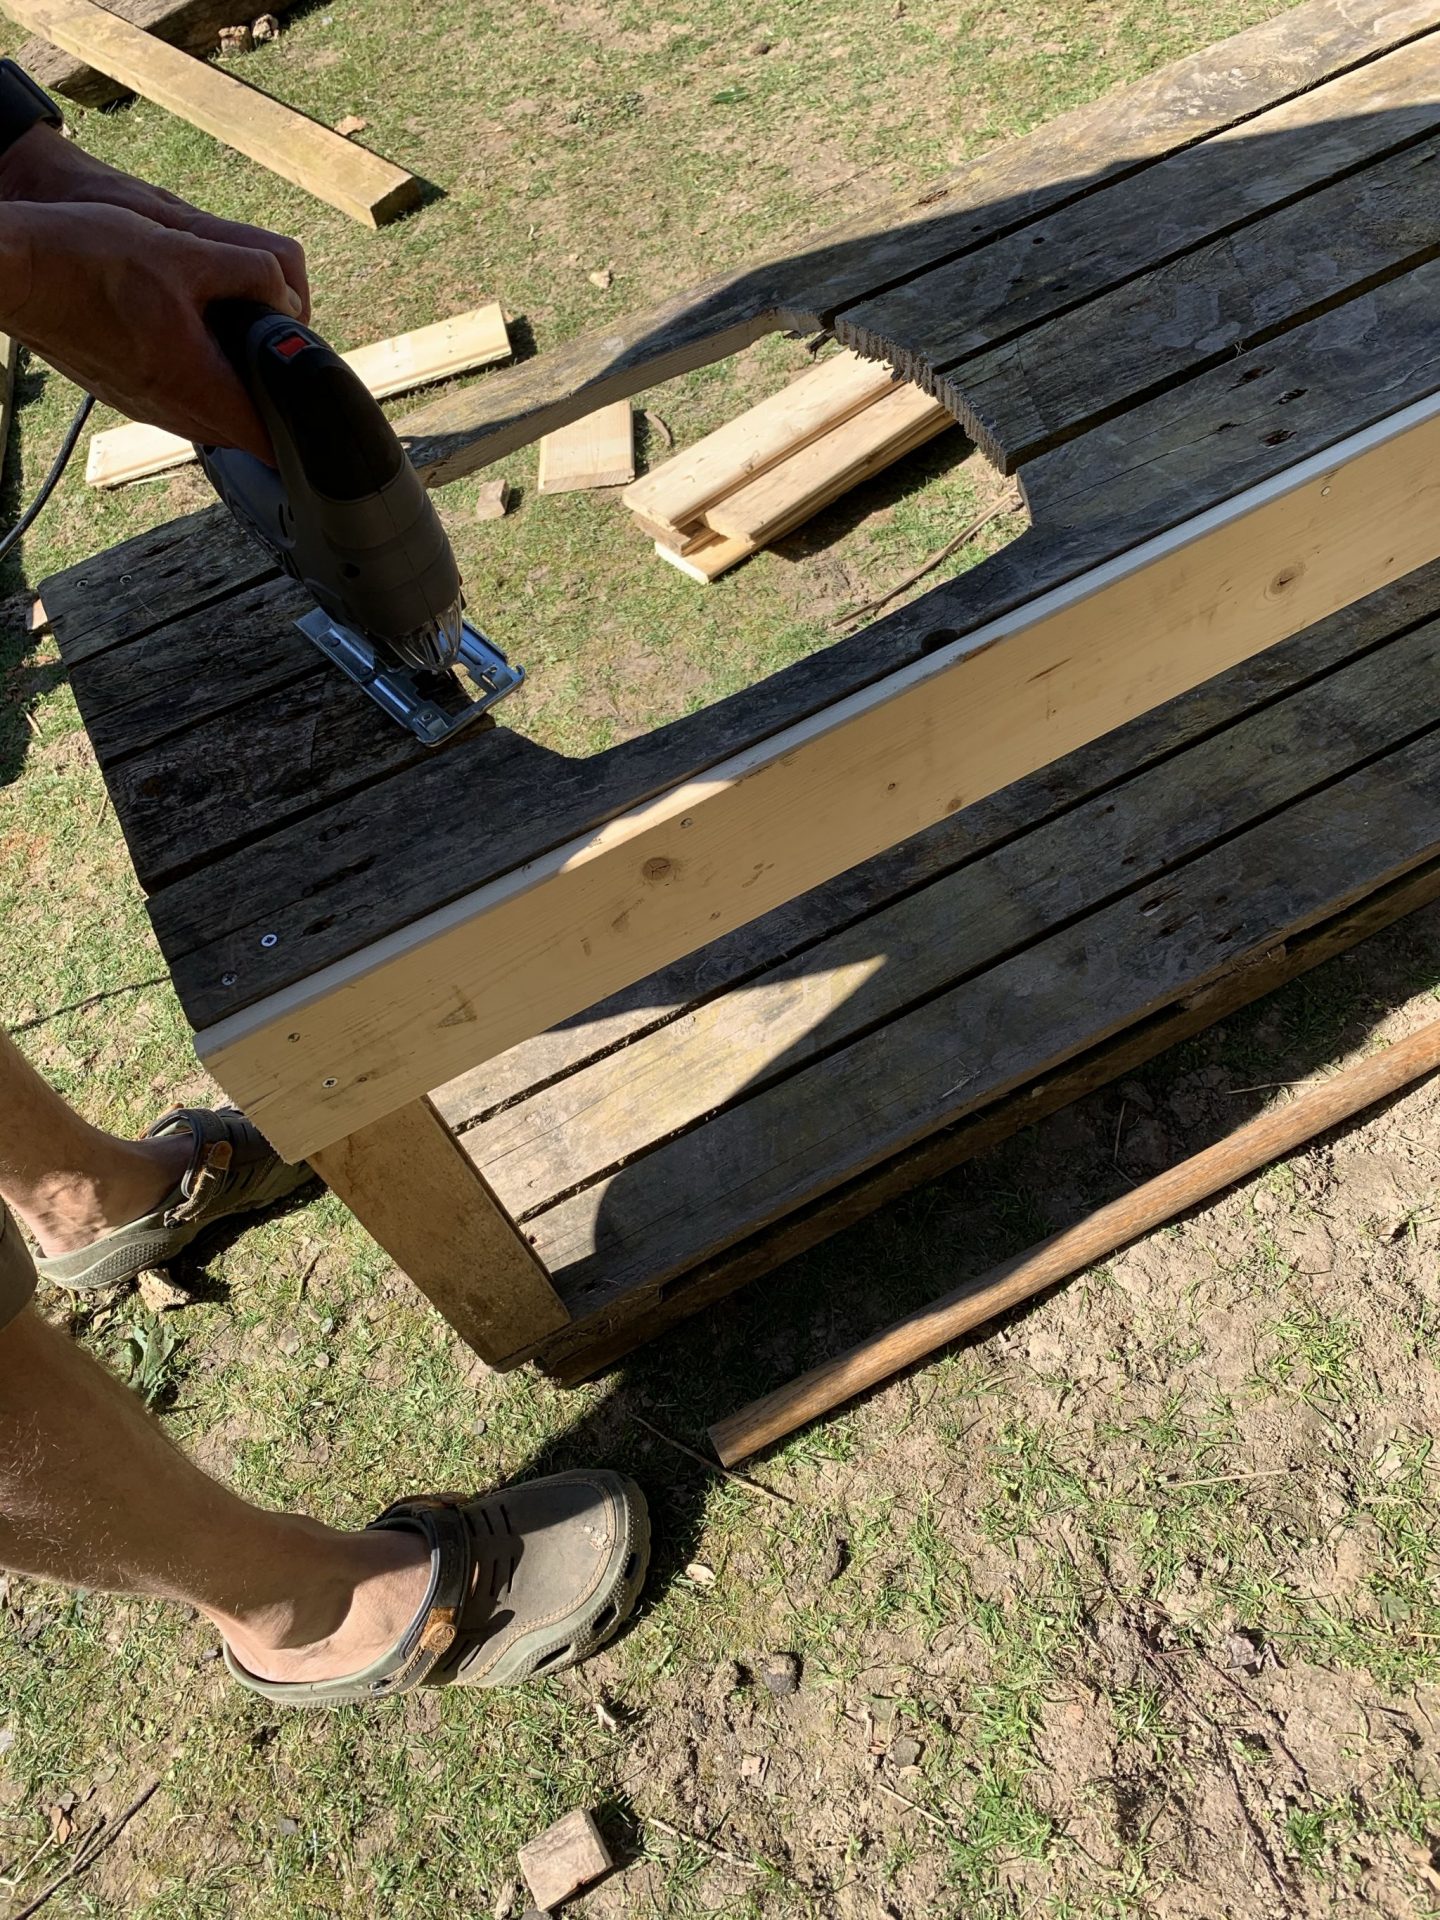
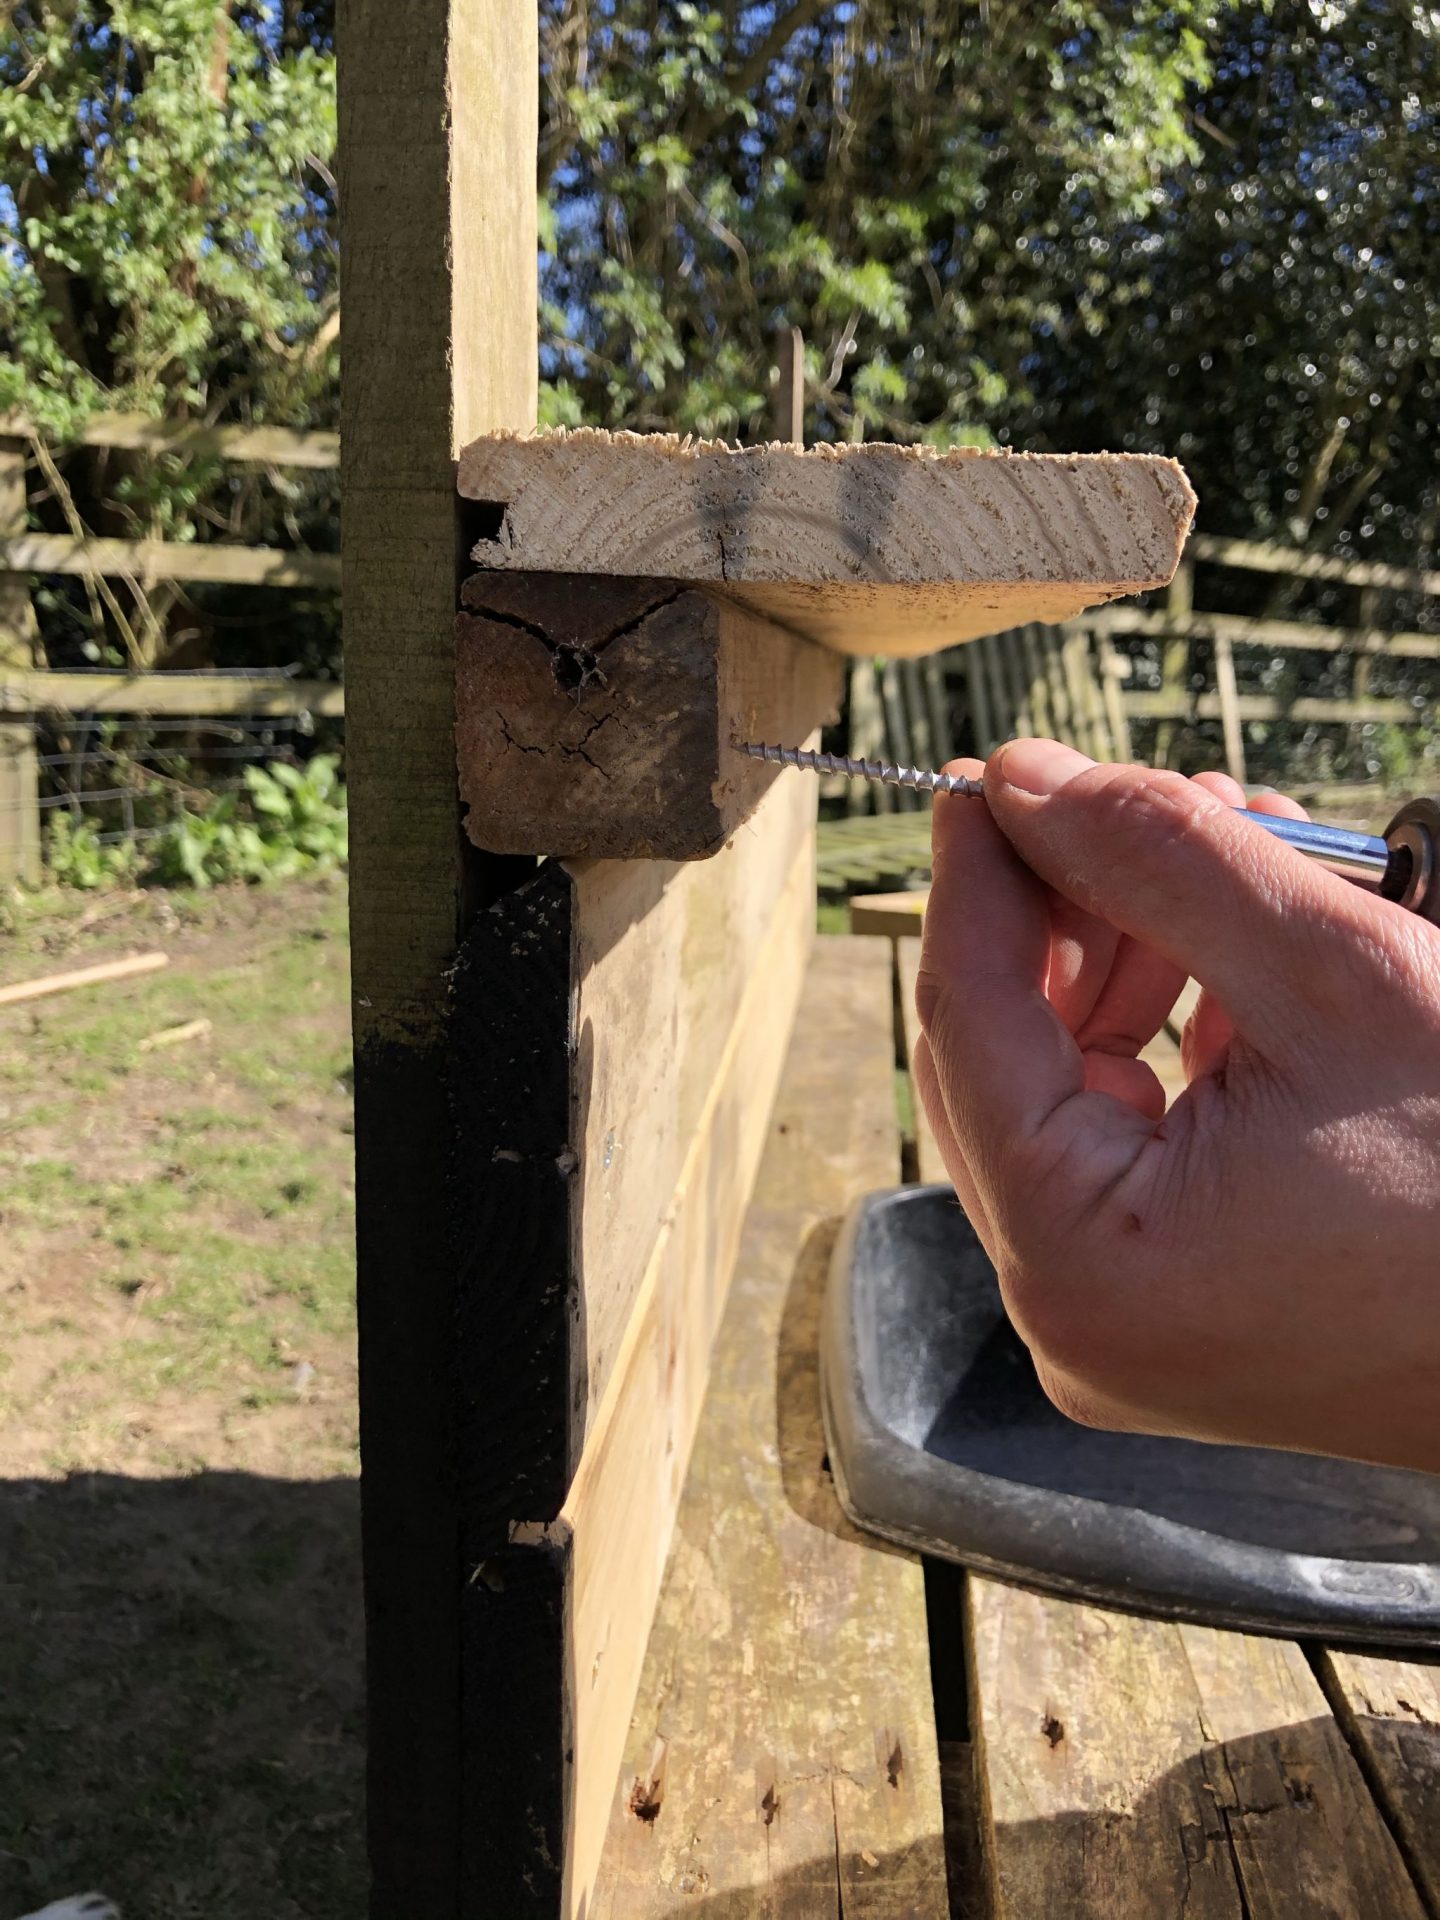
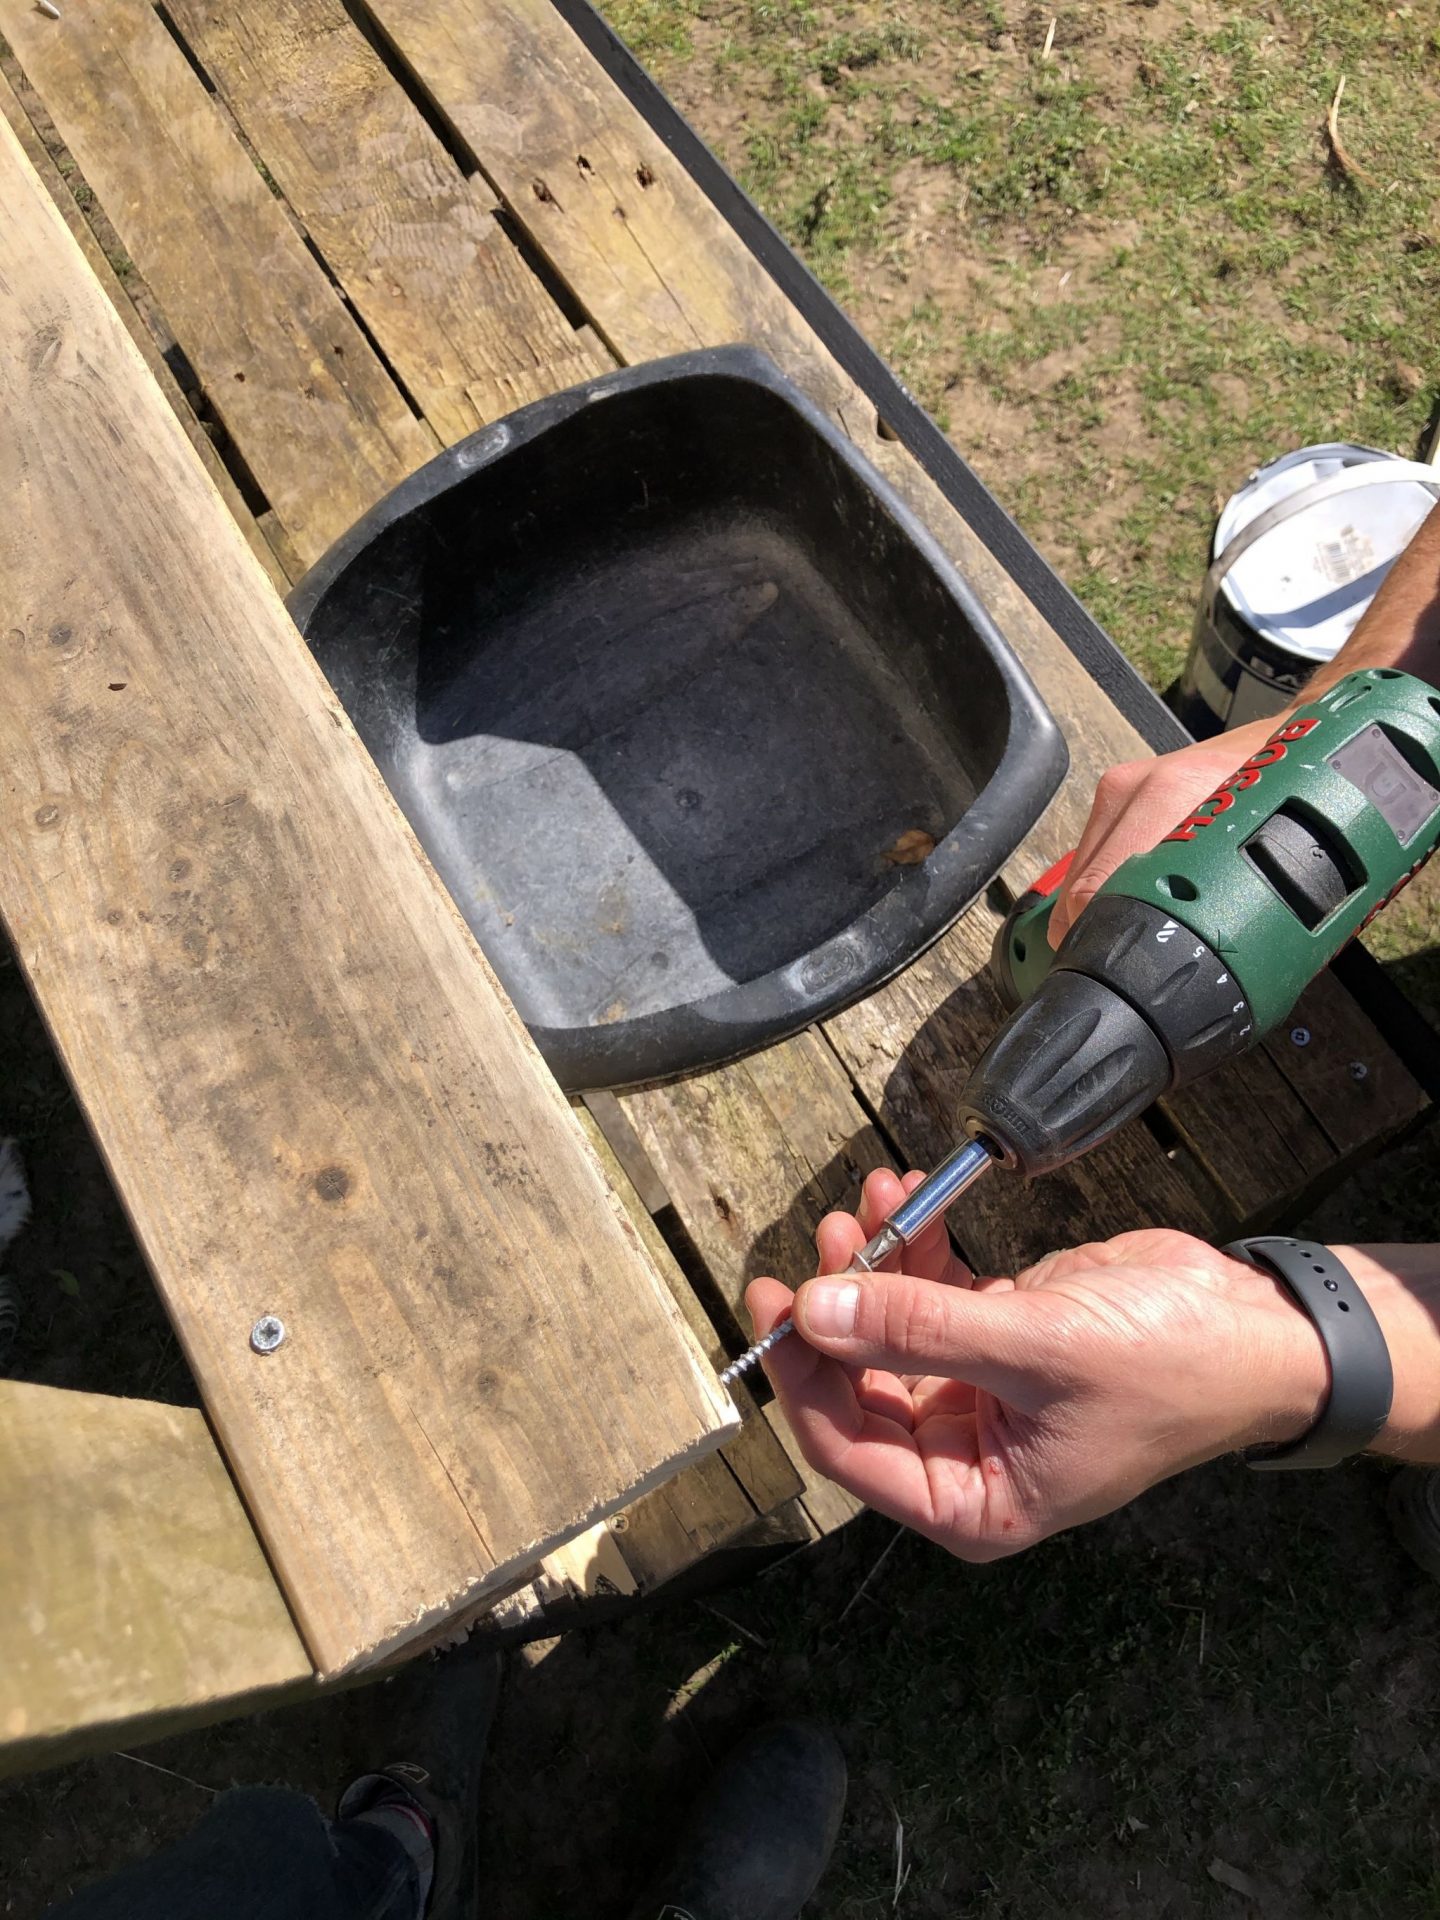
To neaten off the front of the worktop, we screwed a plank of wood to it. This not only gave the kitchen a more finished look, it provided us with a nice board to secure a handrail to.
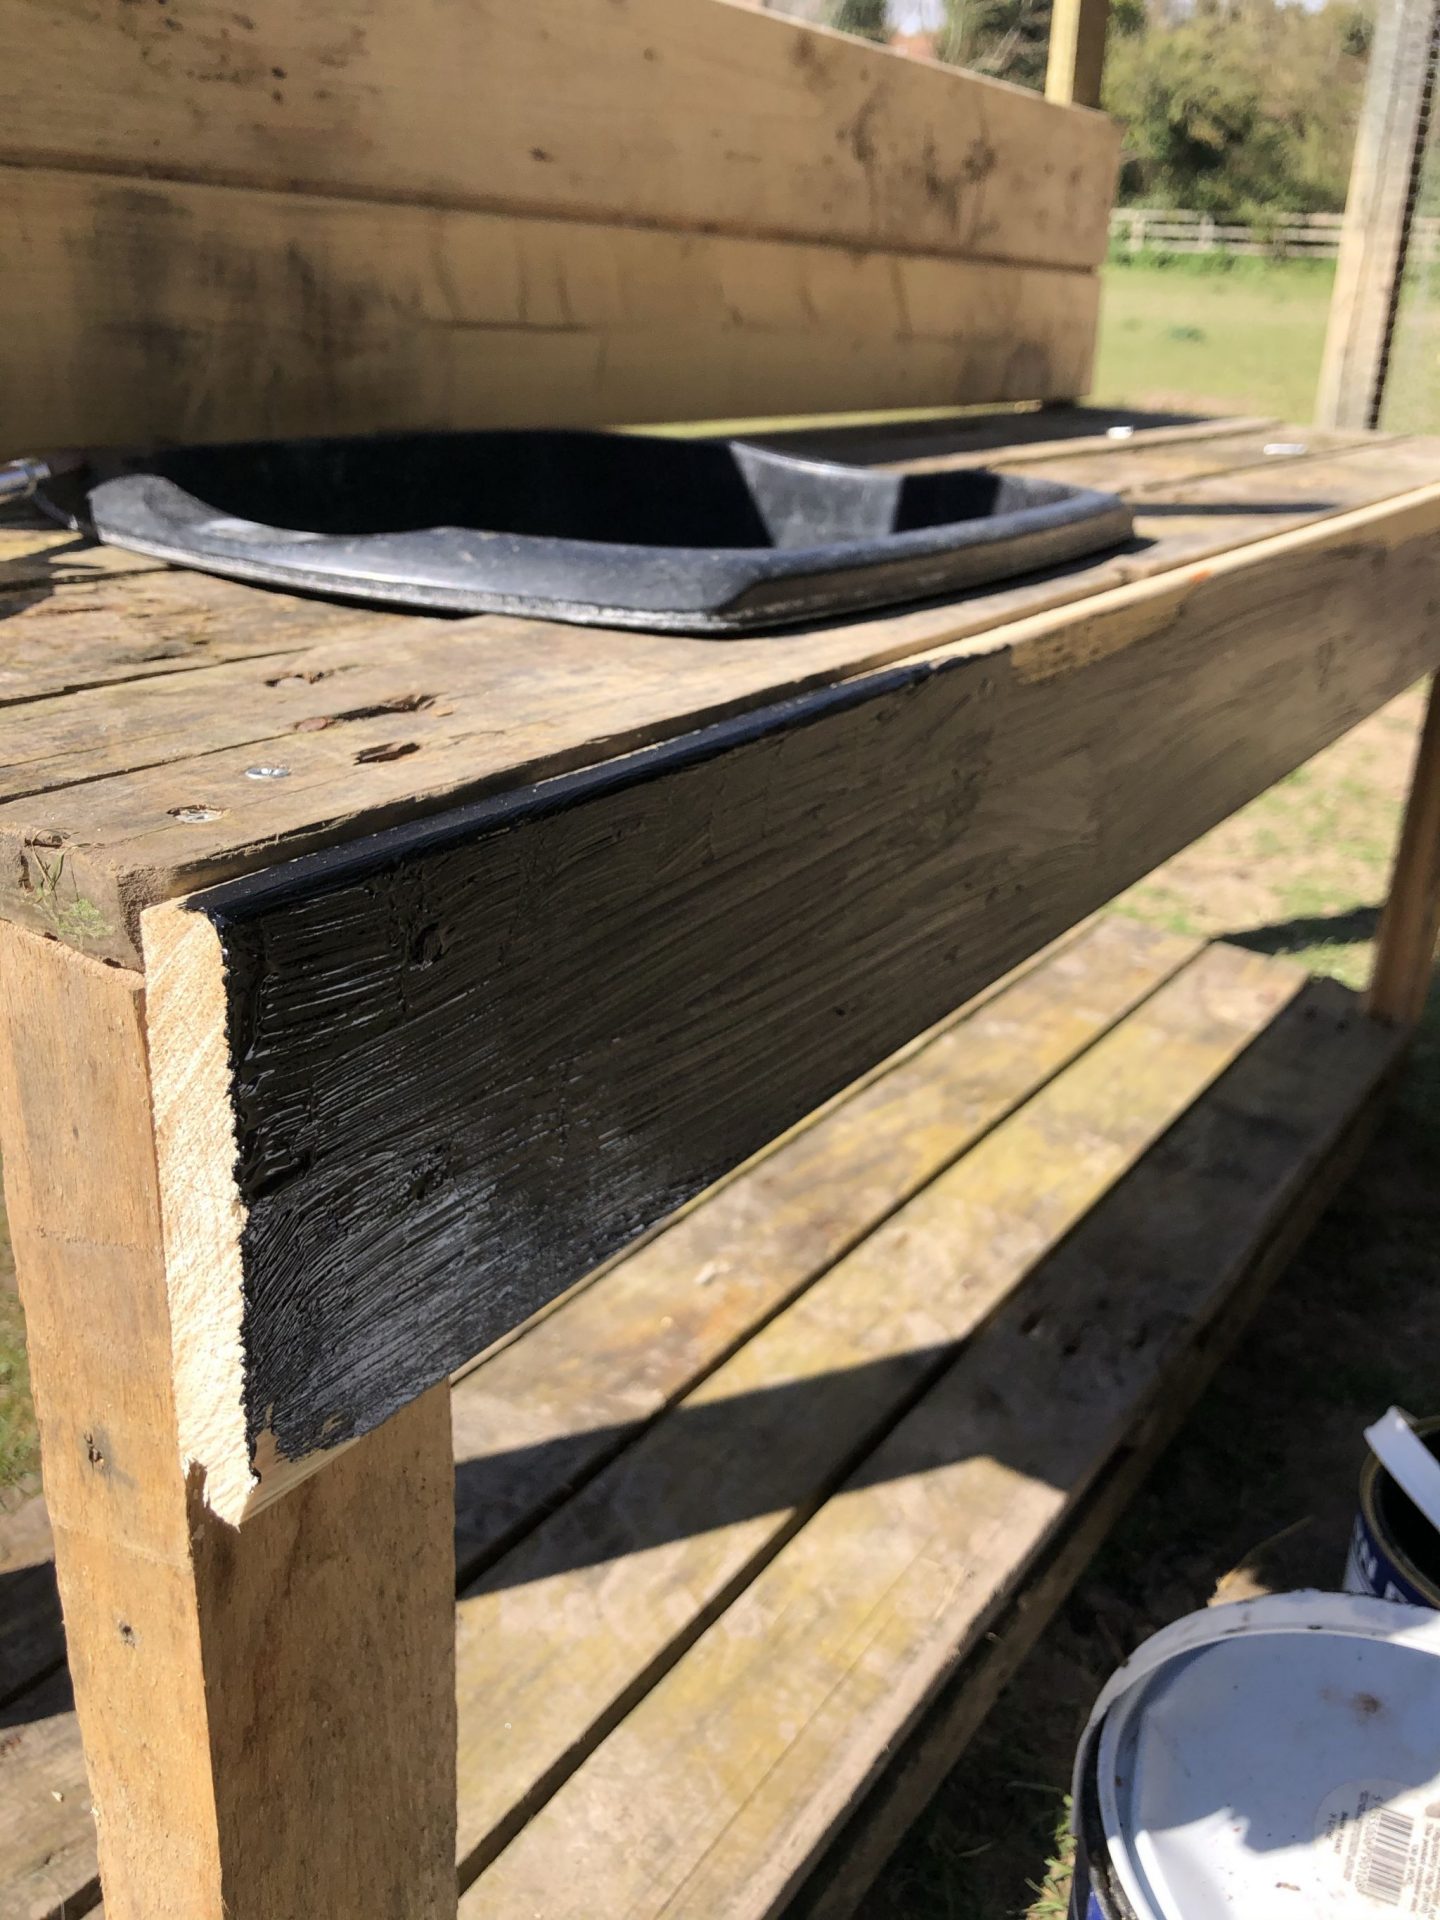
Using a jigsaw we cut out a hole in the kitchen top for the sink bowl to slot into.
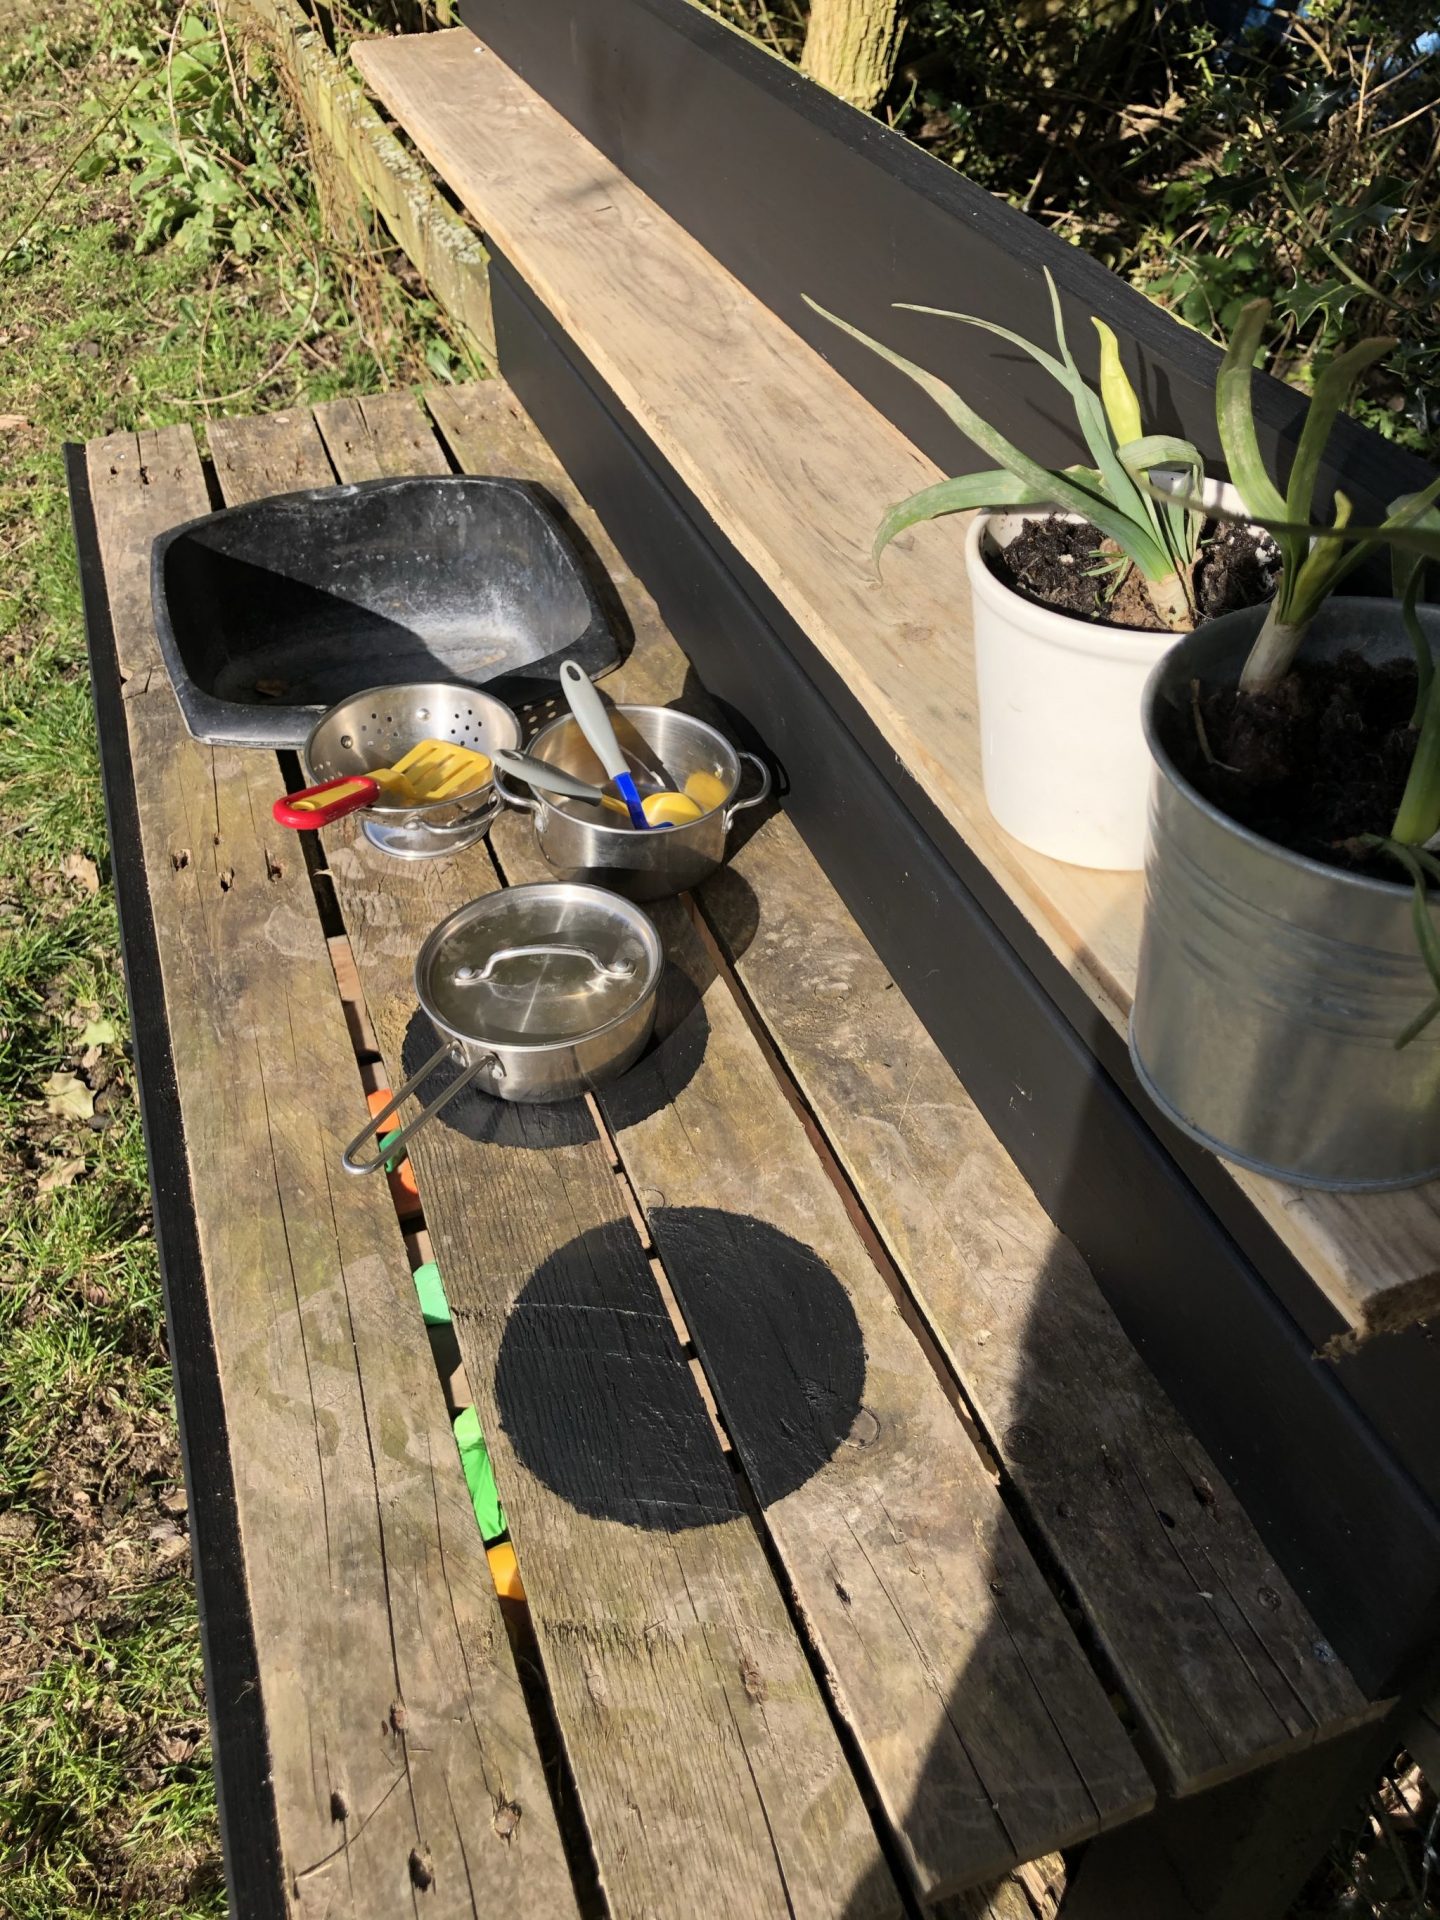
Next, were the upright support posts for the splash-back which were secured to the back of the worktop. For this we used two individual planks taken from another old pallet. And with a further four more pallet planks we created a T&G splash-back and shelf.
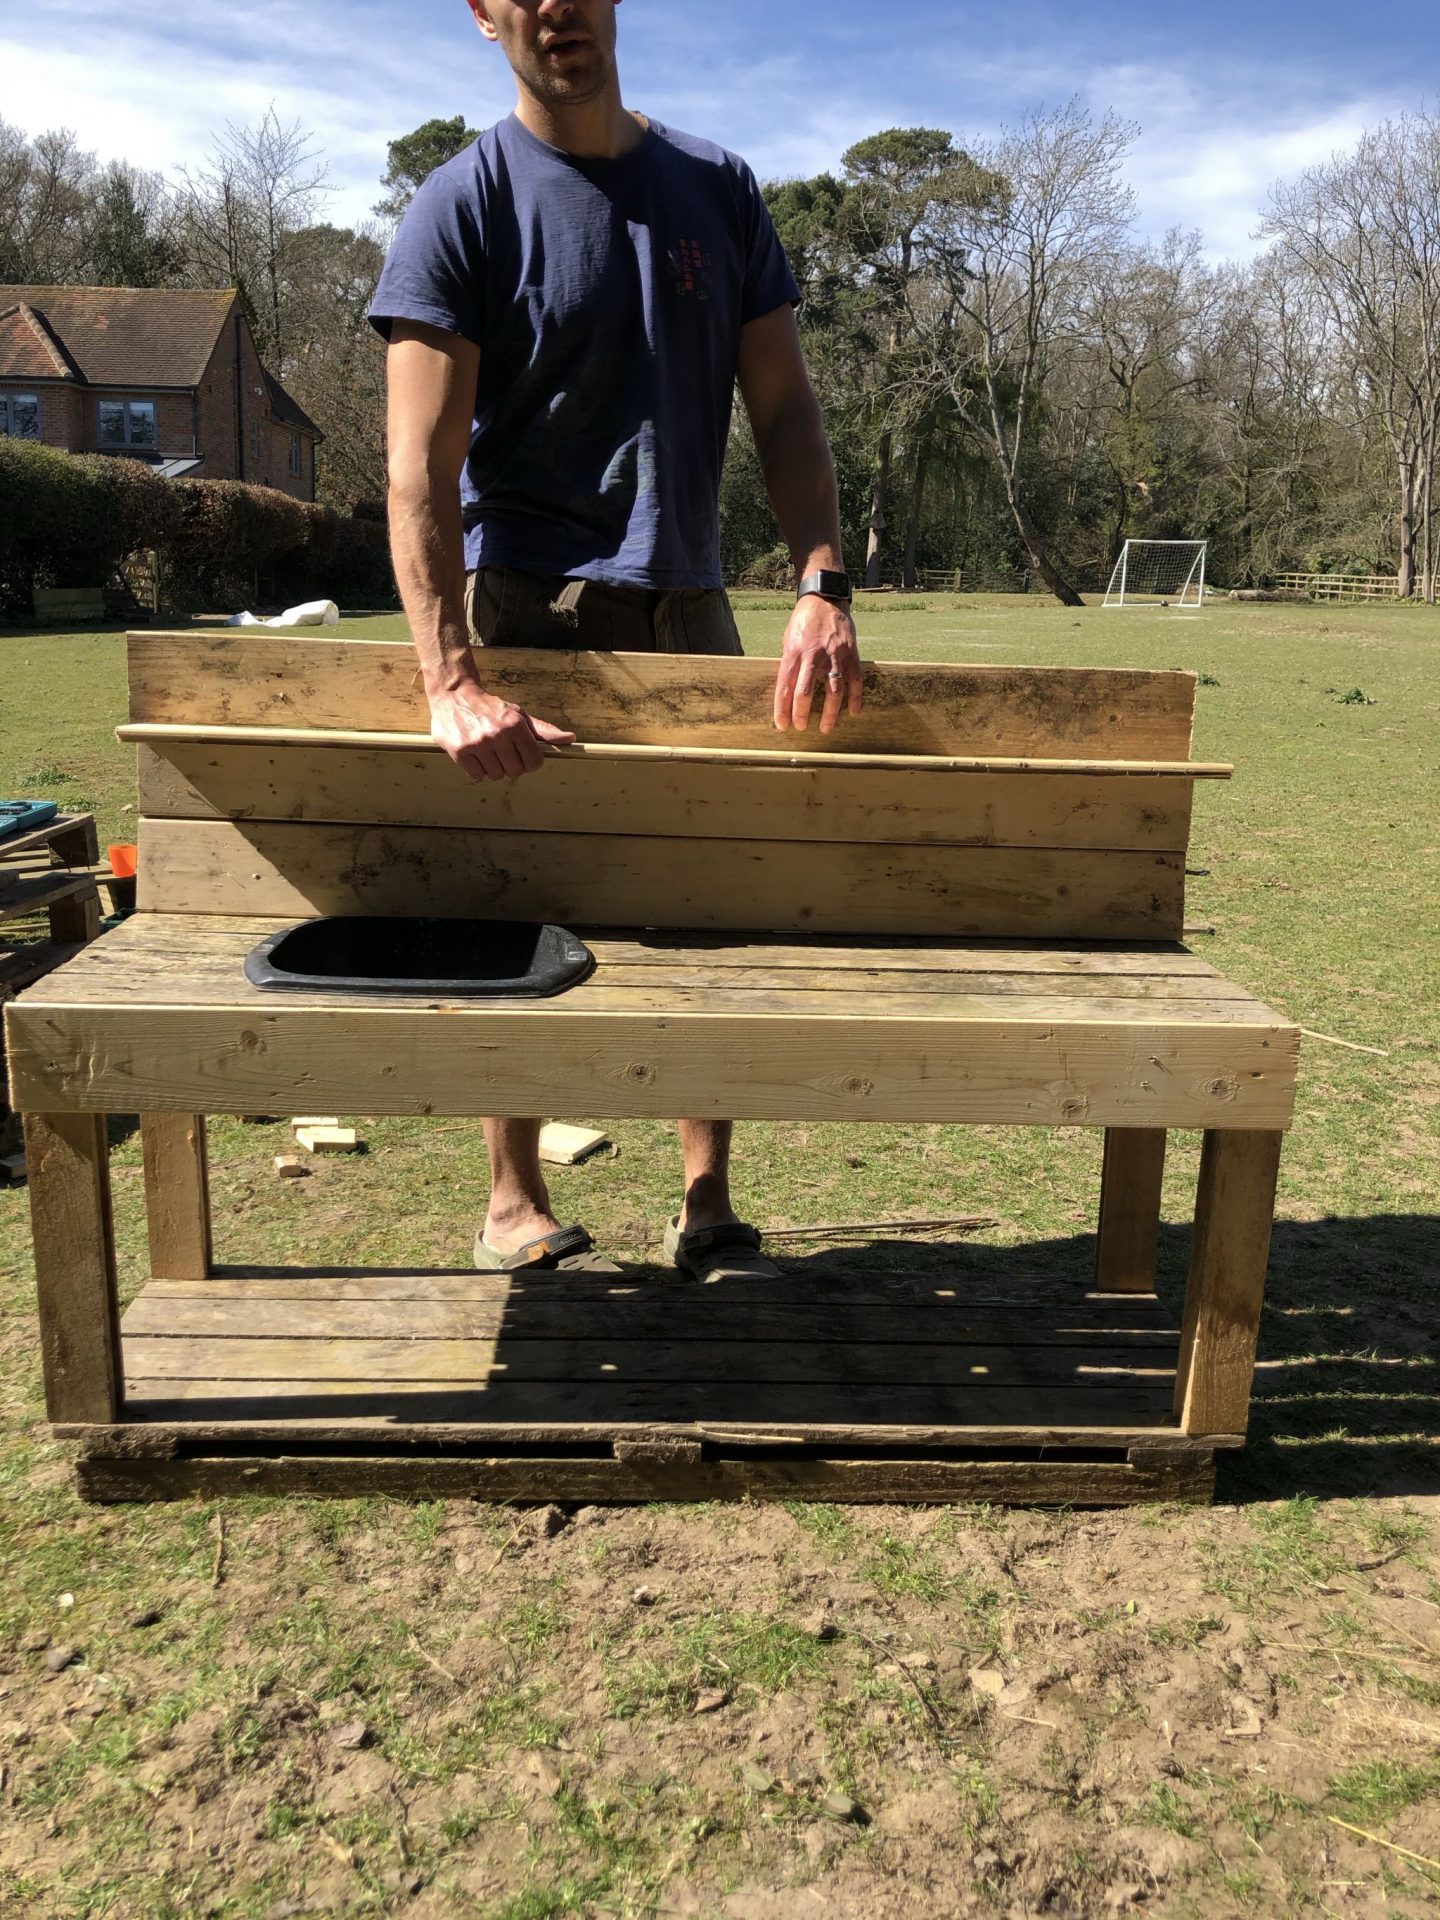
Between the second and third splash-back plank we inserted a shelf (also made by a pallet plank) and supported it using a small 1×1 inch(wish) spare piece of wood beneath it.
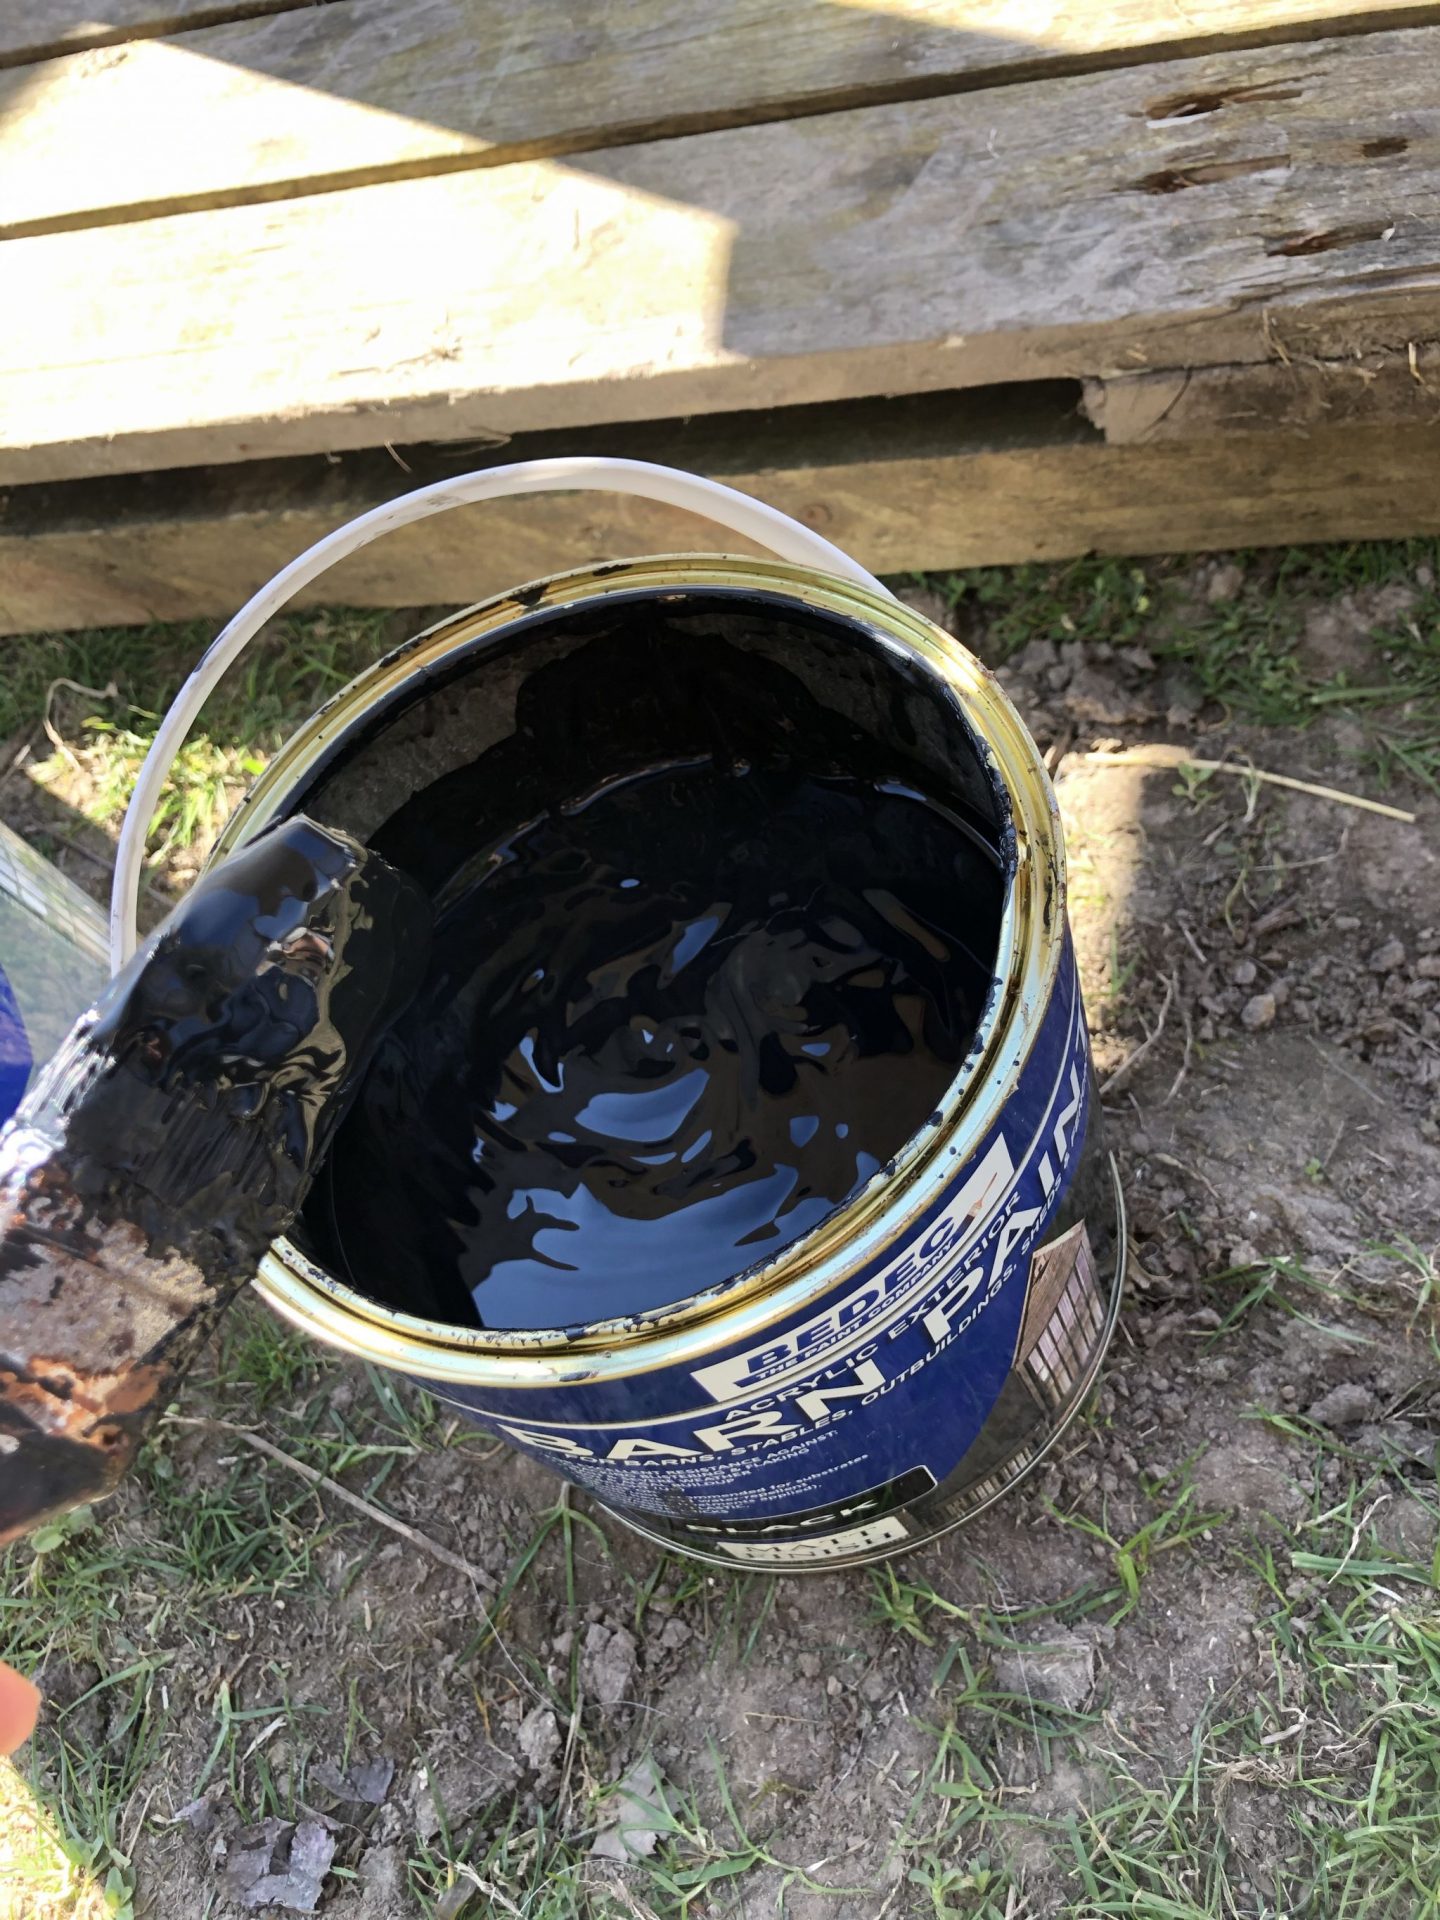
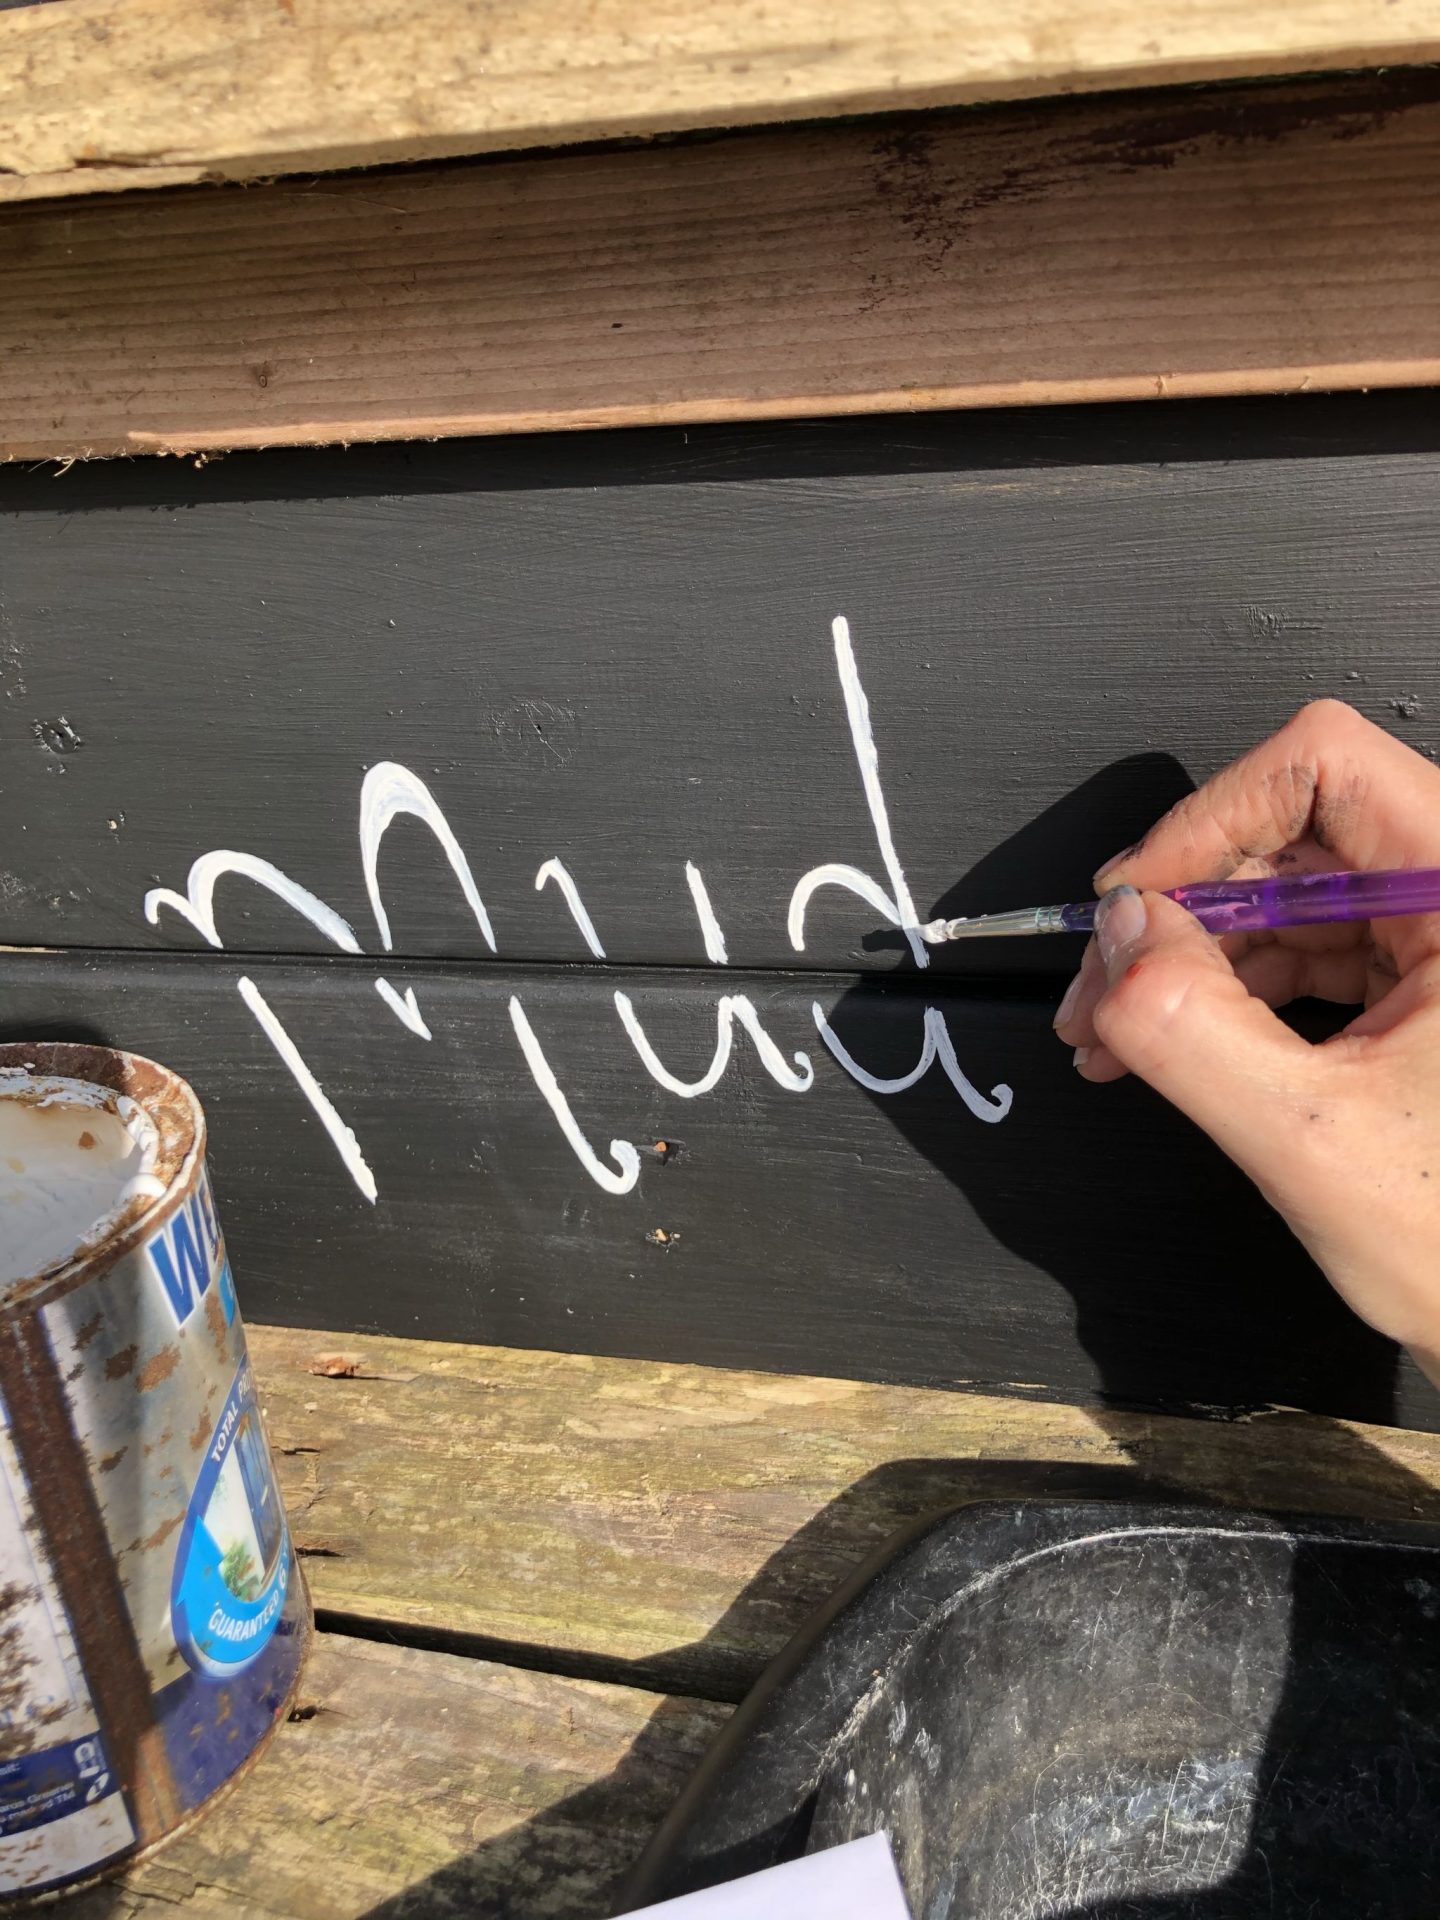
Then it was time to paint! I decided to go with a mixture of exposed wood and painted wood. I used some left over black barn paint for the main structure and some white exterior paint for the hand written text.
Of course no kitchen would be complete without a hob so these were stencilled on using he black paint!
Lastly, we secured a handrail for muddy tea towels using an old broom handle and two handmade brackets.
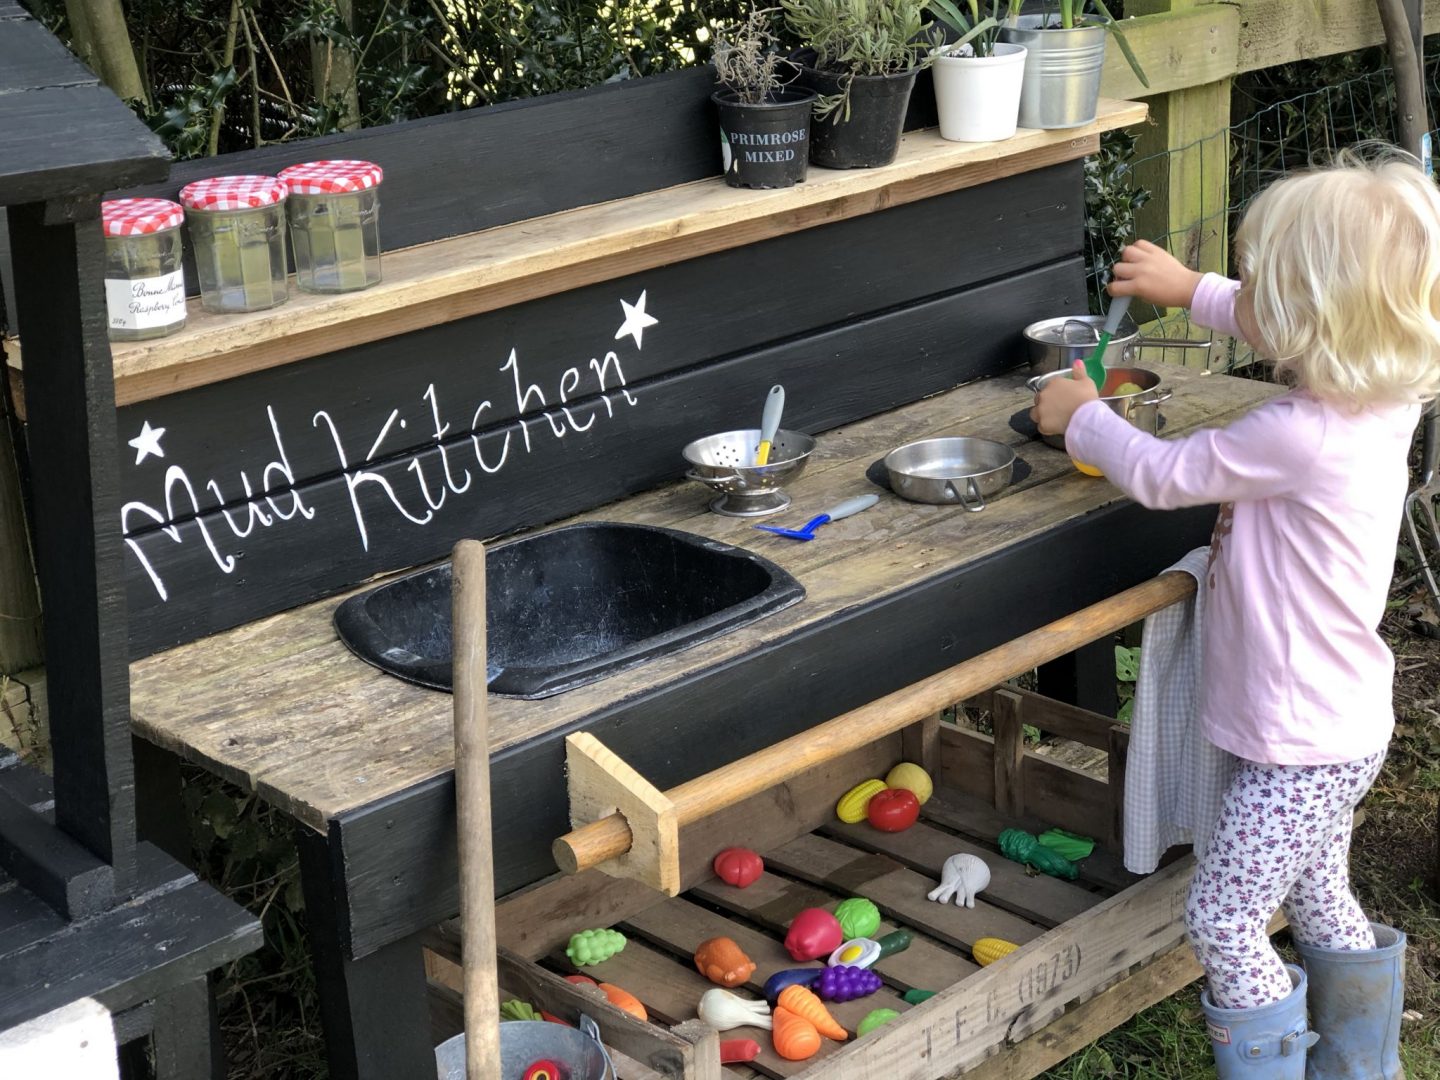
There you have it – our DIY mud kitchen!
(Oh and a egg shop stand for good measure…!)


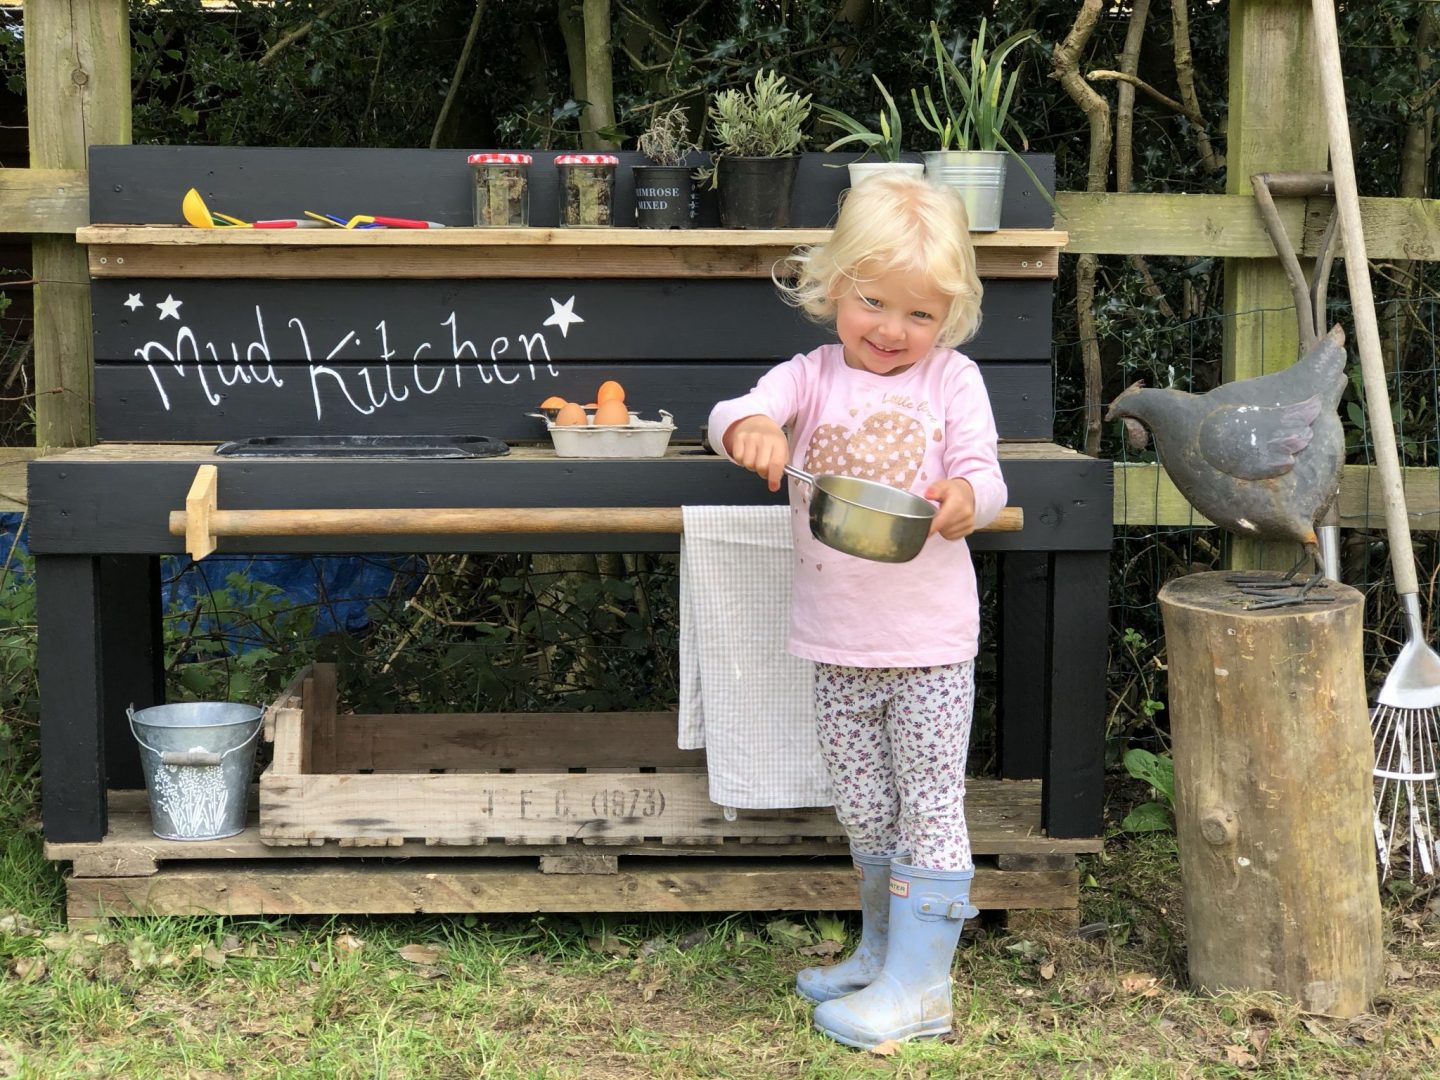
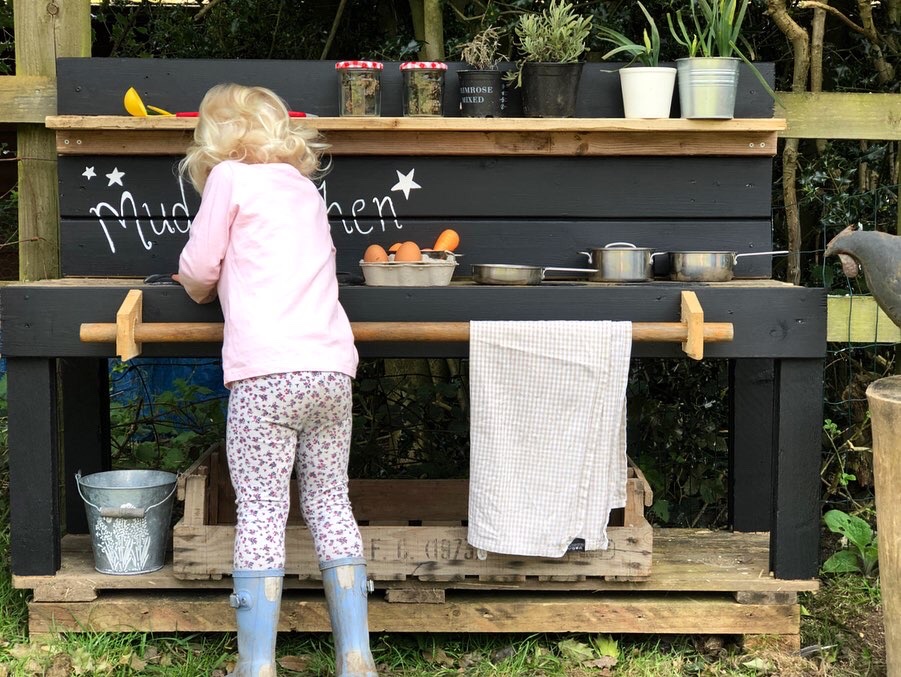
We finished this a couple of weeks ago and the children have been playing with it constantly. Scarlett in particular, loves her new outdoor ‘play station’… and there’s not a controller in sight! It’s great to see the children enjoying some good, old-fashioned, outdoor fun.
Thanks for reading! xx

Brilliant!
Love it
It looks great. The Early Years have a mud kitchen at the primary school where I work and they absolutely love it!